Batch File to Slipstream Service Pack (SP) and Cumulative Updates (CU) for MOSS 2007 or SharePoint 2010 |
Nov
16
|
I perform a lot of SharePoint installs. I like to Slipstream both the Service Pack and the Cumulative Updates before I begin an install. In the zip file you find the batch file and links to the latest MOSS 2007 and SharePoint 2010 Service Packs. I will keep this zip file up to date when new Service Packs and Cumulative Updates come out.
- New Farm – Slipstream base binaries with SP’s and CU’s > Install Slip-streamed binaries on all boxes > Configure SharePoint.
- Existing Farm – Please see link this link – https://jppinto.com/2010/10/installing-august-sharepoint-2010-cumulative-update/
Prerequisites
- Create folder and drop in the base installation binaries of MOSS/SharePoint (i.e. C:\Software\SharePoint2010base)
- Create folder and drop in the 4 updates (2 SP’s and 2 CU’s) (i.e. C:\Software\SP2010Updates)
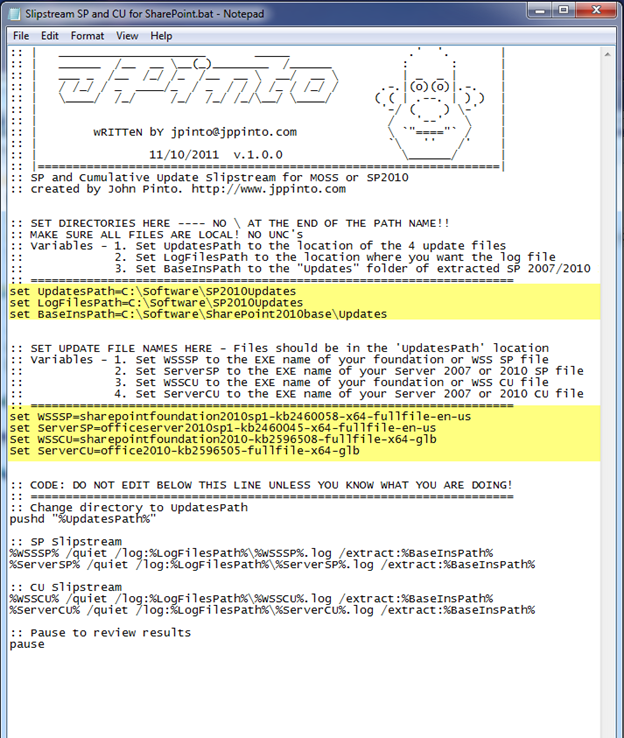
Setting Variables
You have to set 7 variables in the batch file. First we need to set file paths
- UpdatesPath = Set UpdatesPath to the location of the 4 update files
- LogFilesPath = Set LogFilesPath to the location where you want the log file
- BaseInsPath = Set BaseInsPath to the “Updates” folder of extracted SP 2007/2010 Install
Next we need to set the EXE names of the Service Packs and the Cumulative Updates
- WSSSP = Set WSSSP to the EXE name of your Foundation or WSS SP file
- ServerSP = Set ServerSP to the EXE name of your Server 2007 or 2010 SP file
- WSSCU = Set WSSCU to the EXE name of your foundation or WSS CU file
- ServerCU = Set ServerCU to the EXE name of your Server 2007 or 2010 CU file
Download: https://jppinto.com/help/SlipstreamSPandCUforSharePoint.zip
Verification
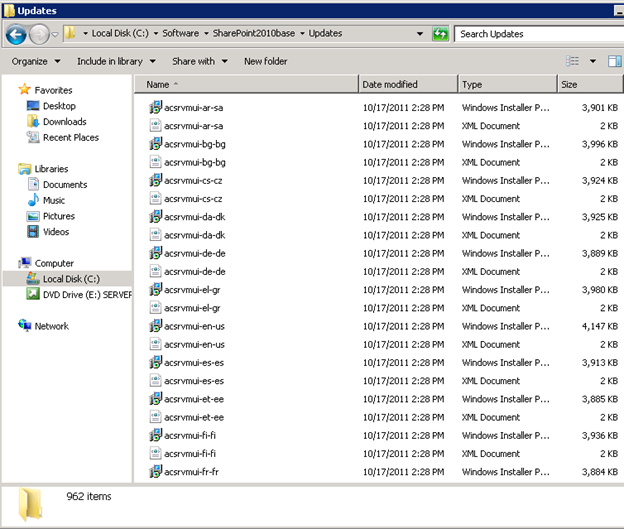
By default the “Updates” folder in the directory containing the base installation does not have any files in it. Once the 4 files are extracted you should have a little over 900 files. In this case my “Updates” was about 2.04 GB when I slip-streamed SP1 and the October 2011 CU’s for SharePoint 2010.