Install Minikube for Kubernetes testing on Windows 10 Enterprise or Pro |
Dec
31
|
| « Deploy Jenkins container on Docker Desktop for Windows | Don’t start your minikube virtual machine from Hyper-V » |
Series: Kuberbetes Test Lab
- Install Docker Desktop for Windows on Windows 10 Enterprise
- Deploy Jenkins container on Docker Desktop for Windows
- Install Minikube for Kubernetes testing on Windows 10 Enterprise or Pro
Testing Environment Information:
- Windows 10 Enterprise: Version 1909 (OS Build 18396.535) (Type winver or systeminfo at a Command Prompt)
- Minikube (latest release as of 12/20/2019) https://minikube.sigs.k8s.io/docs/start/windows/
- Testing Date: 12/30/2019
Background:
Minikube is a tool that makes it easy to run Kubernetes locally. Minikube runs a single-node Kubernetes cluster inside a Virtual Machine (VM) on your laptop for users looking to try out Kubernetes or develop with it day-to-day. Kubernetes is an open source container orchestration engine for automating deployment, scaling, and management of containerized applications (made with Docker). Kubernetes is a portable, extensible, open-source platform for managing containerized workloads and services, that facilitates both declarative configuration and automation. It has a large, rapidly growing ecosystem. Kubernetes services, support, and tools are widely available. The name Kubernetes originates from Greek, meaning helmsman or pilot. Google open-sourced the Kubernetes project in 2014. Kubernetes builds upon a decade and a half of experience that Google has with running production workloads at scale, combined with best-of-breed ideas and practices from the community. More info at: https://kubernetes.io/docs/concepts/overview/what-is-kubernetes/
Installation Links:
Minikube site (install Minikube on Windows): https://minikube.sigs.k8s.io/docs/start/windows/
Kubernetes site (install Minikube on Windows): https://kubernetes.io/docs/tasks/tools/install-minikube/
Requirements and Prerequisite Installation:
The Minikube Windows installation instructions on the Kubernetes site are slightly different than the instructions on the Minikube site. I will consolidate everything to ensure a successful installation.
System Requirements:
- Windows 10 Enterprise, Pro, or Education
Hypervisor:
You need one of the following hypervisors installed, you can install both if desired
- Hyper-V
- VirtualBox 5.2 or higher
To Enable Hyper-V, open a PowerShell console as Administrator, and run the following command. After the command is completed reboot your machine, even if it doesn’t ask you to.
Enable-WindowsOptionalFeature -Online -FeatureName Microsoft-Hyper-V -All
To Install VirtualBox 5.2 or higher, please visit https://www.virtualbox.org/wiki/Downloads
Install kubectl:
More information here: https://kubernetes.io/docs/tasks/tools/install-kubectl/#install-kubectl-on-windows
The Kubernetes command-line tool, kubectl, allows you to run commands against Kubernetes clusters. You can use kubectl to deploy applications, inspect and manage cluster resources, and view logs. For a complete list of kubectl operations, see Overview of kubectl.
You will need to install kubectl, if you already have it on your system (do a system wide search for kubectl.exe) then you need to rename the exe. I have Docker for Desktop installed, I renamed the exe using PowerShell and the following command:
Push-Location "C:\Program Files\Docker\Docker\resources\bin"
Rename-Item -Path "kubectl.exe" -NewName "kubectl.old" -Force
Make sure you cannot access the kubectl command from a command prompt or PowerShell

Run the following commands to install kubectl, if you cannot run “Install-Script” please see this article https://docs.microsoft.com/en-us/powershell/scripting/gallery/installing-psget?view=powershell-6
Install-Script -Name install-kubectl -Scope CurrentUser -Force
Set-ExecutionPolicy Unrestricted # to be able to run the PS1 file, you can set this back later
Set-ExecutionPolicy Bypass
Install-kubectl.ps1 -DownloadLocation "C:\Program Files\Kubernetes\kubectl" # if you do not specify a location it will install to TEMP (not good)
Add “C:\Program Files\Kubernetes\kubectl” to your PATH Envrionment Variables, see this article for information on how to do that: https://jppinto.com/2019/12/windows-10-path-environment-variable-update-with-powershell/
Restart the PowerShell session

To verify the installation is complete run:
kubectl version

Install Minikube:
You can get the latest version at this link: https://github.com/kubernetes/minikube/releases/latest/download/minikube-installer.exe
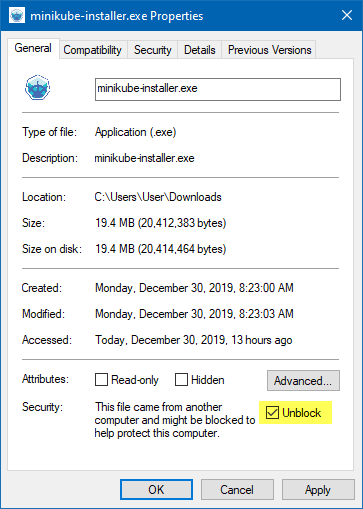
Right Click “minikube-install.exe” and make sure the file is unblocked. You can also do this with PowerShell using the “Unblock-File” cmdlet.
Run the installer as an administration by right clicking and selecting “Run as administrator”
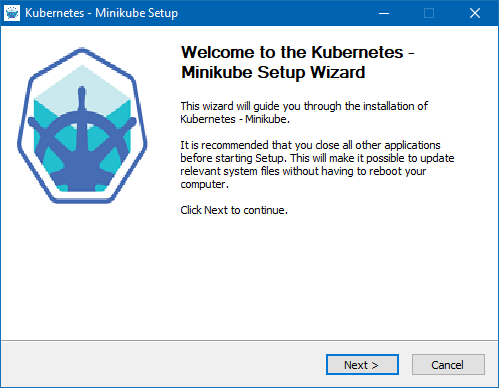
Press Next
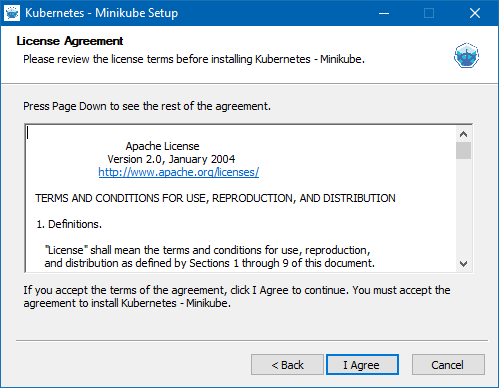
Press I Agree
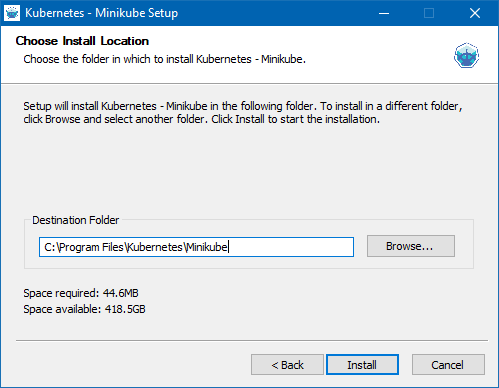
Enter the installation location
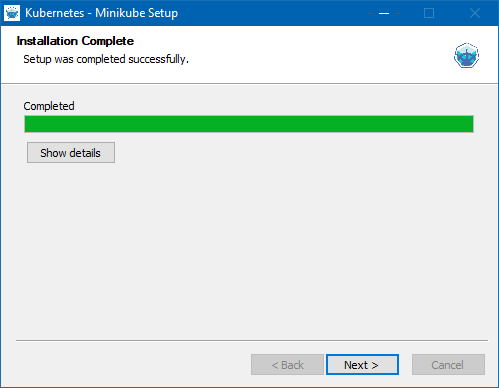
Press Next
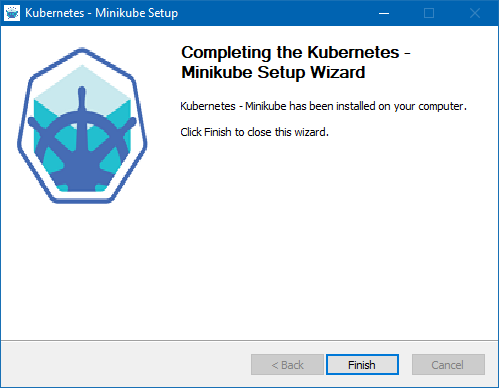
Press Finish
Start a Local Kubernetes Cluster:
Use the following command to start a Kubernetes cluster using a Hyper-V VM.
minikube start --vm-driver=hyperv
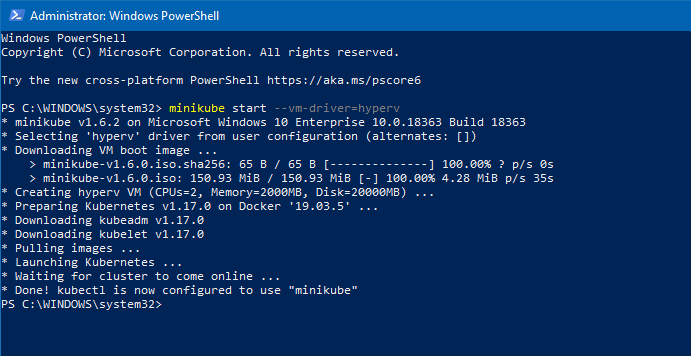
Let’s browse the dashboard by using the following command, get familiar with the GUI, this visual representation will help you later on when using kubectl commands. For more information on the dashboard please visit: https://kubernetes.io/docs/tasks/access-application-cluster/web-ui-dashboard/
minikube dashboard

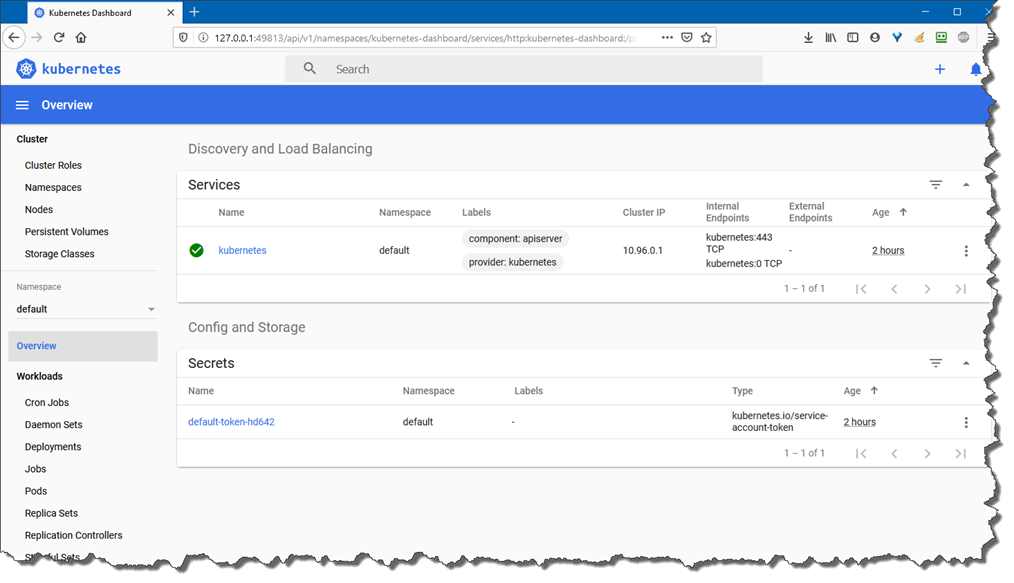
Get familiar with kubectl commands:
Here are some kubectl commands to get you going.
- Use “kubectl <command> –help” for more information about a given command.
- Use “kubectl options” for a list of global command-line options (applies to all commands).
- Use “kubectl” to get a list of commands
- See the official documentation for more info: https://kubernetes.io/docs/reference/generated/kubectl/kubectl-commands
This command will let you know that kubectl is able to connect to your cluster to manage it.
kubectl cluster-info

This command shows you the nodes in your cluster and their status:
kubectl get nodes

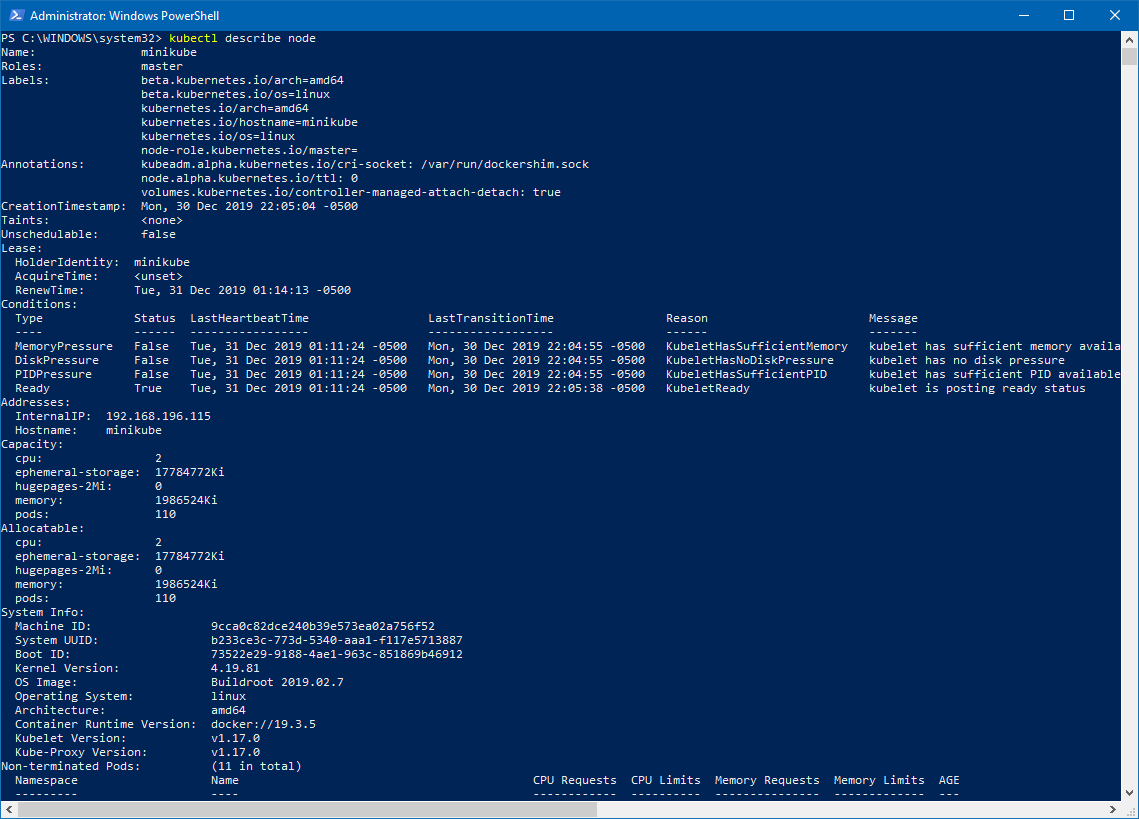
This command gives you complete details about your node:
kubectl describe node
