Install Docker Desktop for Windows on Windows 10 Enterprise |
Dec
25
|
| « Windows 10 PATH Environment Variable Update with PowerShell | Docker Desktop For Windows “error during connect” or “error response from daemon” error message » |
Series: Kuberbetes Test Lab
- Install Docker Desktop for Windows on Windows 10 Enterprise
- Deploy Jenkins container on Docker Desktop for Windows
- Install Minikube for Kubernetes testing on Windows 10 Enterprise or Pro
Testing Environment Information:
- Windows 10 Enterprise: Version 1909 (OS Build 18396.535) (Type winver or systeminfo at a Command Prompt)
- Docker Desktop Community: Version 2.1.0.5 (Released 11/18/2019)
- Testing Date: 12/23/2019
References:
- Docker for Windows (https://docs.docker.com/docker-for-windows/release-notes/)
- Docker Images (https://hub.docker.com/search?type=image)
Installation:
Download the “Docker Desktop Installer.exe” from the Docker site
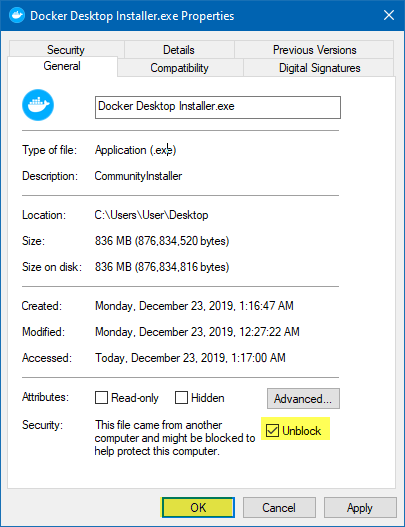
Right click on the executable and make sure it’s unblocked before continuing, you can also use PowerShell to do this using the “Unblock-File” cmdlet.
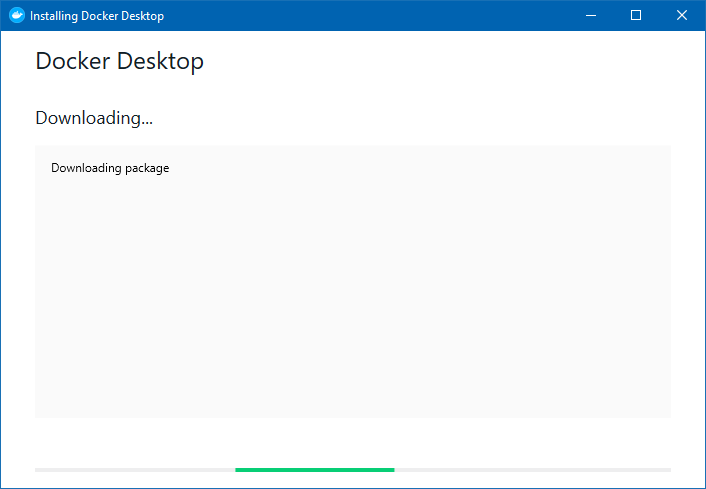
Launch the Docker Desktop Installer.exe
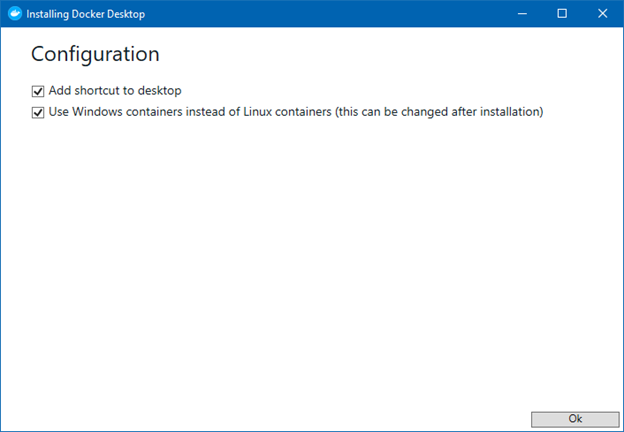
For this installation I am choosing the “Windows containers instead of Linux containers” option to perform some tests targeting Windows containers, however we could change this later.
Press “Ok”
Setup will unpack files
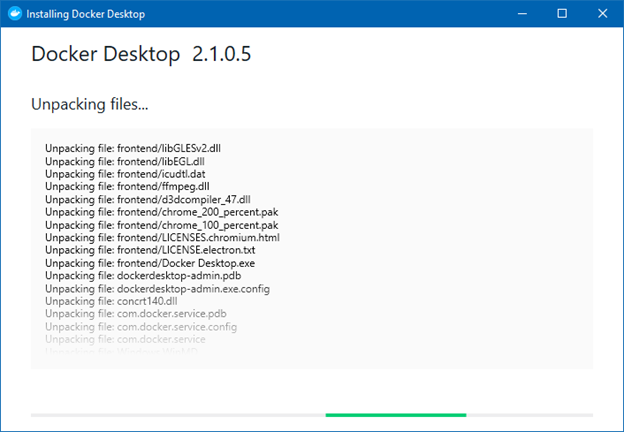
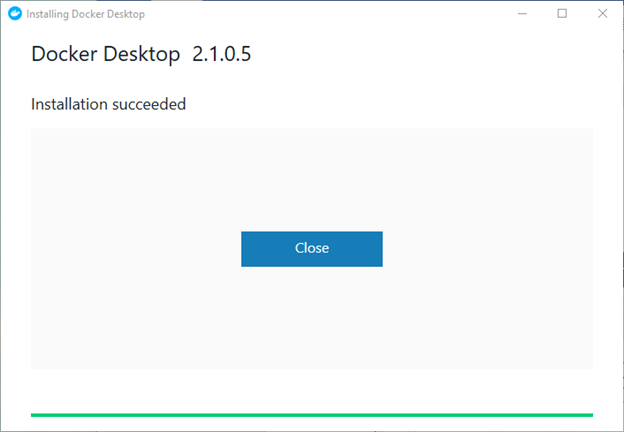
You might end up with a different ending depending on the state your machine is in. You will get either one of the following two windows
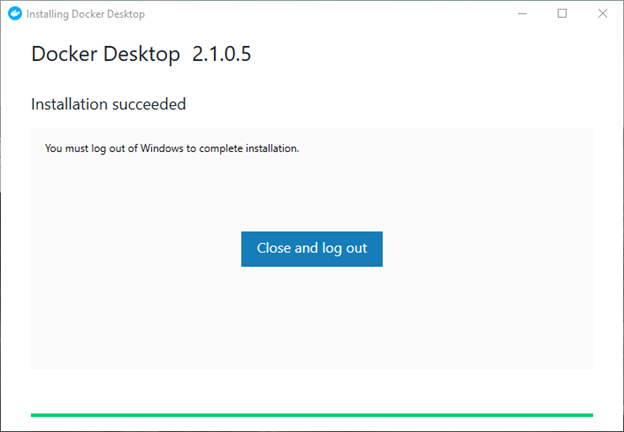
OR
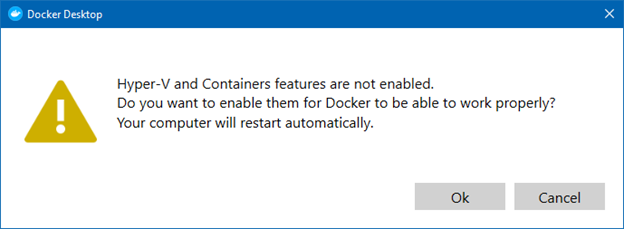
When launching Docker if you do not have Hyper-V and Container features enabled you will get this prompt. I did not install these components on purpose to see how Docker would install them for me and which features and sub features it would enable so I can properly script it out later.
If we examine Windows Features, we can see that it enabled the following Features and Sub-Features
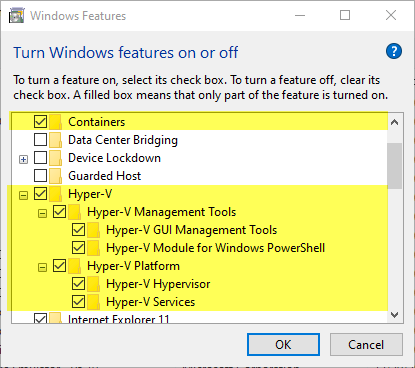
To enable these using PowerShell before the installation you could run the following PowerShell commands:
Enable-WindowsOptionalFeature -Online -FeatureName Containers -All
Enable-WindowsOptionalFeature -Online -FeatureName Microsoft-Hyper-V -All
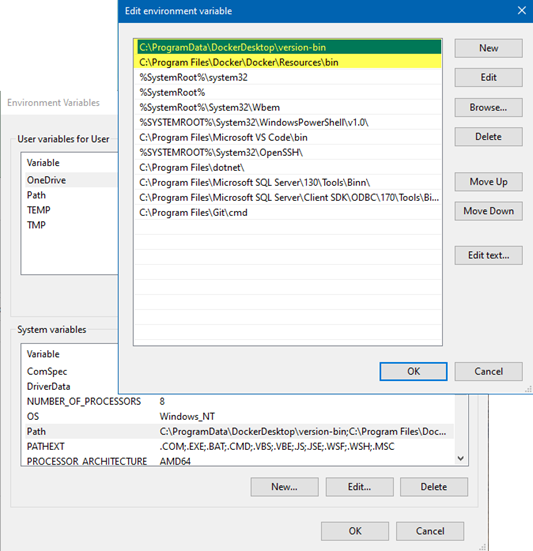
The installation also adds the following PATH Environment Variables, you should check to see if these two entries are there, if not, something might have gone wrong with the install. You can always add these in using PowerShell, see this article for that: https://jppinto.com/2019/12/windows-10-path-environment-variable-update-with-powershell/
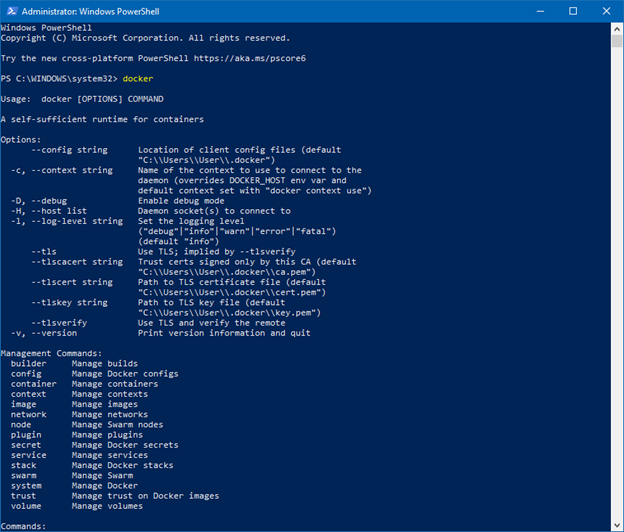
You will also need to verify that the DOCKER command is available from a console, this can be a Command Prompt or a PowerShell Console.
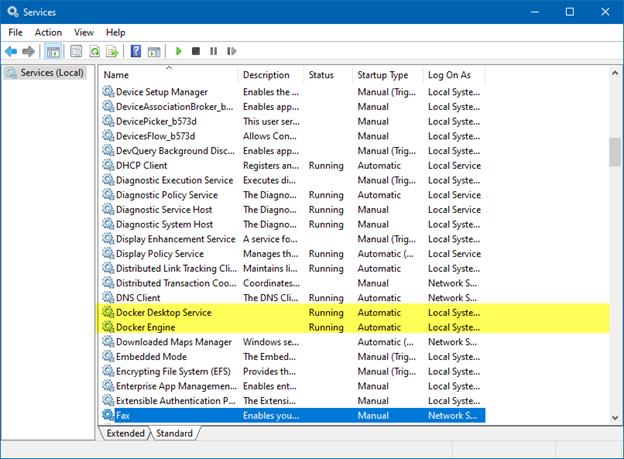
The last thing we need to check is our Services, we should see two services that were installed and they should both be running:
- Docker Desktop Service
- Docker Engine
Finally, we can pull down or create some images and get to work.
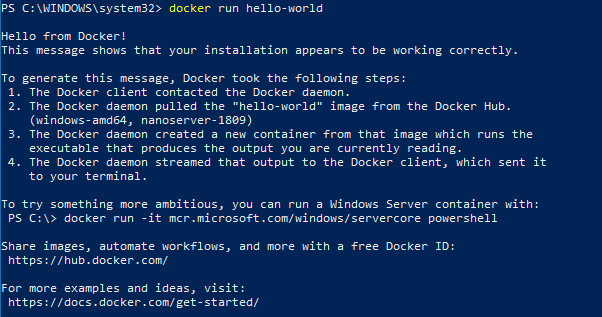
I pulled down an image using “docker pull hello-world”, you can find more images at: https://hub.docker.com/search?type=image

I then started the container using “docker run hello-world”. This is a very basic test, in later articles I will get into configuring ports, other Docker options and orchestrating deployments of containers with orchestration tools such as Kubernetes.
