0 1 0 1 0 1 0 1 0 1 0 1 0 1 0 1 0 1 0 1 0 1 0 1 0 1 0 1 0 1 0 1 0 1 0 1 0 1 0 1 0 1 0 1 0 1 0 1 0 1 0 1 0 1 0 1 0 1 0 1 0 1 0 1 0 1 0 1 0 1 0 1 0 1 0 1 0 1 0 1 0 1 0 1 0 1 0 1 0 1 0 1 0 1 0 1 0 1 0 1 0 1 0 1 0 1 0 1 0 1 0 1 0 1 0 1 0 1 0 1 0 1 0 1 0 1 0 1 0 1 0 1 0 1 0 1 0 1 0 1
JPPINTO
  • Home
  • Certifications
  • About
  • Contact
  • Gallery
  • Current Setup
Contact

Search

September 13, 2013 / SQL Server 2012

SQL Server 2012 Installation on Windows Server 2012

Tags: install sql 2012, sql 2012 install, sql 2012 server install, sql install 2012, sql installation, sql server 2012, sql server 2012 install

“

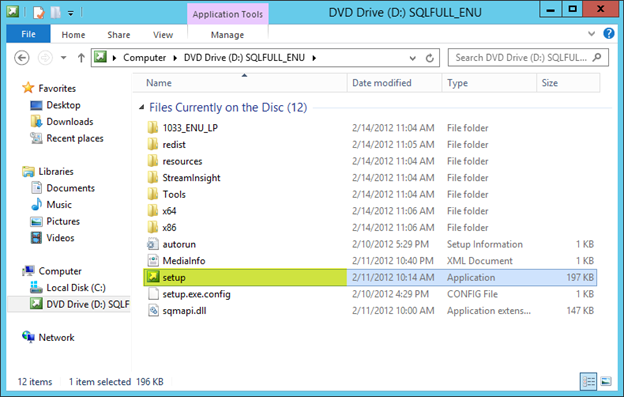
Run Setup.exe from the installation media

“

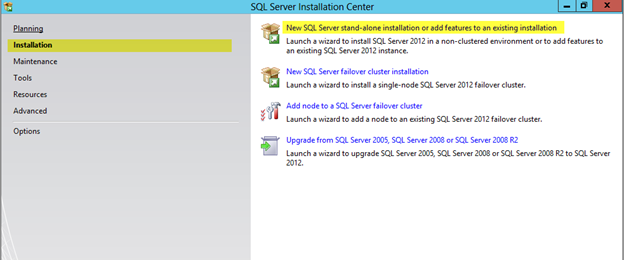
Click Installation on the menu on the left

Then click on the installation you would like to perform, in my case I will be selecting New SQL Server stand-alone installation

“

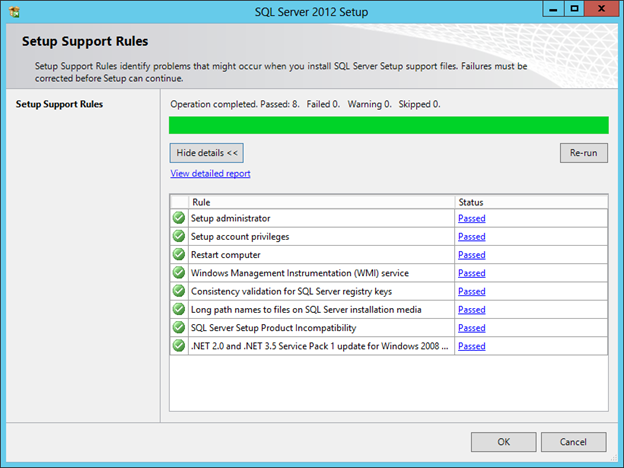
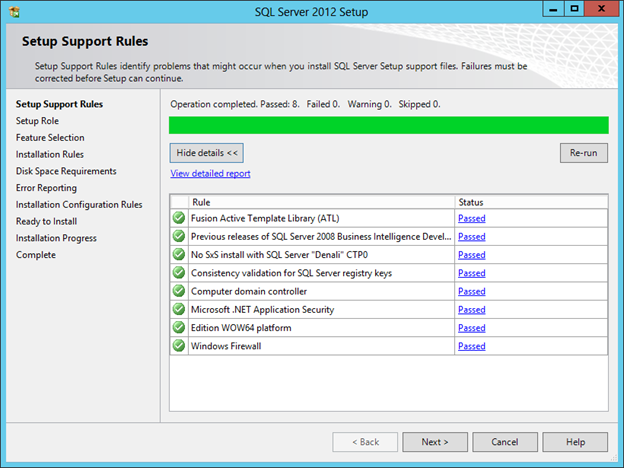
Setup will check the server for prerequisites, if everything passes, press OK

“

Enter your product key and press Next

“

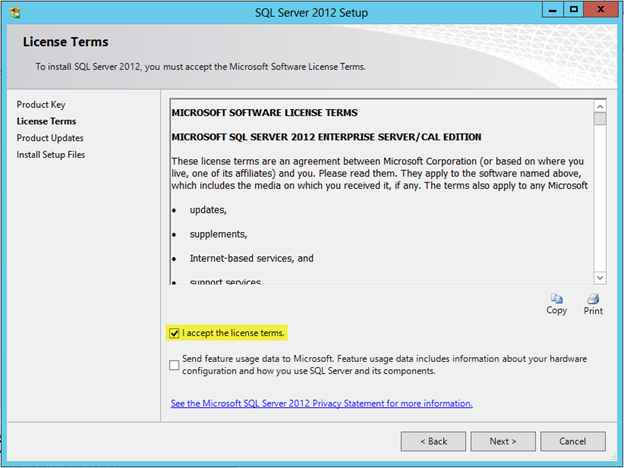
Accept the license terms, press Next

“

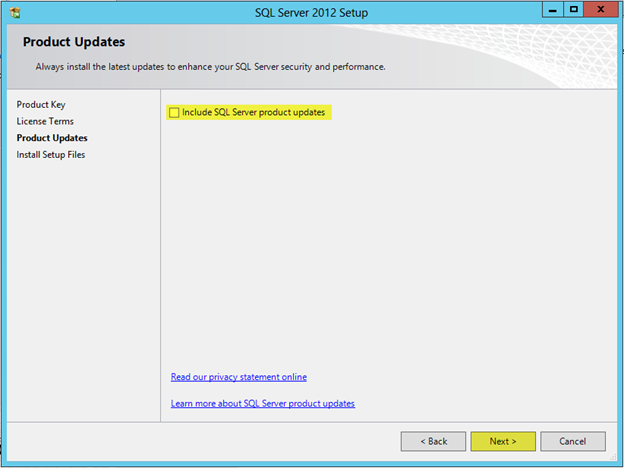
SQL Server 2012 Setup will check for updates, in my case I unchecked this option because I will be installing SP1 after the installation is complete.

Press Next

“

Setup files will be installed on your system. Press Install

“

Now we will proceed with the actual installation and configuration.

“

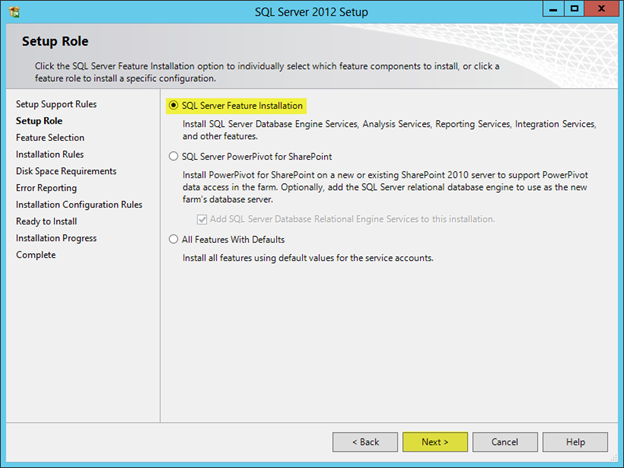
Select the type of installation you would like to install, in my case I will be installing SQL Server Feature Installation

Press Next

“

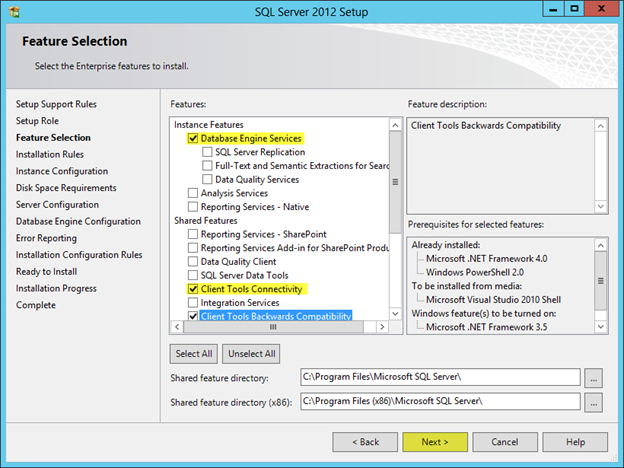
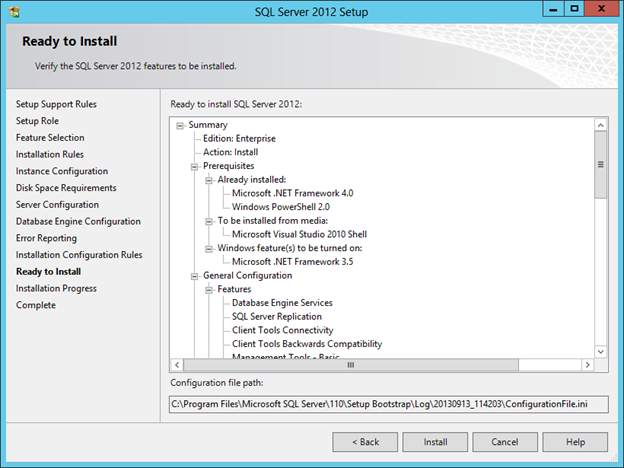
Select the component you want to include with the installation, then press Next. I typically install the following components for a basic install:

  • Database Engine Services
  • SQL Server Replication
  • Client Tools Connectivity
  • Client Tools Backwards Compatibility
  • Management Tools – Basic
  • Management Tools – Complete

“

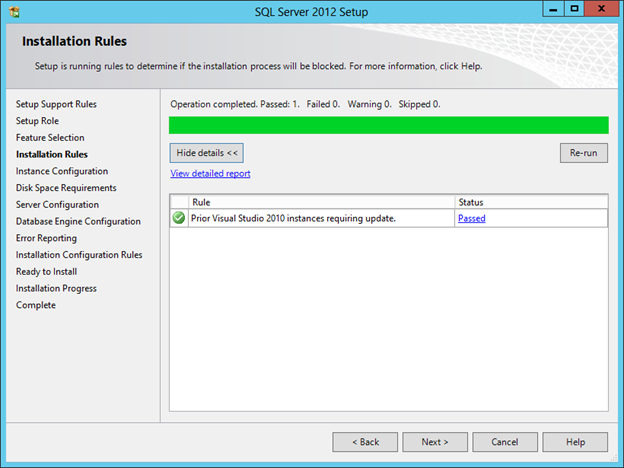
Based on the components you select, setup will check rules to make sure those components can be installed, press Next

“

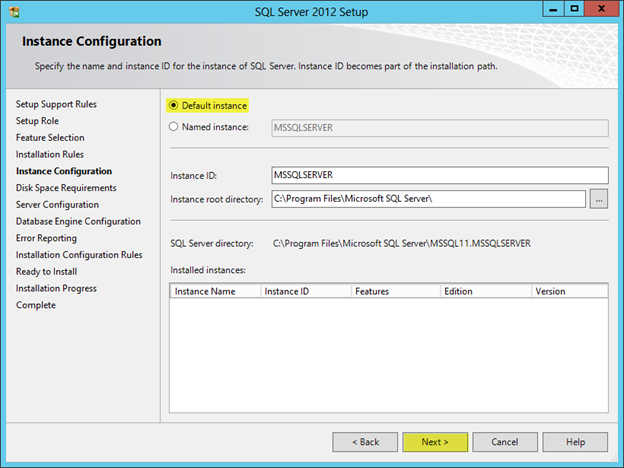
I will be installing using the Default Instance, press Next.

“

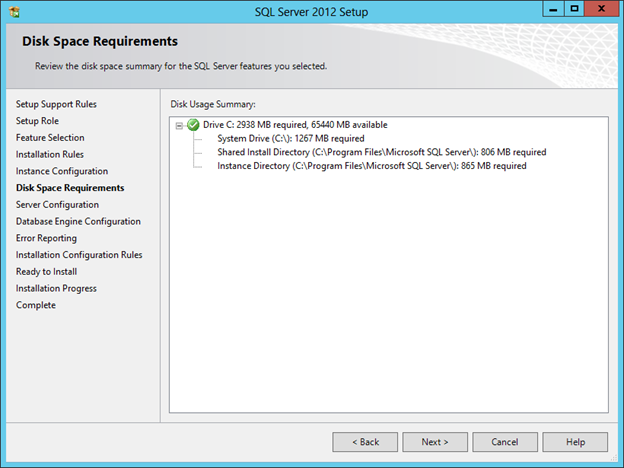
Setup will check the disk space requirements, press Next

“

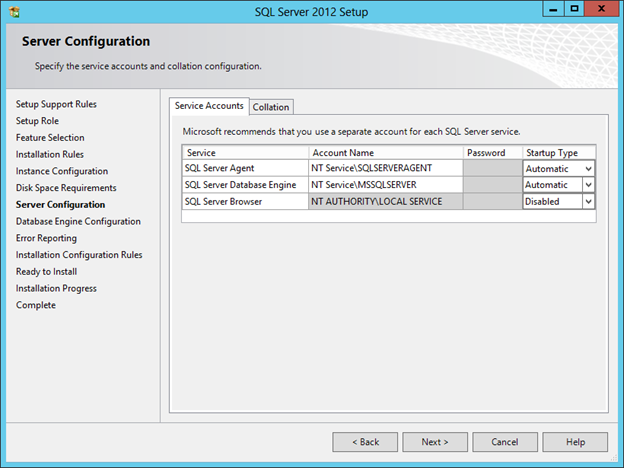
Service Accounts Tab: In the next step you can configure the service accounts used by SQL. In my case I will be keeping all of the defaults.

Collation Tab: I will keeping the default collation setting of “SQL_Latin1_General_CP1_CI_AS”.

Press Next

“

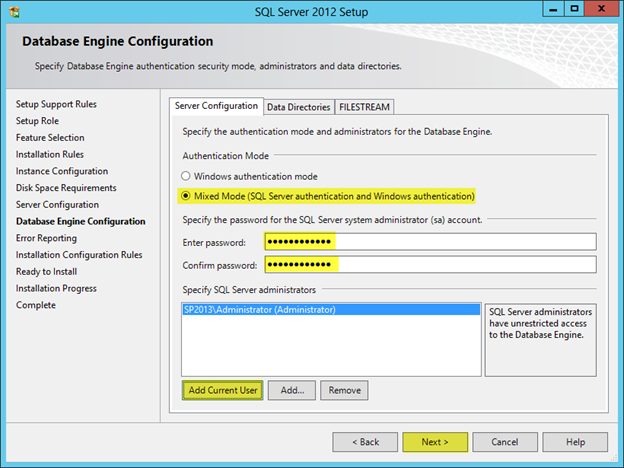
Server Configuration Tab: Select the type of authentication you would like to use. In my case I am selecting mixed mode because I will be installing an application that had SQL user accounts. If you select Mixed Mode you must enter a password for the SA account. Press Add Current User or add a windows user that will be a SQL Admin

Data Directories Tab: I will be keeping the defaults, you would want to change this if your system is connected to a SAN.

File Stream Tab: I will be keeping the defaults.

Press Next

“

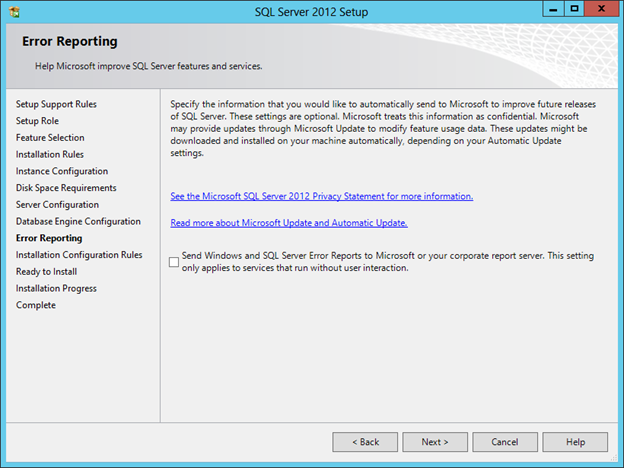
Error Reporting, press Next

“

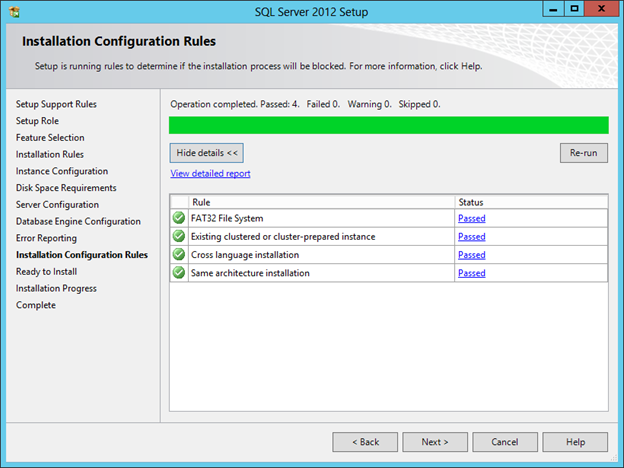
Setup will check for blocking issues. Press Next

“

Review your installation components. Press Install

“

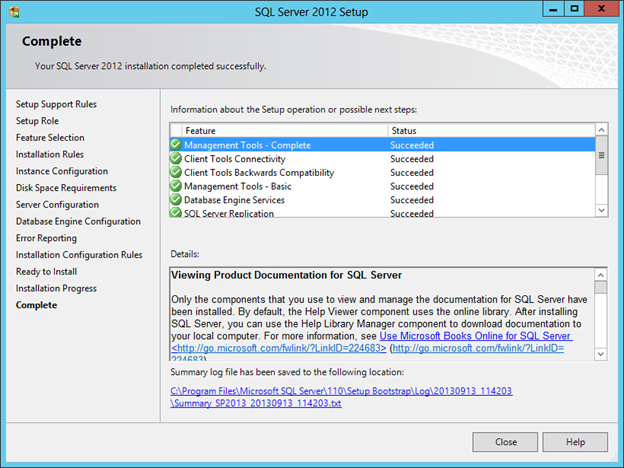
Installation will start, once the installation has completed press Close

“

SQL Server Management Studio is now located under Start

“

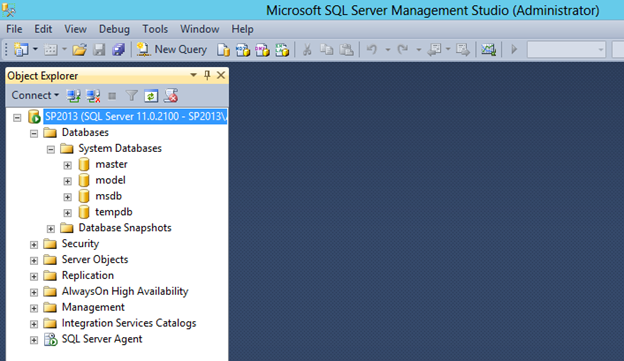
Launch SQL Server Management Studio and verify connectivity

“

“

“

“

“

“

Post Views: 186
<- Installing the Web Server Role (IIS) on Windows Server 2012
How to show the My Computer icon on Windows Server 2012 Desktop ->

Categories

  • Active Directory (5)
  • Amazon Cloud Services (1)
  • Blazor (1)
  • C# (C-Sharp) (3)
  • CI/CD Pipelines (1)
  • Containers (4)
  • Development (1)
  • Docker (3)
  • General (5)
  • IIS 6.0 (4)
  • IIS 7.0 (10)
  • IIS 8.0 (1)
  • Infrastructure as Code (IaC) (1)
  • Kubernetes (3)
  • MySQL (1)
  • Office 2010 (1)
  • PHP (1)
  • PowerShell (3)
  • SharePoint 2007 (8)
  • SharePoint 2010 (19)
  • SharePoint 2013 (2)
  • SMTP (4)
  • SQL Server 2008 (1)
  • SQL Server 2008 R2 (1)
  • SQL Server 2012 (2)
  • SQL Server 2019 (1)
  • Uncategorized (1)
  • URL Rewrite (2)
  • Visual Studio 2019 (1)
  • Visual Studio Code (1)
  • Windows 10 (2)
  • Windows 2003 (9)
  • Windows 2008 (18)
  • Windows 2012 (6)
  • Windows 7 (3)
  • Windows Firewall (1)
  • Windows Vista (1)

Recent Posts

  • Install Terraform on Windows
  • Create a .NET Core 3.1 Console App in Visual Studio Code
  • Install a stand-alone SQL Server 2019 Enterprise Server
  • Create a Blazor App project in Visual Studio 2019
  • Username and Password for minikube Virtual Machine

Advertisement

Tags

backconnectionhostnames custom column default gateway disappears disable shutdown event tracker error opening exe exe permissions externalize blob externalize sharepoint data facebook spam filezilla server firewall rules filazilla full installation http redirect https https redirect IIS iis7 iis 7 installation IIS installation index server configuration installing cumulative updates load balance central administration magic default gateway missing default gateway moss advanced search nlb no default gateway powershell redirect http to https search column sharepoint 2010 cumulative updates sharepoint 2010 farm build sharepoint 2010 farm configuration sharepoint 2010 farm installation sharepoint data externalization shutdown event tracker shutdown tracker SMTP storagepoint Windows 7 windows firewall configuration windows live messenger crash windows server 2008 wlbs x86
© 2026 JPPinto.com – Tech Blog. All rights reserved.