Windows Server 2008 Standard Installation
This article will teach you how to perform a “full installation” of Windows Server 2008 Standard Edition on a 32bit server. This article does not cover post installation configurations however I do cover post installation configurations in other articles.
Windows 2008 Server Installation Requirements:
|
Component |
Requirement |
|
Processor |
Ôò¼├┤Ôö£├ºÔö£Ôöé Minimum: 1GHz (x86 processor) or 1.4GHz (x64 processor) |
|
Memory |
Ôò¼├┤Ôö£├ºÔö£Ôöé Minimum: 512MB RAM |
|
Available Disk Space |
Ôò¼├┤Ôö£├ºÔö£Ôöé Minimum: 10GB Note: Computers with more than 16GB of RAM will require more disk space for paging, hibernation, and dump files |
|
Drive |
DVD-ROM drive” |
|
Display and Peripherals |
Ôò¼├┤Ôö£├ºÔö£Ôöé Super VGA (800 x 600) or higher-resolution monitor |
“
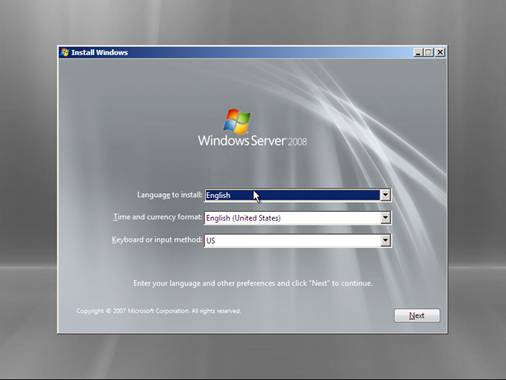
1) First you will need to boot off of the installation media, the media comes in variety of flavors including DVD and ISO image. For this particular build I am using an ISO image connected through a network share. It may boot right into the installation media or you may have to configure your server to boot from DVD or the network.
2) Select the Language, Time Zone and Keyboard information. These are defaulted to typically US settings, Press “Next” to continue
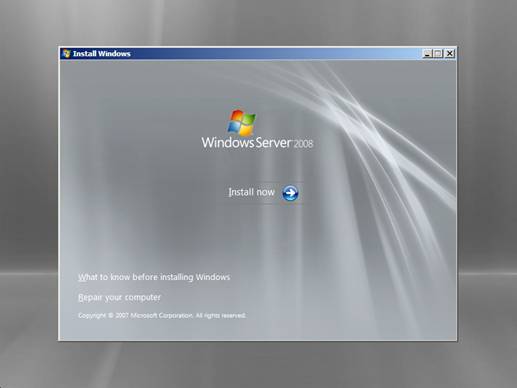
3) Press the “Install now” button to begin the Windows Server 2008 installation process
|
Note Depending on the media that you are using for the installation you might or might not get prompted to enter a serial number for the product at this point. If prompted, enter your serial number to continue. In this example I am using a corporate volume license copy which does not prompt you for a serial number. |
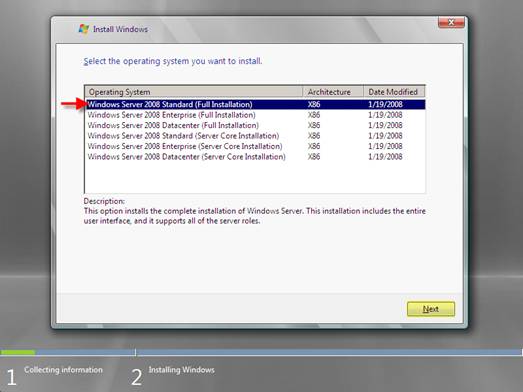
4) Select the version of Windows Server 2008 you wish to install. We will be installing Windows Server 2008 Standard (full installation) for this article. Depending on the installation media you are using, you might not have all or any of these options available.
5) Read and then accept the license agreement by checking off the check box. Press “Next” to continue

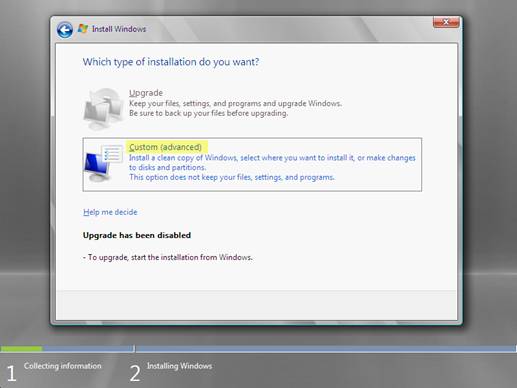
6) Select “Custom(advanced)” installation option. The Upgrade is grayed out because Windows Server 2008 did not find a previous installation that it can upgrade
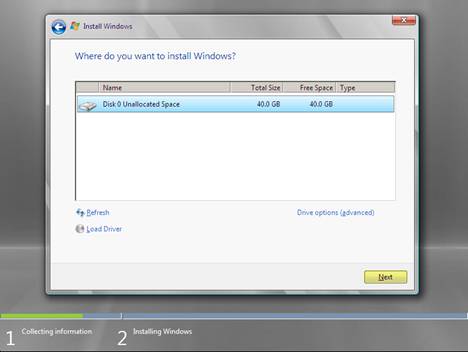
7) You can select the disk you would like to install Windows Server 2008 on. Press “Next” to continue
|
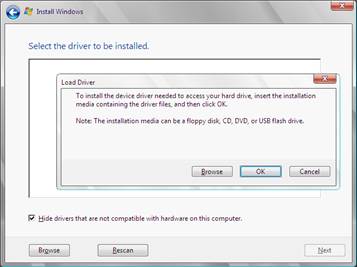
Note There are some additional options in this section of the setup Load Driver – some hard drives, in particular some SCSI drives and RAID controllers do not have the drivers built into Windows Server 2008. If this is the case you will not be able to see the hard drives or controller for installation. Pressing
Drive Options – This allows you to make changes to the existing hard drive detected on the system. It will provide you with the option to create, extend, delete and format partitions Pressing
|
 button will present you with a dialog box to install new drivers for hard drives or controllers
 button will present you will all available disk options

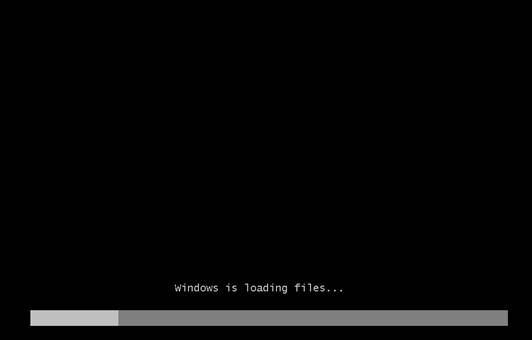
8) The setup will copy files to the hard drive and proceed with the installation
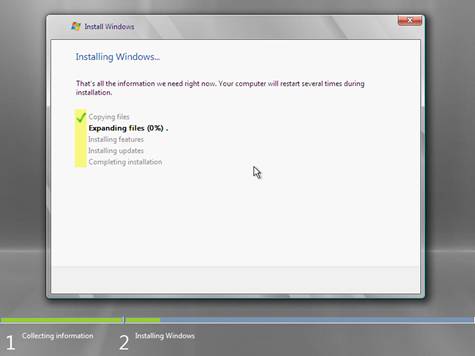
9) The setup will reboot the server during installation

10) After the reboot, setup will reinitialize the installation process
11) The setup will continue now the installation process
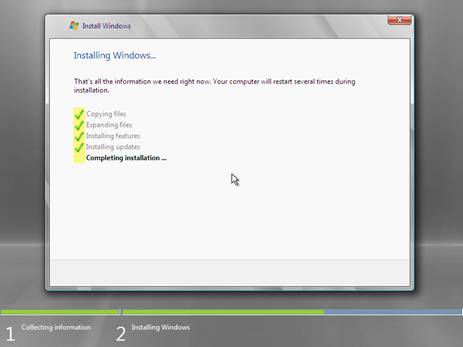
12) The setup will reboot one more time after the installation process is complete
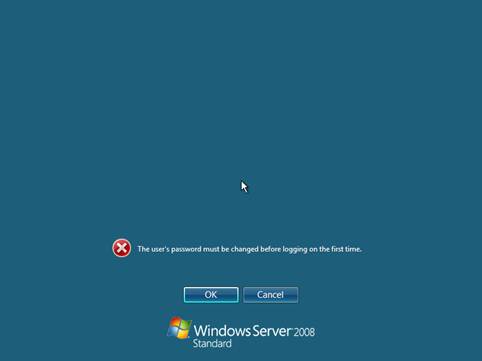
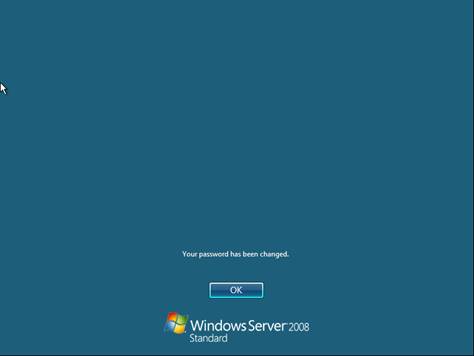
13) The setup will prompt you to change the password to continue. Press “OK” to continue
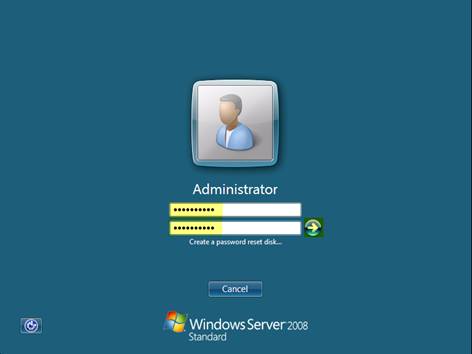
14) Enter the new password for Administrator and press the green arrow
|
Note If the password does not meet the complexity requirements it will be rejected and you will get this error message:
|

15) Press “OK”, to acknowledge the system message about the password
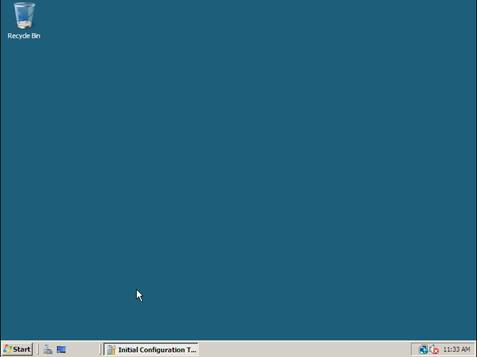
16) You will be at the “Initial Configuration” screen when Windows 2008 Server first logs you in, I have minimized this screen to show you that the install did in fact complete. This completes a basic Windows 2008 Server installation, although I do not cover initial configuration or settings in this article I do cover them in other articles.
“”””