Install Codex Desktop on Windows Server and Control It from Your Phone
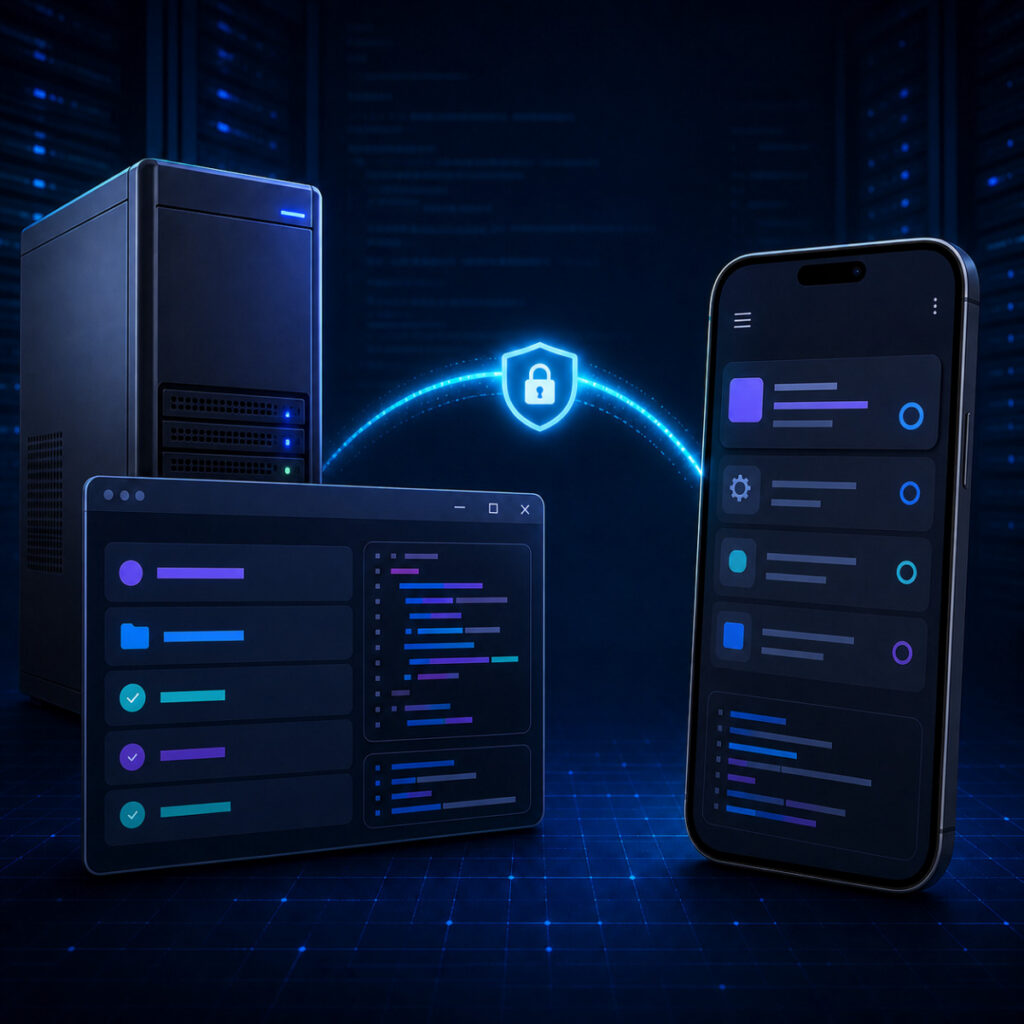
Installing Codex on Windows Server can be difficult because the Microsoft Store is often unavailable or disabled. OpenAI provides a signed MSIX package that can be downloaded and installed directly without opening the Store.
The package is named ChatGPT-x64.msix because Codex is included in the ChatGPT desktop app.
The screenshots in this guide were taken on Windows Server 2025. This method may also work on Windows Server 2019 or 2022, although OpenAI does not officially list Windows Server as a supported operating system. Test it before using it for production work.
What This Setup Lets You Do
Once the phone is paired, the ChatGPT mobile app can control Codex on the server. From the phone, you can:
- Start a Codex task in a project stored on the server.
- Continue an existing chat and send follow-up instructions.
- Check its output, code changes, terminal results, screenshots, and tests.
- Approve or deny commands when Codex asks for permission.
- Switch between connected computers and projects.
The work runs on the Windows server. The phone provides the remote interface. OpenAI's Codex Remote overview and Remote connections guide provide more details.
Before You Begin
Make sure you have:
- A 64-bit Windows Server machine with a desktop session.
- Codex access on your ChatGPT account and workspace.
- The latest ChatGPT mobile app on an iPhone or Android phone.
- The same ChatGPT account and workspace signed in on the server and phone.
- Your multi-factor authentication, SSO, or passkey details, if your account uses them.
- Permission from your workspace administrator if Remote is managed by your organization.
- A server that can stay awake, online, and connected to OpenAI while Remote is in use.
If Remote is not available, update both apps first. A workspace administrator may also need to enable it.
Download the Official MSIX Installer
Most Windows servers require the x64 package:
That link points to the latest signed x64 package. The file is large, so wait for the download to finish before opening it.
An offline license is not required for a standard installation. If your organization uses MDM or another managed deployment system that requires one, download it here:
For a standard installation, only the MSIX file is required. OpenAI's Windows deployment documentation also covers winget, Intune, MDM, Arm64 packages, offline licenses, and updates.
Install the ChatGPT Desktop App
1. Unblock the downloaded file
After downloading, unblock the file:
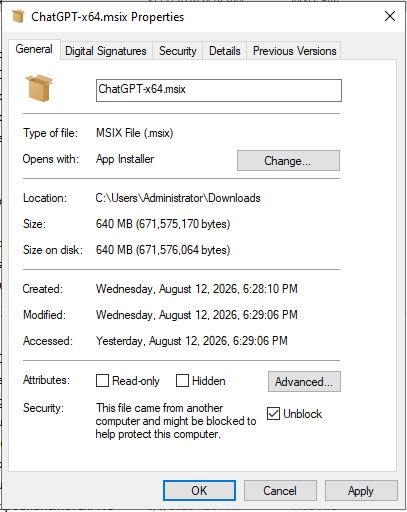
Right-click ChatGPT-x64.msix and choose Properties. If Windows displays an Unblock checkbox, select it, click Apply, and then click OK. Only unblock a file downloaded from the official persistent.oaistatic.com address. You can also check the Digital Signatures tab before installation.
2. Start the installation
Press Install
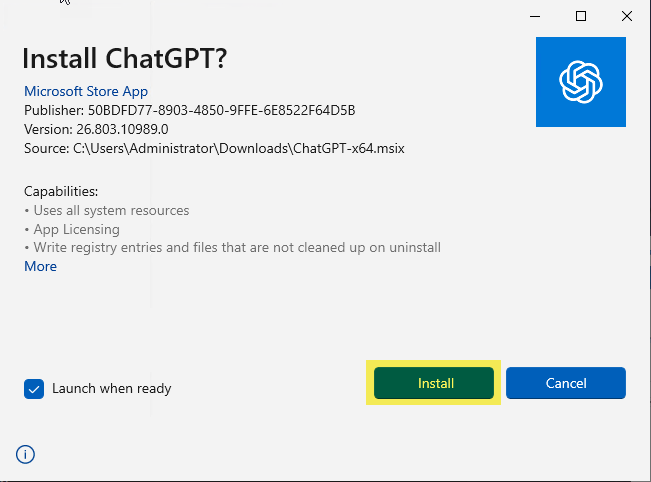
The installer should show the app as ChatGPT and identify it as a Microsoft Store App. Leave Launch when ready checked to open ChatGPT after the installation finishes.
3. Wait for installation to finish
Let it work
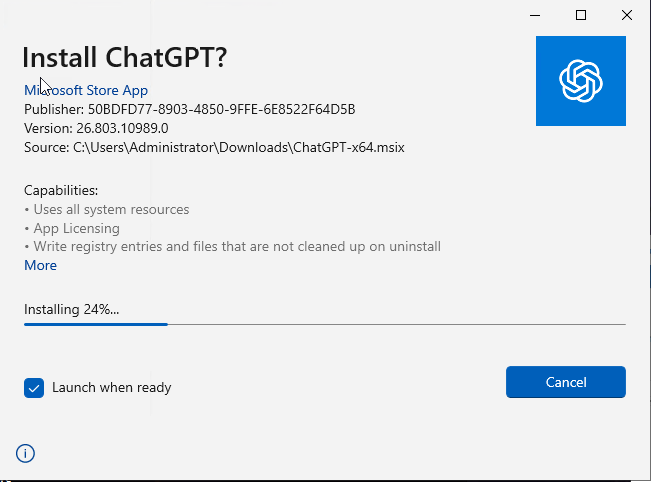
Keep App Installer open while the progress bar is moving. It may take a few minutes on a slower server or drive.
4. Launch ChatGPT and finish onboarding
After installing, Press Launch or Search for in start for ChatGPT
After launch you will need to answer some on boarding questions, complete that before linking this computer to your phone.
Login > then Go to Settings
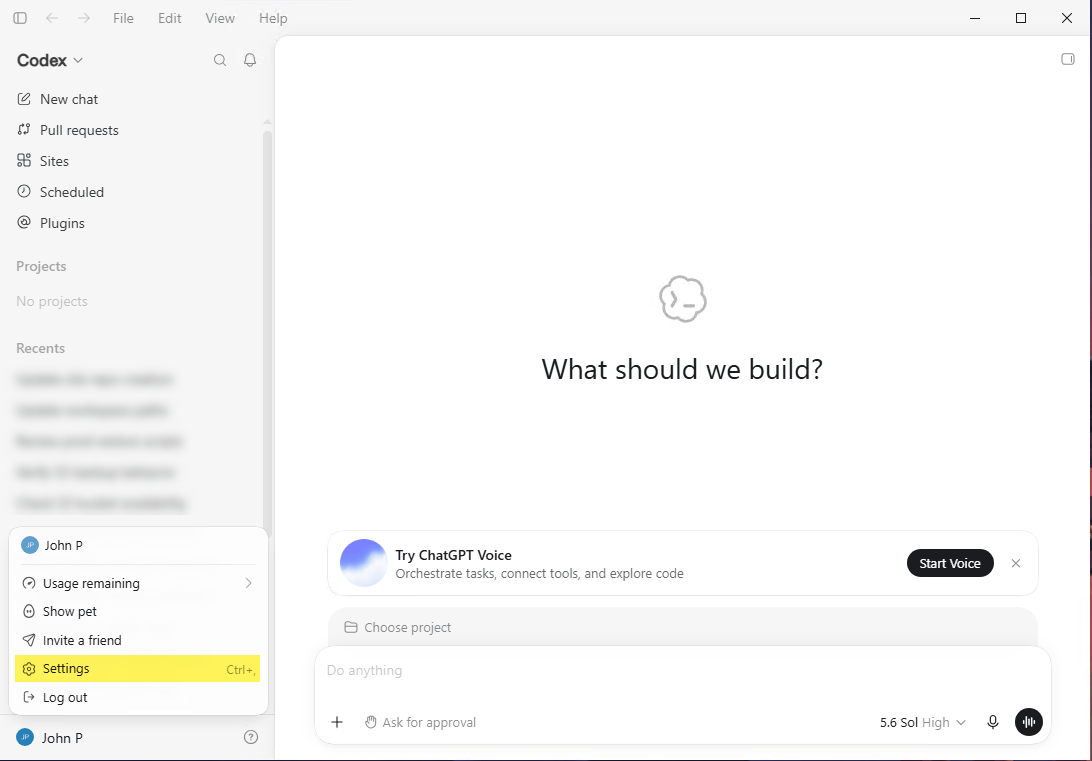
Sign in with the same ChatGPT account and workspace that you use on your phone. Finish the first-time setup, and then open the connection settings.
Connect Your Phone to the Server
5. Add a remote device
Click Add
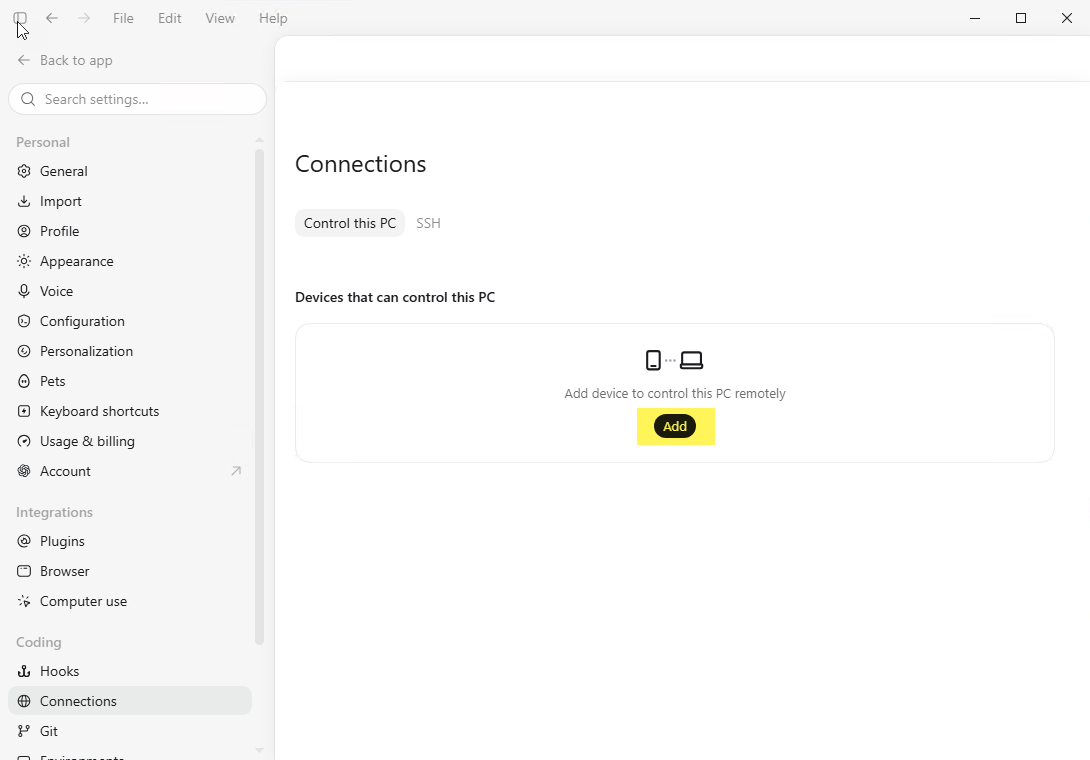
You should find this under Settings, Connections, Control this PC, and then Add or Set up.
6. Begin the pairing flow
Press Get Started
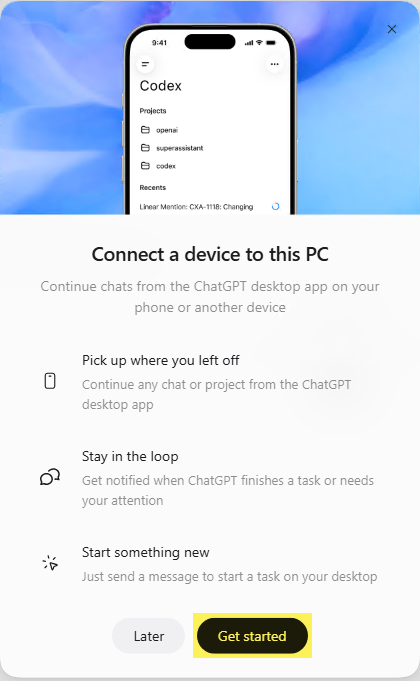
Pairing lets your phone continue chats, notify you when a task is finished, and start new work on the server.
7. Approve remote access
Click Allow
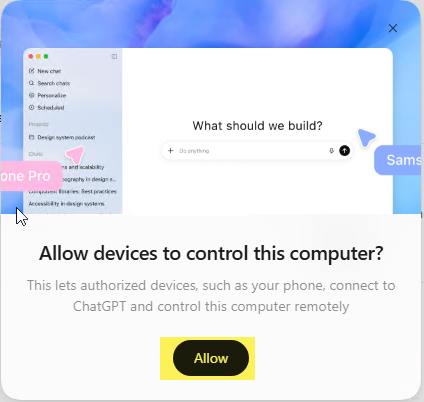
Only connect a phone you own and trust. A remote session can reach the server's projects, files, credentials, plugins, browser, and other tools with the permissions available to ChatGPT.
8. Scan the pairing code
Scan the QR code with your phone. ChatGPT should be installed on your phone also and logged in.
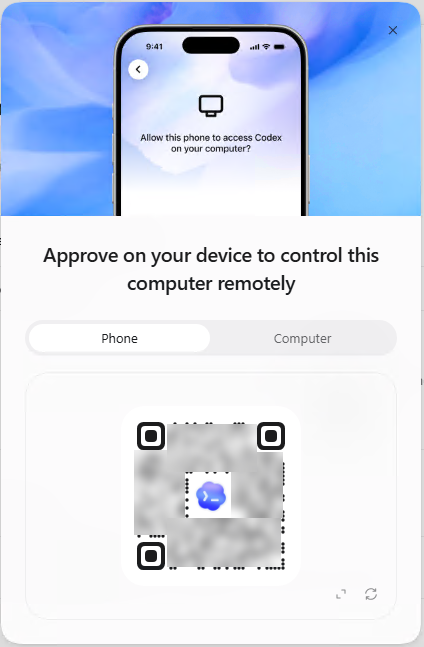
Open the ChatGPT app on your phone and scan the QR code. Confirm that both devices are signed in to the same account and workspace, and complete any authentication prompts. The QR code provides access to the computer. Do not share it or leave it visible after setup.
9. Review the connection options
After doing this you will see the computer name on your ChatGPT phone all under remote.
Back on your Server you will see this, Enable all three for maximum productivity, hit done.
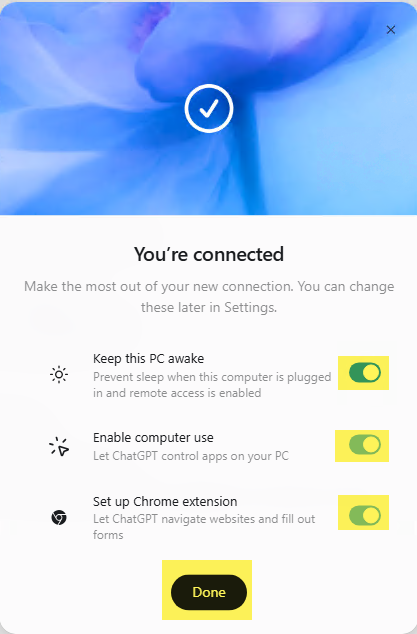
The three options control the following features:
- Keep this PC awake prevents the server from entering sleep mode while it is plugged in and Remote is enabled.
- Enable computer use lets ChatGPT interact with apps on the server.
- Set up Chrome extension lets it navigate supported websites and work with forms in Chrome.
Enable only the features required for the intended work. Keep approval prompts enabled for sensitive tasks, and protect production credentials and administrator sessions from unnecessary access.
10. Open a project from your phone
On your phone you can click the remote cconnection and rename. It. You can also go into any folder and use that agent to complete work in progress from your phone.
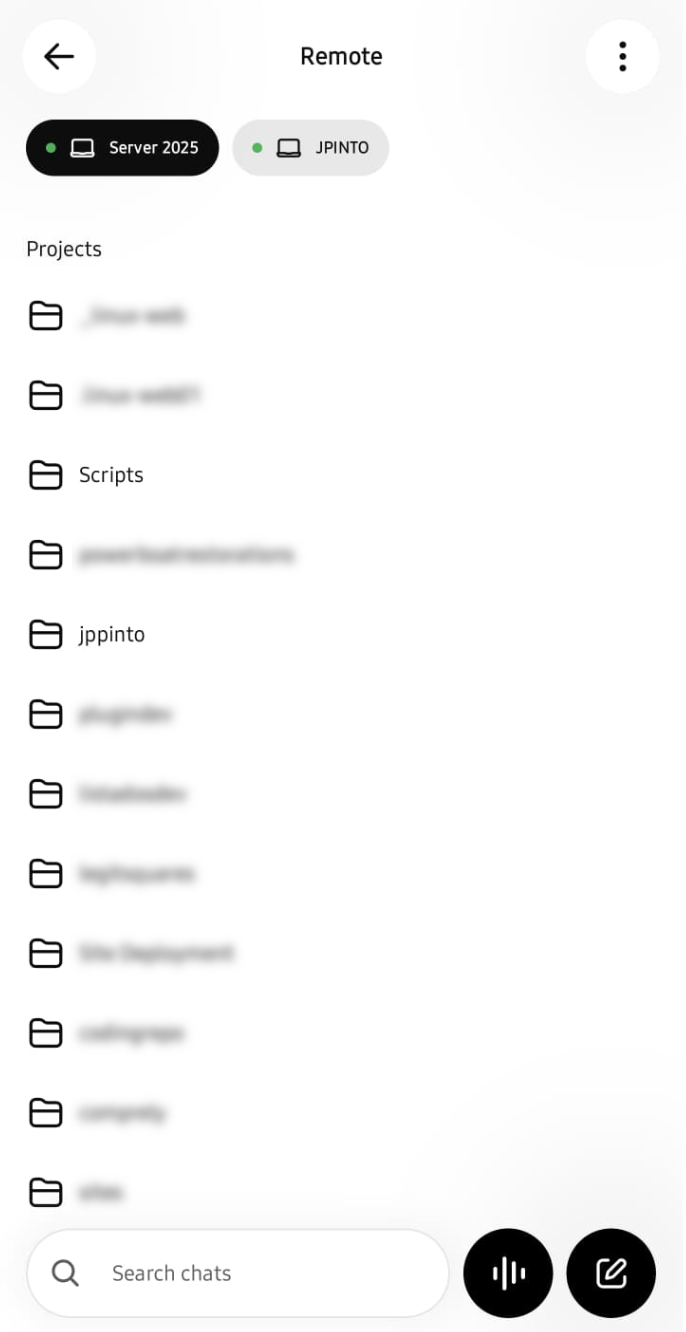
In the mobile app, open Remote, select the server, and choose a project. Start a new task or continue an existing one. The server performs the work in both cases.
Security Recommendations
Remote can access files and credentials on the connected computer. Protect it as you would any other form of administrative access:
- Pair only phones and computers you control.
- Read requested commands before you approve them.
- Keep Codex scoped to the intended project whenever possible.
- Give Codex only the access it needs for the job.
- Protect the ChatGPT account with multi-factor authentication.
- Keep Windows, ChatGPT, browsers, and extensions updated.
- Remove old phones and computers from Settings, Connections when you no longer use them.
- Do not use a shared administrator profile for routine coding work.
Troubleshooting
The Microsoft Store does not open
Use the direct ChatGPT-x64.msix link above. It avoids the Store and downloads the official signed package from OpenAI.
Windows blocks the downloaded MSIX
Confirm that the download came from persistent.oaistatic.com and finished completely. Then open the file Properties window and select Unblock if the option appears. If App Installer is missing or company policy blocks signed app packages, contact the server administrator instead of disabling the policy.
Remote or Add is missing
Update ChatGPT on the server and phone, finish the desktop app's first-time setup, and confirm that both devices use the same account and workspace. If Add still does not appear, Remote may not be enabled for the account or workspace.
The phone cannot see the server
Leave the desktop app open and signed in. Check that the server is awake, online, and not being blocked by an outbound firewall or proxy. For an old connection that has stopped working, remove it, update both apps, and pair the phone again.
The app installs but Codex cannot open a project
Confirm that the Windows account can open the project folder. Start with a non-sensitive test repository, choose Ask for approval below the prompt box, and verify the project before granting wider access.