Install a stand-alone SQL Server 2019 Enterprise Server
Testing Environment Information:
- Windows 10 Enterprise: Version 1909 (OS Build 18396.535) (Type winver or systeminfo at a Command Prompt)
- SQL Server 2019 Enterprise Edition
- SQL Server Management Studio 18.4
- Testing Date: 1/7/2020
Background:
In this article I will install both SQL Server Database Engine and SQL Server Management Studio 18.4 on Windows 10 Enterprise. Please review the links below if you want to install on a different operating system. This installation will be a stand-alone instance.
Informational Links:
- SQL Server 2019 Technical Documentation Homepage: https://docs.microsoft.com/en-us/sql/sql-server/?view=sql-server-ver15
- Hardware and software requirements for installing SQL Server: https://docs.microsoft.com/en-us/sql/sql-server/install/hardware-and-software-requirements-for-installing-sql-server-ver15?view=sql-server-ver15
Install SQL Server Database Engine
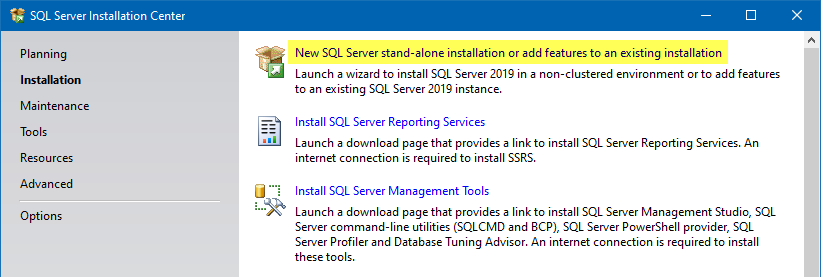
Open the Installation media, and run setup.exe
Click on “New SQL Server stand-alone installation or add features to an existing installation”
“
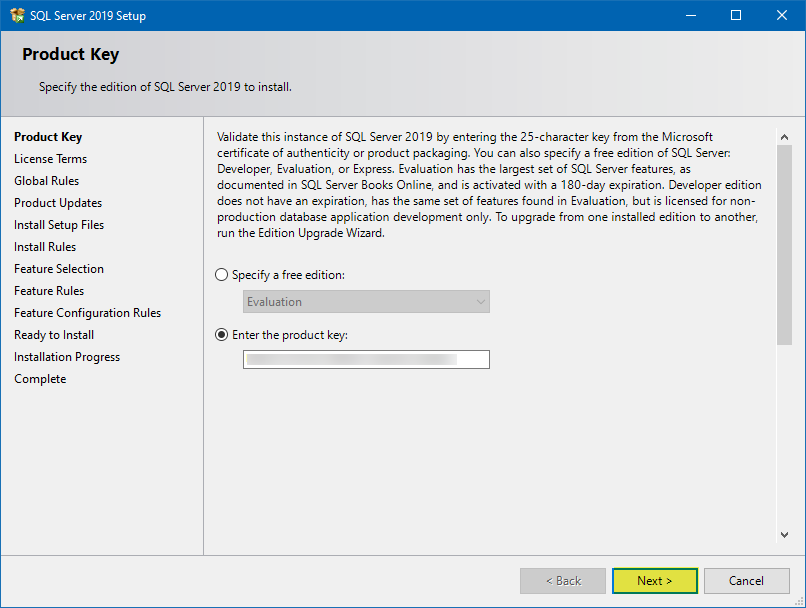
Enter your product key and press Next
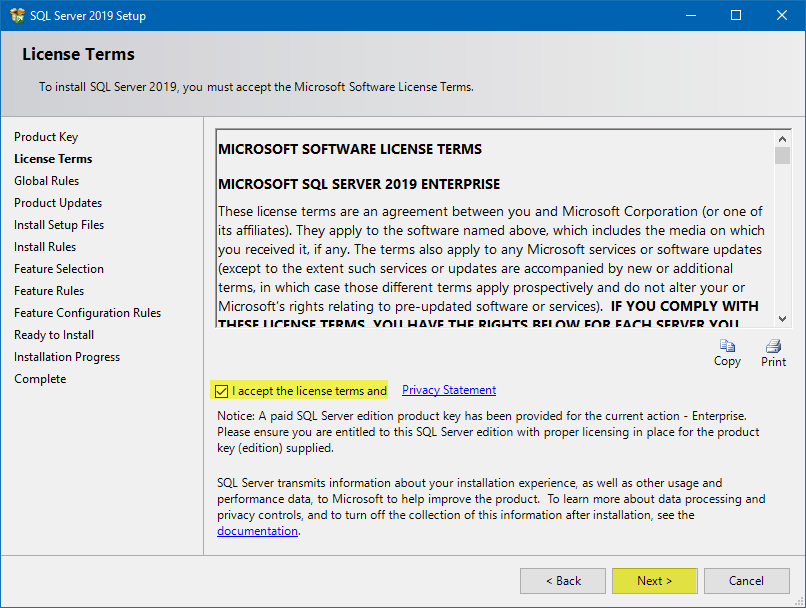
Check the checkbox to accept the license terms and privacy statement, press Next
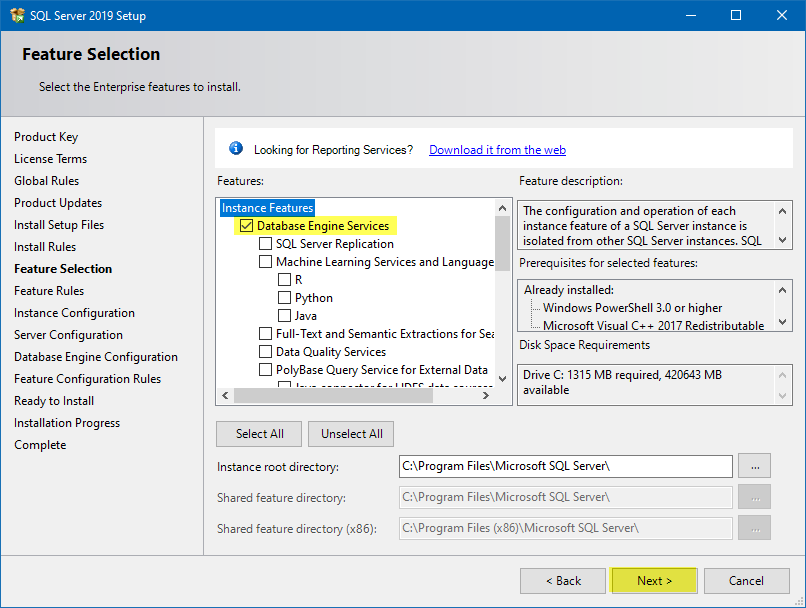
Only install what you need. At minimum I always install the following which I have listed below. After you select your features, press Next
- Database Engine Services
- Client Tools Connectivity
- Client Tools Backwards Compatibility
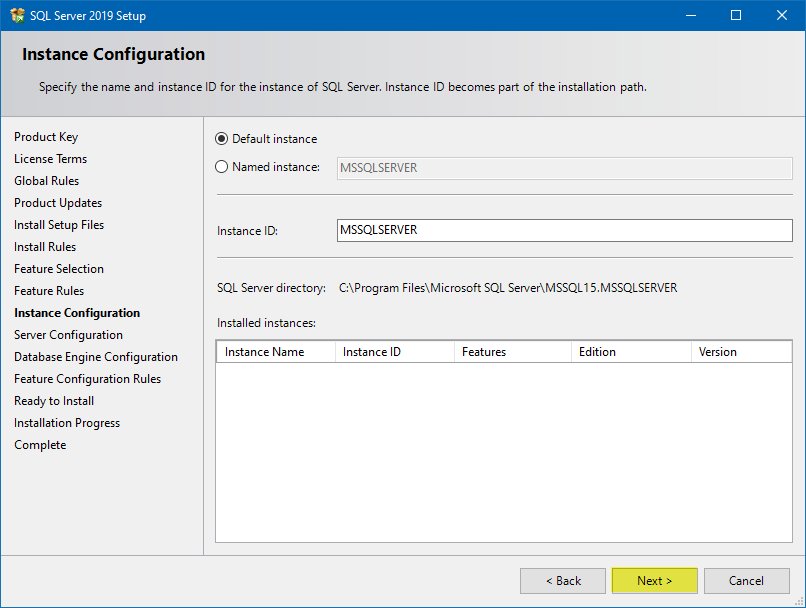
I will be selecting a Default Instance, press Next
NOTE: There’s no major difference between the Default and a Named instance. The benefit of the default instance is that you connect just by specifying the server name (i.e. MYSERVER), whereas a named instance will require an instance name as well (i.e. MYSERVER\INSTANCE_NAME). If you’re only going to install one version of SQL Server on this machine, go with a default. If you’re planning on multiple instances on this machine, it’s up to you whether you want one named and one default, or both named.
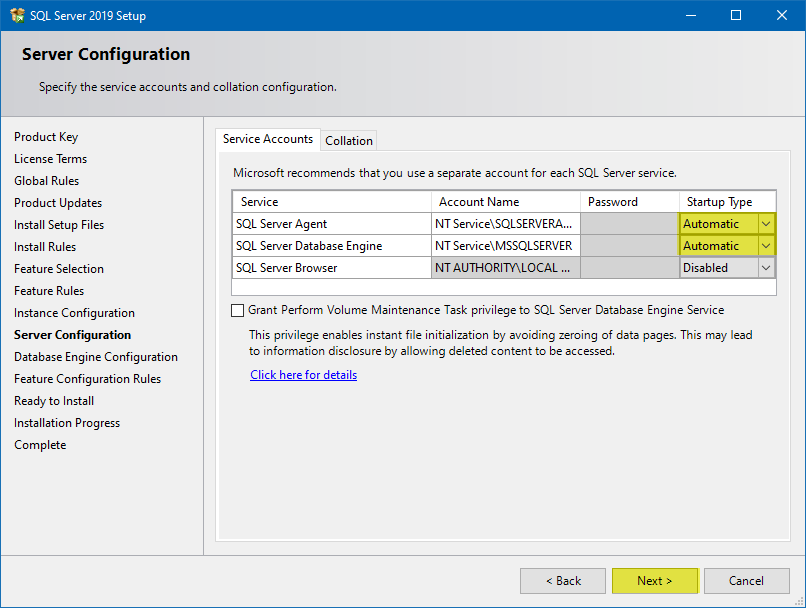
I set both the SQL Server Agent and SQL Server Database Engine to Automatic, press Next
In certain situations, you might need to set a domain account for these services, especially if you are joined to a domain or if an application requires it.
NOTE: On the Collation tab, the default setting is SQL_Latin1_General_CP1_CI_AS. Which is what you want in most cases, for more information see: https://docs.microsoft.com/en-us/sql/relational-databases/collations/set-or-change-the-server-collation?view=sql-server-ver15
NOTE: For more information on the check box at the bottom, please visit: https://docs.microsoft.com/en-us/sql/relational-databases/databases/database-instant-file-initialization?view=sql-server-ver15
“
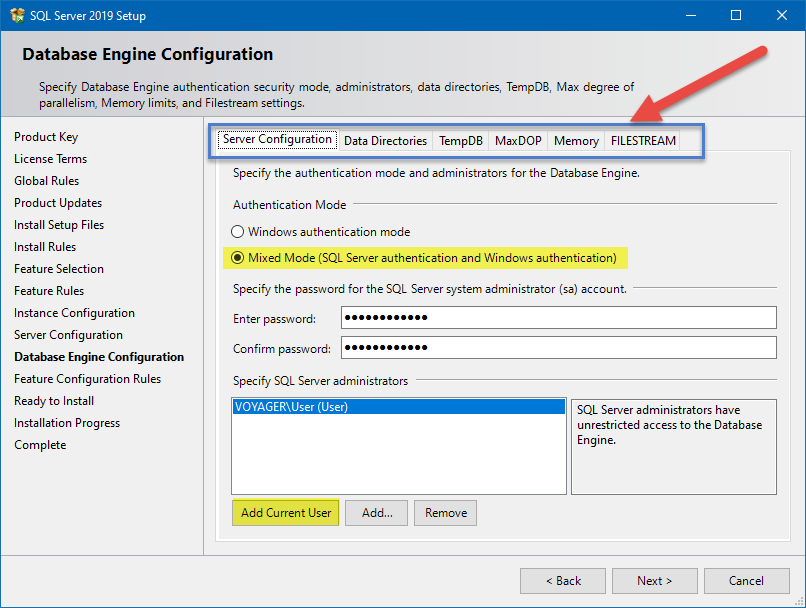
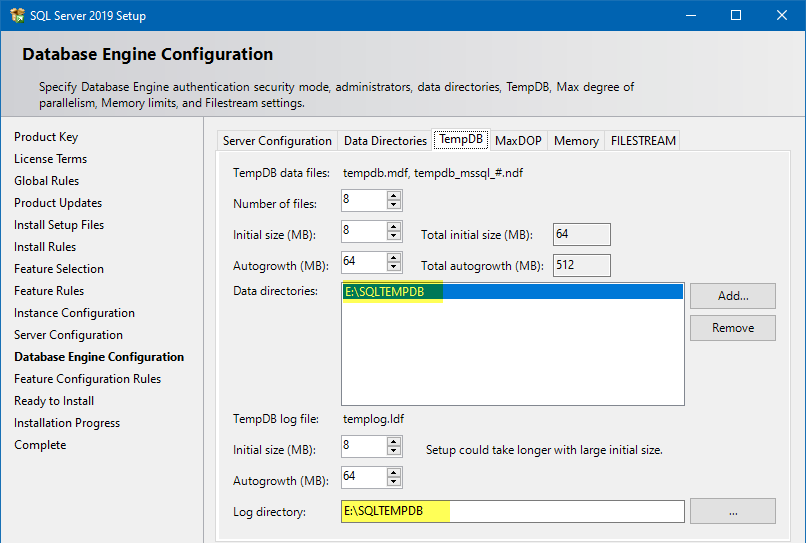
I will go though the 6 Tabs on the top of the Database Engine Configuration window.
On the first tab, Server Configuration. I am setting the server to Mixed Mode, so I can use both Windows accounts and SQL Accounts, I am also adding my current user as an administrator.
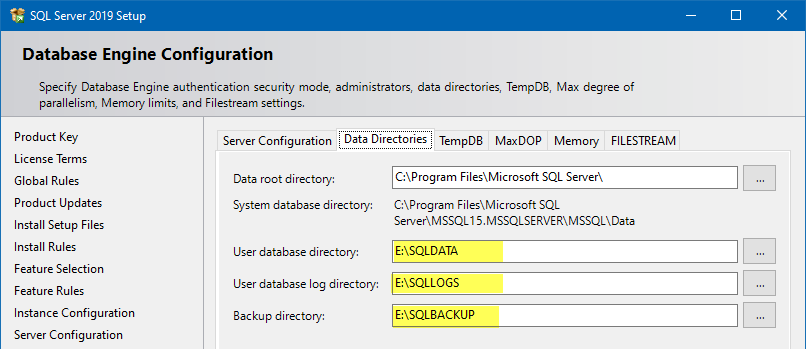
On the second tab, Data Directories I am setting the database, log files and backup directories to separate folders. Ideally for best performance you want these on separate disks.
On the third tab, TempDB, I am setting this to its own folder as well.
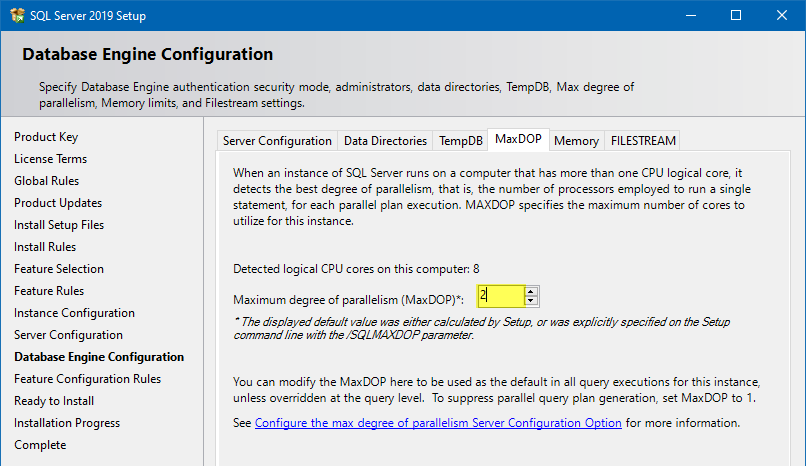
On the fourth tab, MaxDOP, I set the MaxDOP to 2, so it will not eat up all my resources. If you will be using SharePoint this needs to be set to 1 to work correctly.
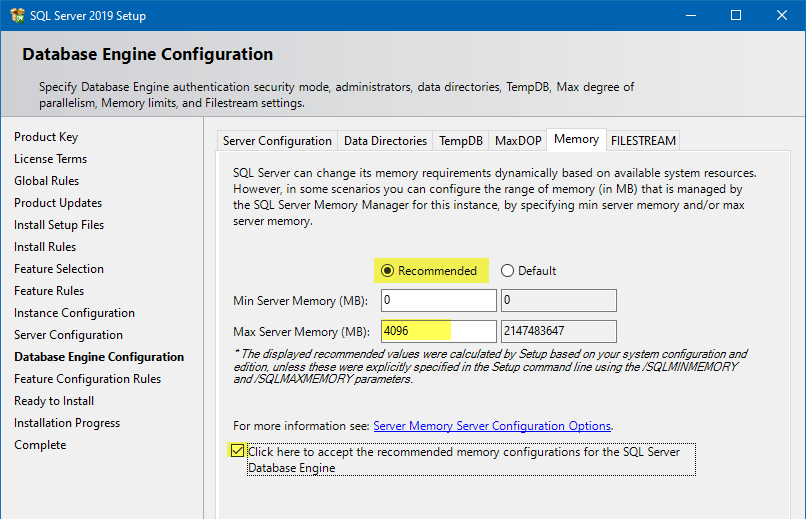
On the fifth tab, Memory, I set the memory to Recommended and 4096 Max, this means SQL Server cannot use more than 4GB of RAM. 1GB is the minimum SQL Server needs.
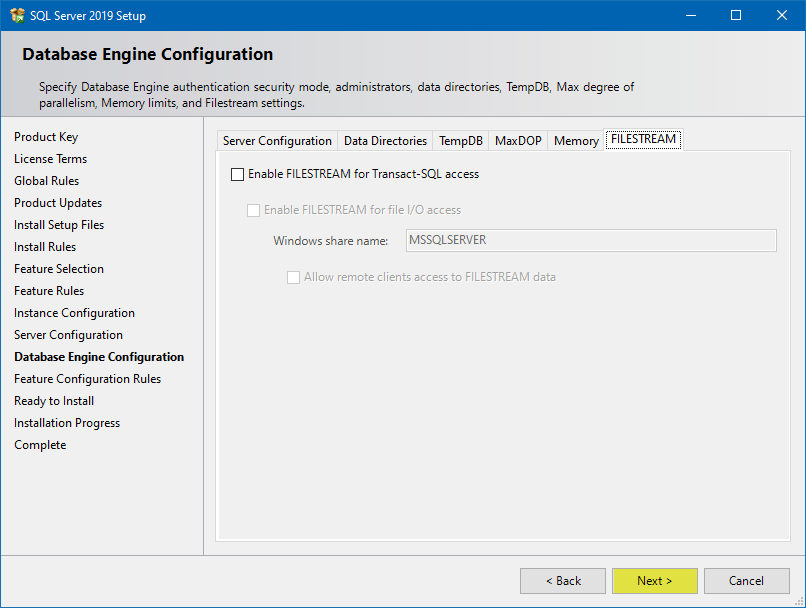
On the sixth tab, FILESTREAM, I left this disabled. For more information on FILESTREAM, please visit: https://docs.microsoft.com/en-us/sql/relational-databases/blob/filestream-sql-server?view=sql-server-ver15
Press Next
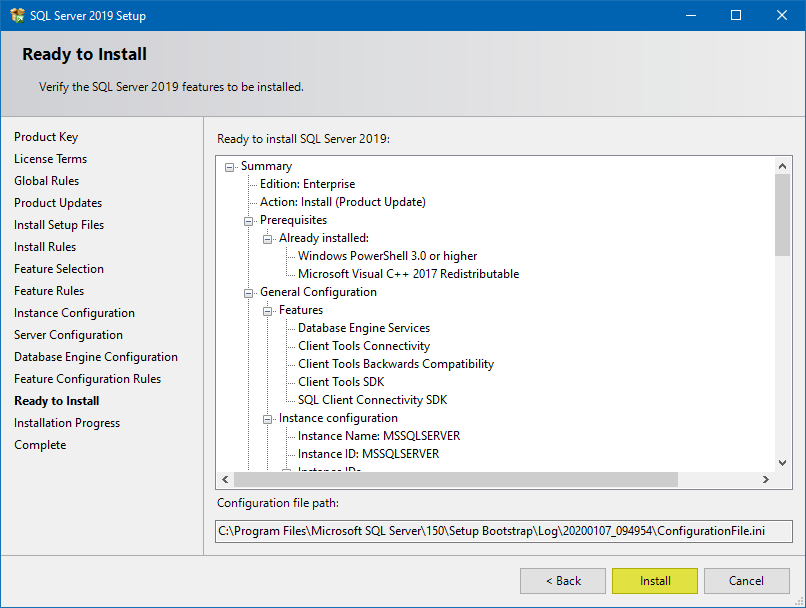
Verify all the components you want to install are there, Press Install
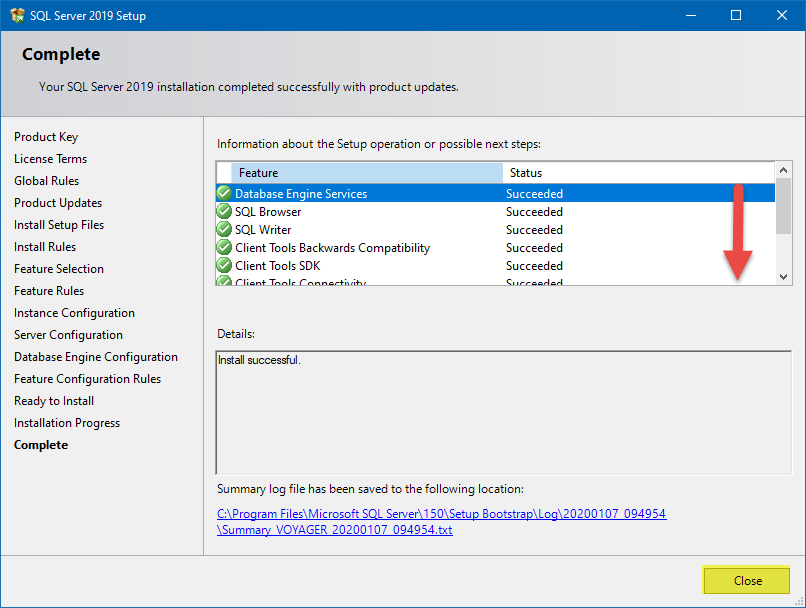
Scroll down to make sure everything Succeeded, press Close.
Be sure to check Windows Updates for SQL Server related updates right after installation and install them as needed.
“
Install SQL Server Management Tools (SQL Server Management Studio)
Open the Installation media, and run setup.exe
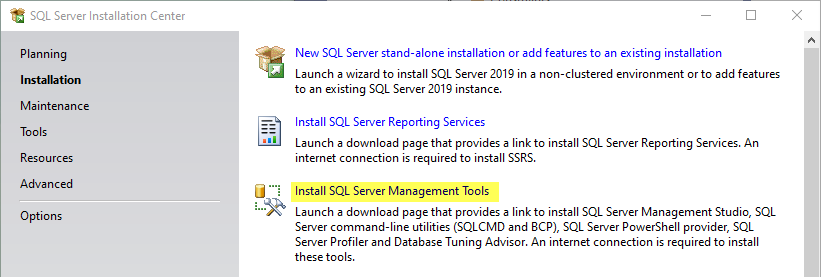
Press “Install SQL Server Management Tools”
It will bring you to this link. Download the latest version. https://docs.microsoft.com/en-us/sql/ssms/download-sql-server-management-studio-ssms?redirectedfrom=MSDN&view=sql-server-ver15
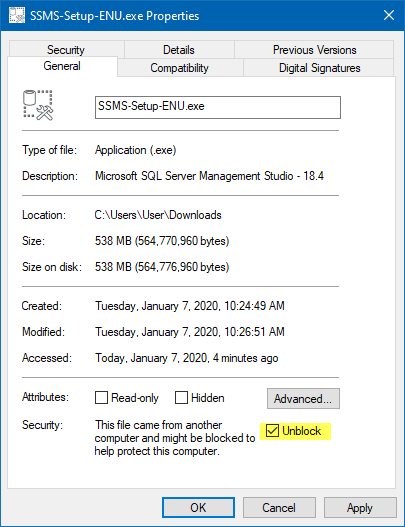
In my case it was SSMS 18.4
Go to properties of the exe and unblock the file. Then run the executable as administrator.
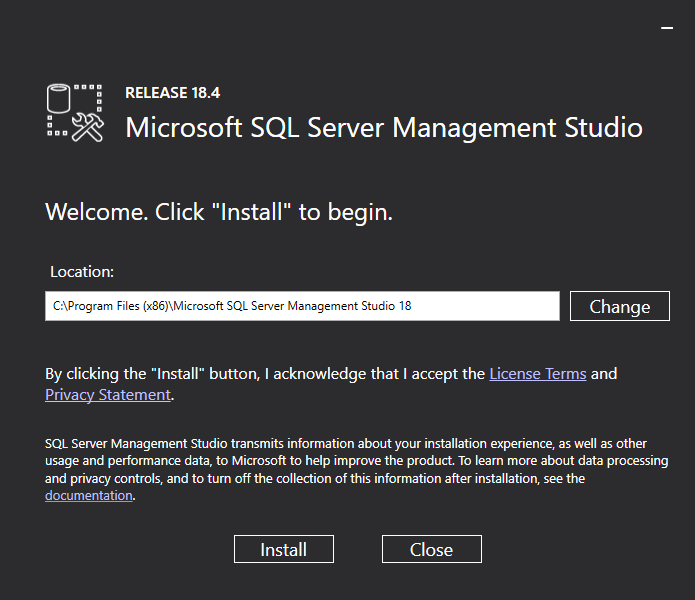
Press Install
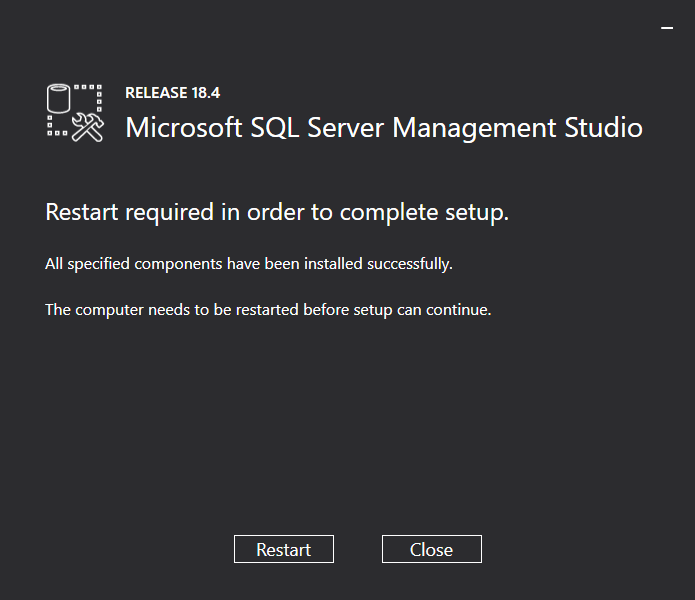
Press Restart to restart your machine
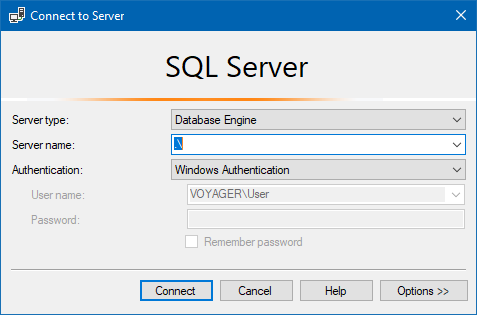
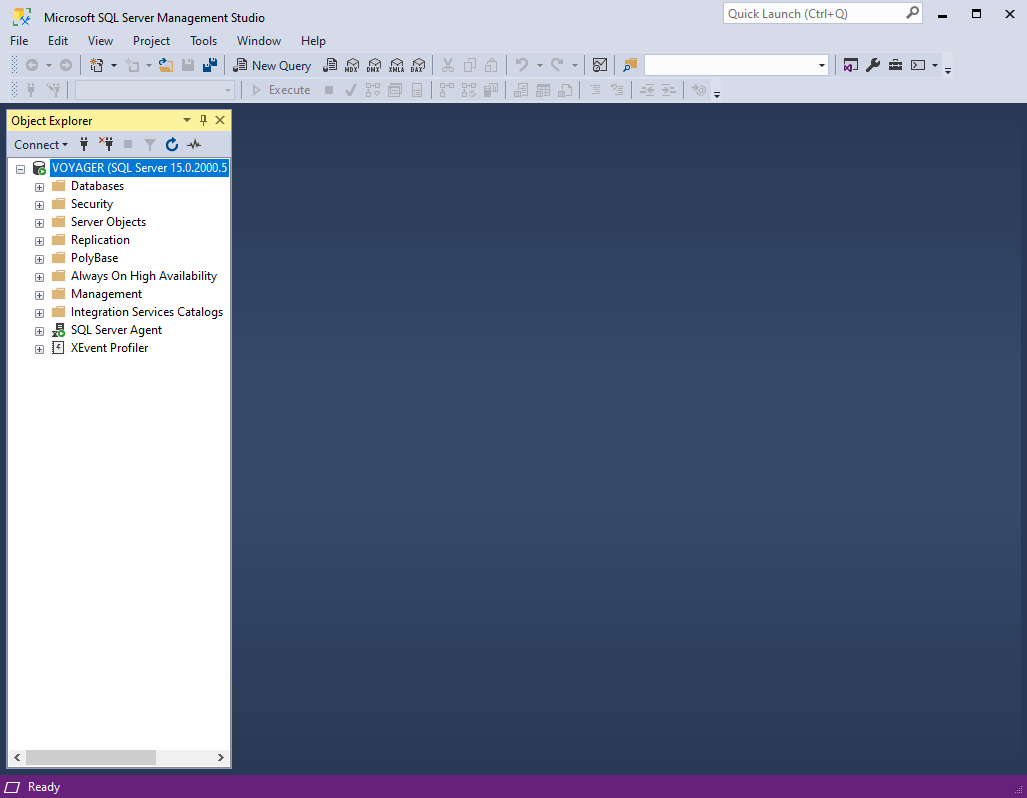
You should now see SQL Server Management Studio 18 in your start menu and you should be able to connect to the instance that you just created. By using “.\” as the server name.
“
“
“
“
“
“
“
“
“
“
“
“