Moving an SSL certificate from Windows 2003 Server to Windows Server 2008
In this article I will move an SSL certificate from a Windows 2003 Server box to a Windows Server 2008 machine. We will need to export the certificate on the 2003 Server and import and configure the SSL certificate on the 2008 Server. This article is divided into 4 sections:
- Export SSL Certificate on Windows 2003 Server
- Import an SSL Certificate on Windows Server 2008
- Configure an SSL Certificate on Windows Server 2008
- Testing the website
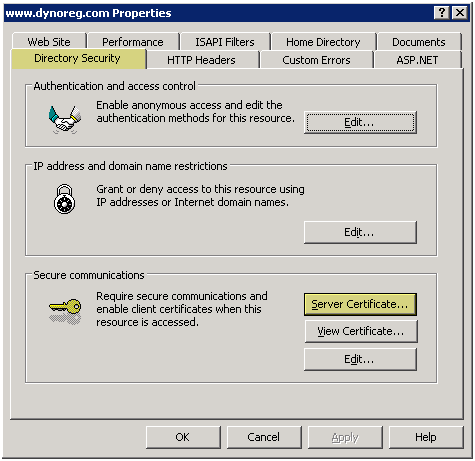
Export SSL Certificate on Windows 2003 Server
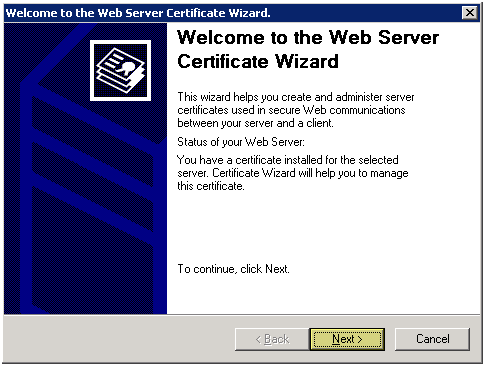
- Open IIS manager on the 2003 Server
- Under the "Directory Security" tab, select "Server Certificate"
- Press "Next" to continue
- Select "Export the current certificate to a .pfx file"
- Press "Next" to continue
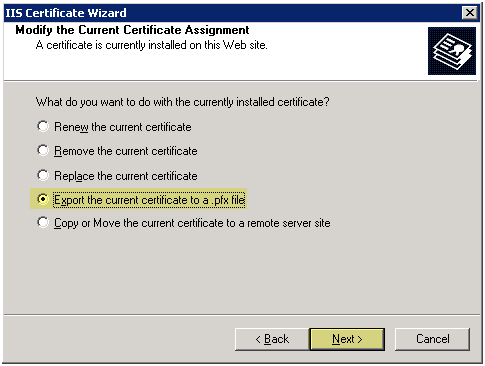
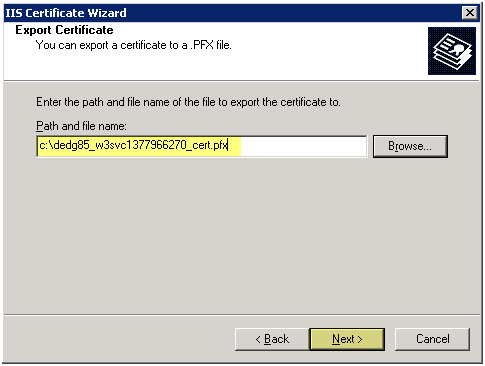
- Export the .pfx file to a location to the desired location, you will need to copy this file to the 2008 Server so make sure you know where you saved it at
- Press "Next" to continue
- Enter a password for the certificate
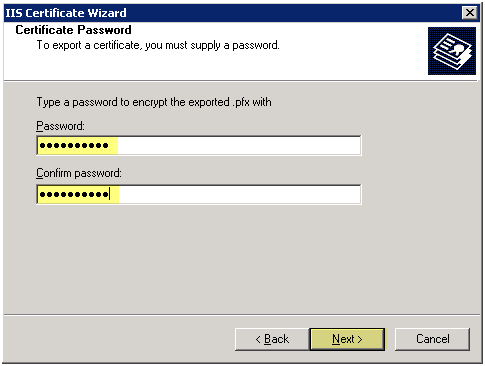
- Remember the location of the .pfx file
- Press "Next" to continue
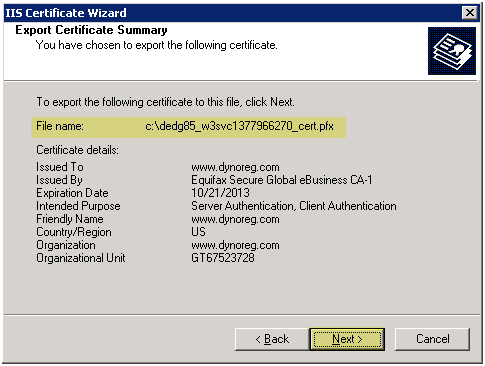
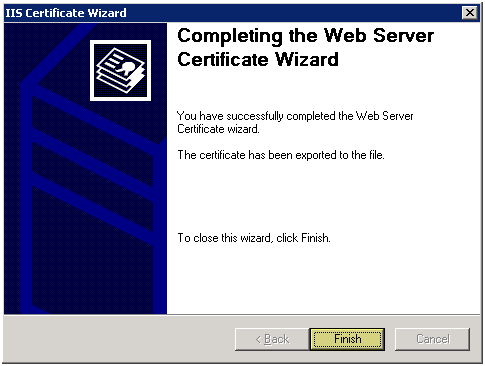
- Press "Finish" to complete the export
Import an SSL Certificate on Windows Server 2008
Copy the PFX file to the 2008 Server. You will need to import it so remember the location you copy it to.
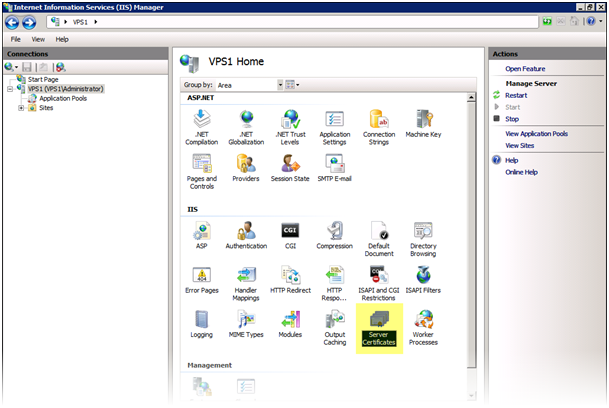
- Open Internet Information Services (IIS) Manager
- Select the SERVERNAME on the right side of the screen, then under "Features View" on the left side panel, double click "Server Certificates"
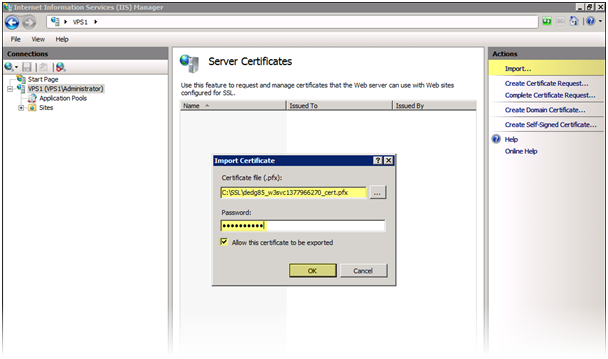
- Select "Import" on the right hand side of the screen
- Select the path of the .pfx file
- Enter the password for the SSL certificate
- Select "Allow the certificate to be exported", if you want this option. I like to select it just in case I need to export the SSL certificate again
- Press OK to continue
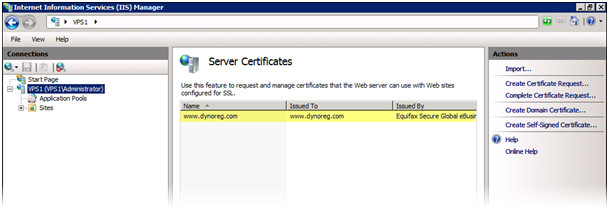
- You should now see the SSL certificate in the list of certificates
- This concludes installation of the SSL certificate we now need to configure
Configure an SSL Certificate on Windows Server 2008
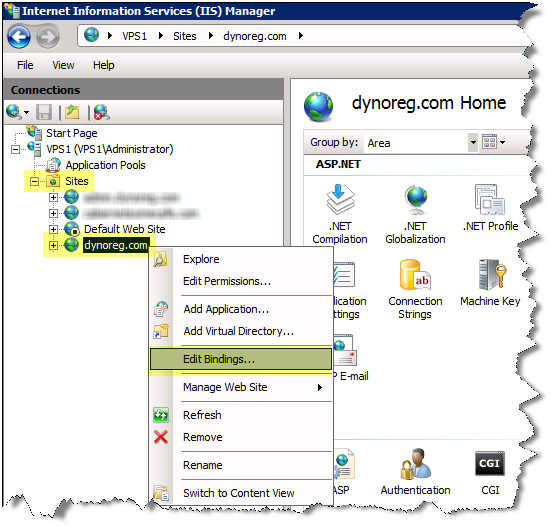
After we import the SSL certificate in Windows Server 2008 we need to configure the website to use the certificate
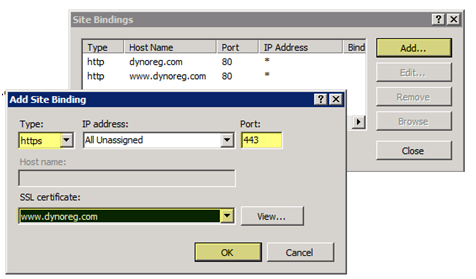
- Right click the web site for which the SSL certificate was imported for
- Select "Edit BindingsÔò¼├┤Ôö£├ºÔö¼┬¼"
- Select "AddÔò¼├┤Ôö£├ºÔö¼┬¼"
- Select the "Type" as "https"
- Select "IP Address" as "All Unassigned". NOTE: You can assign multiple SSL Certificate to a server as long as each SSL certificate is using a DIFFERENT IP ADDRESS because only one IP Address can bind the 443 port at a time with IIS
- Select the "SSL certificate", select the SSL certificate that you have imported for this website
- Press OK to continue
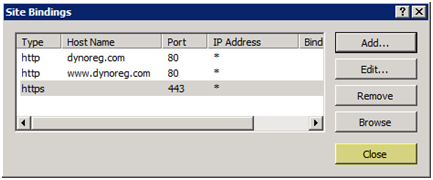
You should see the binding for "https" on the list of bindings now
- Press "Close" to continue
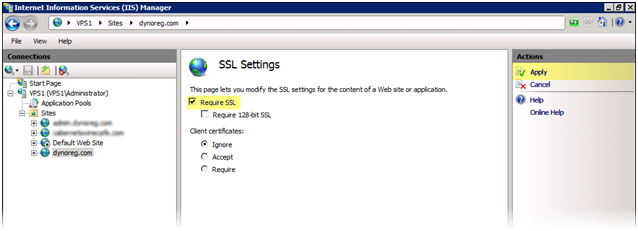
We can stop the configuration here if we wanted users to access the site via http OR https, I want to force users to use https so we will make the next configuration change
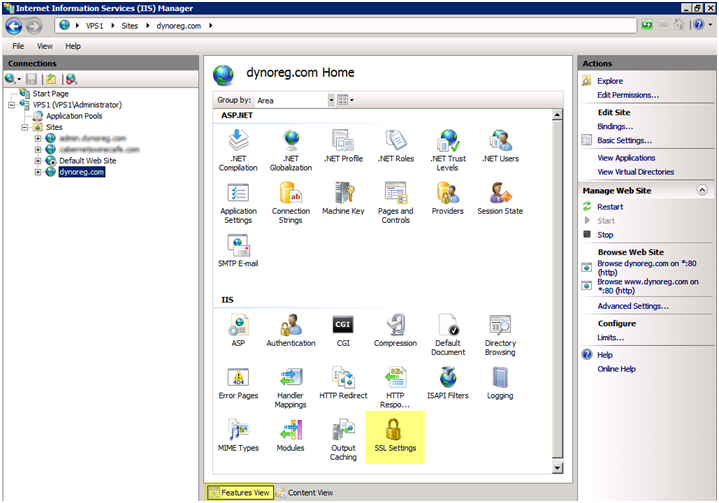
- Under the "Features View", double click "SSL Settings"
- Check "Require SSL" and press "Apply"
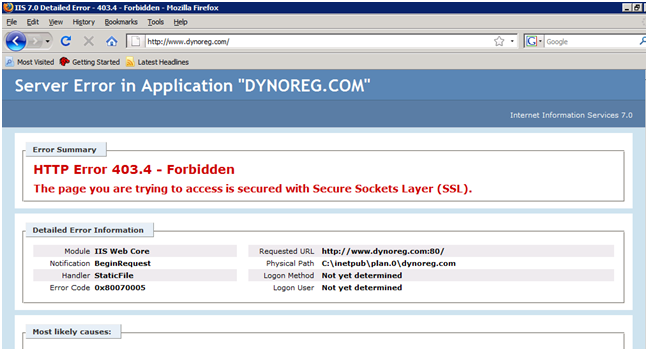
Testing the website
Success:
To test go to HTTPS https://www.sitename.com, you should go to the site with no problems.
Failure:
If you go to HTTP http://www.sitename.com you will get a 403.4 error. You can automatically redirect HTTP to HTTPS with some minor tweaks, search my site for HTTP to HTTPS and you will find some useful articles on that change