URL Rewrite 2.0 Installation
This article will cover my installation of URL Rewrite 2.0. This is an add-on for IIS 7.0 that allows you to manipulate URLs based on rules you create. This article is part of a series that will cover URL Rewrite rules that can help you.
With this utility you can do really cool things like redirect http to https or change a funky URL like this www.microsoft.com/someartcle.aspx?id=10 to something like this www.microsoft.com/this-article-is-about-topic, which really helps when you’re trying to optimize your site for a search engine (SEO).
Download
Microsoft URL Rewrite Module 2.0 for IIS 7 – RC (x86)
Microsoft URL Rewrite Module 2.0 for IIS 7 – RC (x64)
Installation
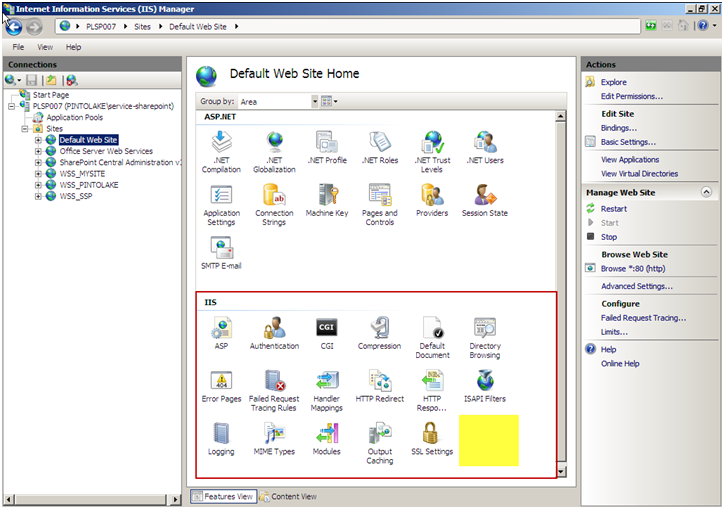
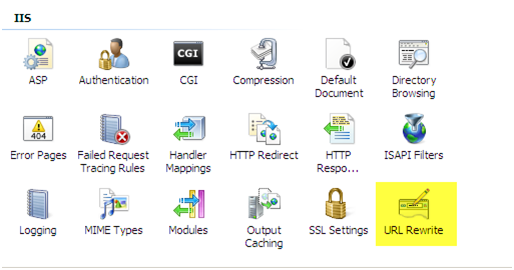
This was installed on Windows 2008 Server R2 with IIS 7.0 installed. If we take a look at the features available under the "Feature View" of the "Default Web Site" we can see we do not see a "URL Rewrite" option. The highlighted space is where the URL Rewrite module is going to end up after we install it.
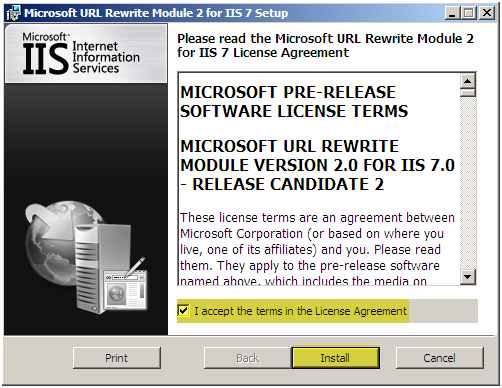
Run the "rewrite_2.0_x86_rc.msi" application to install URL Rewrite 2.0
- Accept the License Agreement
Press Install
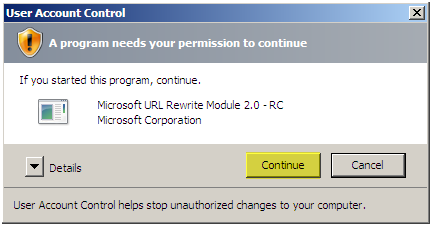
- Press Continue
- Installation will proceed
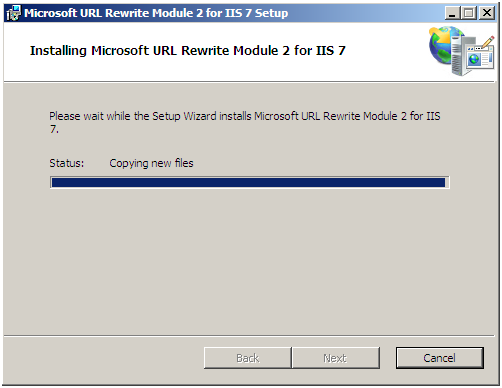
-
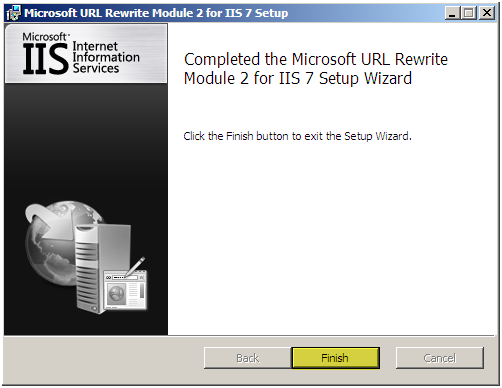
Press Finish
You will now see the "URL Rewrite option. In IIS Manager, this option will be available at the SERVER and the SITE level. There is a difference between SERVER and SITE level which you can see in the configuration section below.
Configuration
Site Level
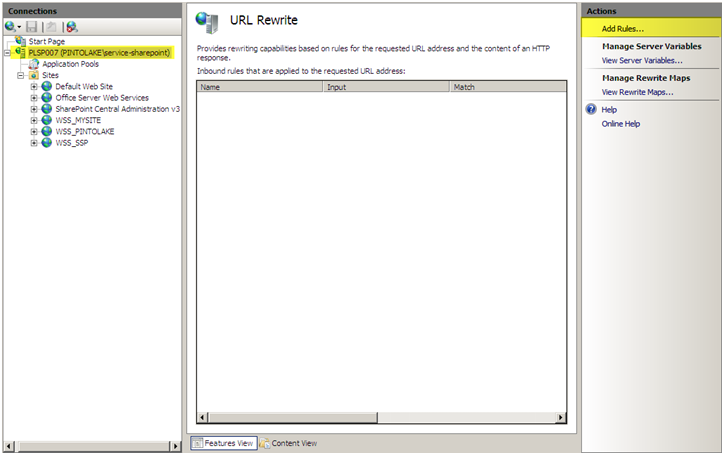
When you select the website and double click the "URL Rewrite" icon you will be brought to the configuration screen. There is an option on the right "Add Rules", this is where you add rules that URL Rewrite will process.
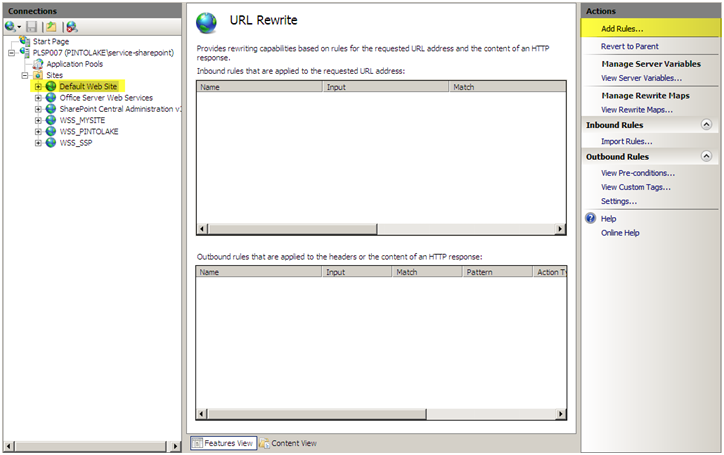
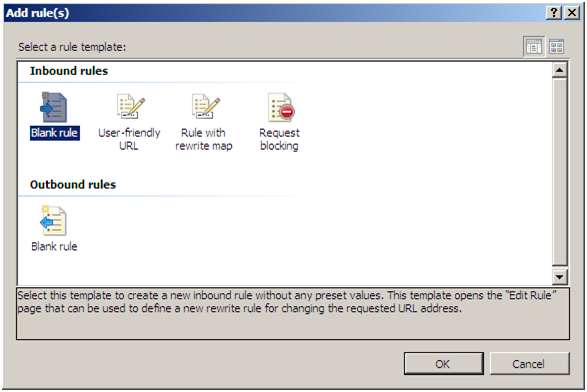
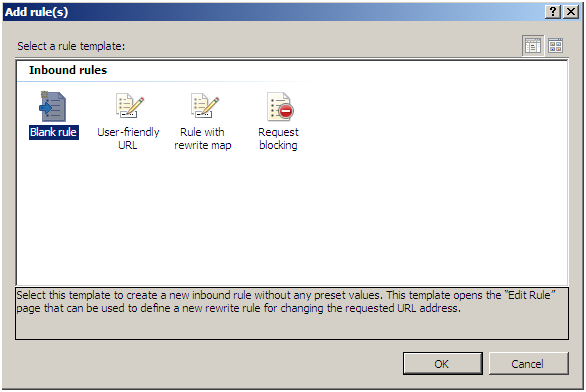
Add Rules (site level) – At the SITE level we can see that we can set both inbound and outbound rules. At the SERVER level you can only set inbound rules.
Server Level
You can see that at the SERVER level the configuration does now have any outbound rules. This is really the difference between SERVER and SITE level URL Rewrite configurations.
Add Rules (server level) – At the SERVER level we can see that we can set only inbound rules.
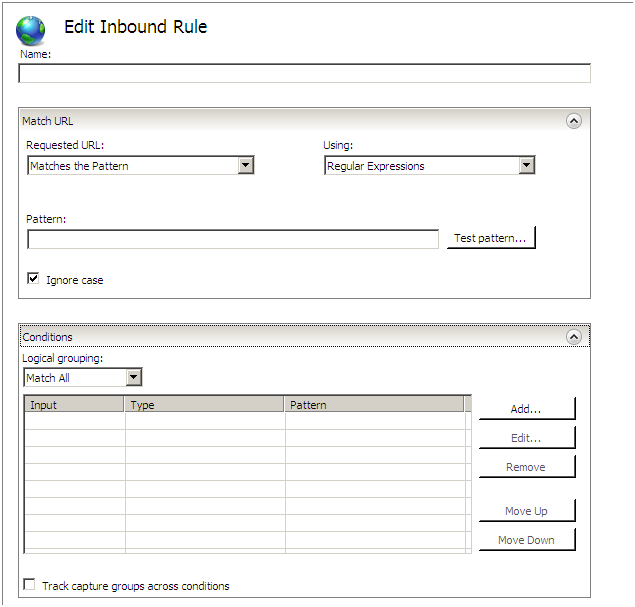
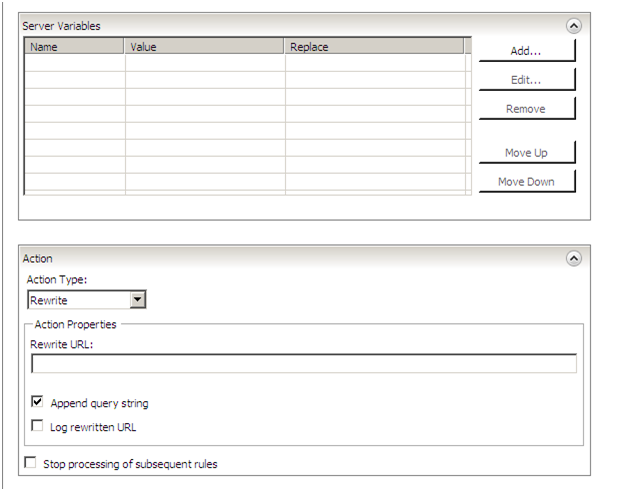
Inbound Rule Configuration
This is just to show you how the configuration screen looks and the types of options there are to configure. For specific rules and syntaxes please visit my other articles in this series.
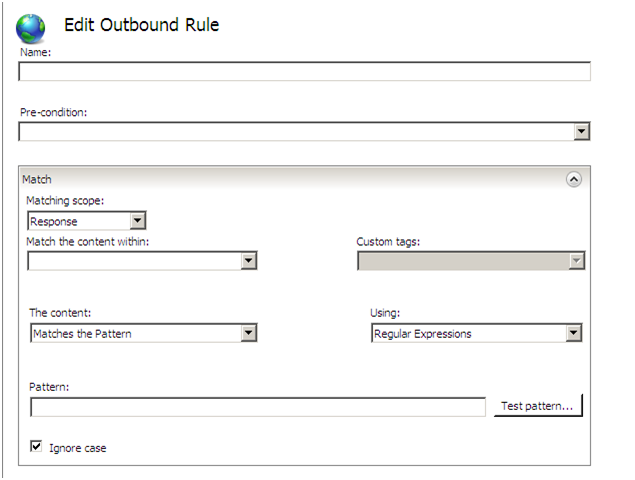
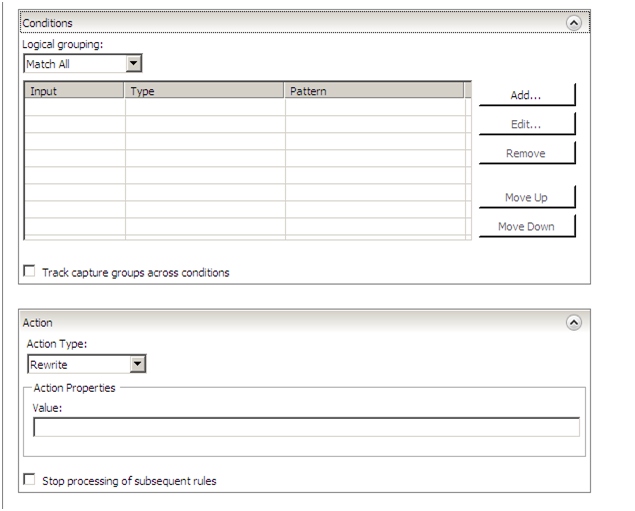
Outbound Rule Configuration (only at the site level)
This is just to show you how the configuration screen looks and the types of options there are to configure. For specific rules and syntaxes please visit my other articles in this series.
Check my other articles to see how to exactly set specific rules. You can play around with it and see what you can make it do. Below are some resources that can help you get familiar with this useful tool.
Related Resources
Using URL Rewrite Module 2.0
URL Rewrite Module Forum
URL Rewrite Module 2.0 Configuration Reference