Install and Configure FastCGI & PHP 5.2.9 on (IIS 7) Windows Server 2008
In this article I will install and configure both FastCGI and PHP 5.2.9 on IIS7. You can configure PHP to use an ISAPI filter or CGI, on my old 2003 server I had it running as an ISAPI filter and it worked just fine. On my new 2008 server I am going to attempt to run the requests through Fast-CGI.exe, which should be faster than a filter.
Configuration Information
Platform: Hyper V Host (http://www.microsoft.com/windowsserver2008/en/us/hyperv.aspx)
OS: Windows Server 2008
Installation Media: PHP 5.2.9 was downloaded from http://www.php.net/downloads.php
CPU: 2 dedicated 2.0Ghz
RAM: 1024mb
Disk: 40GB
Notes: a base installation of IIS 7 has already been installed, that installation is covered here.
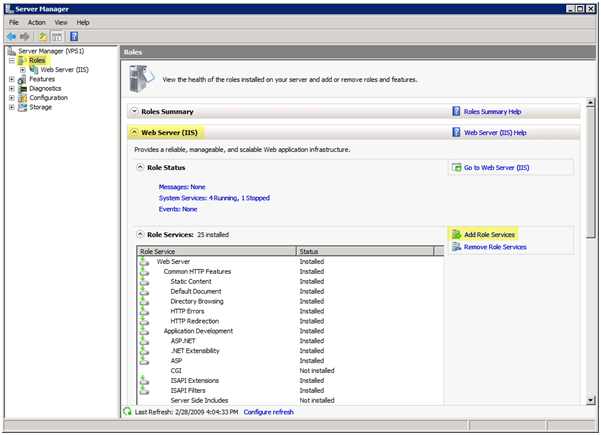
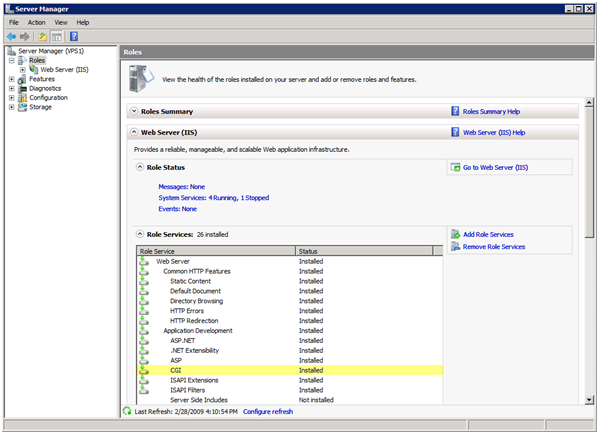
Installing CGI on IIS 7
You will first need to install CGI on IIS 7 before you install PHP. Installing CGI also installs FastCGI which we need for PHP to work correctly.
Open Server Manager, you can open this several different ways in Windows Server 2008. Probably the quickest way to open Server Manager is to right click "My Computer" and choose "Manage", another way is open "Control Panel" go to "Program and Features" and select "Turn Windows features on or off". A third way to open it is "Server Manager" option under Administrative Tools.
Under Roles, select "Add Roles"
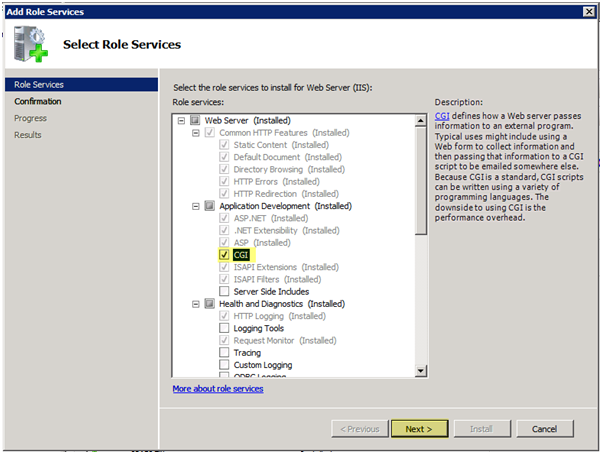
Select "CGI" and press "Next"
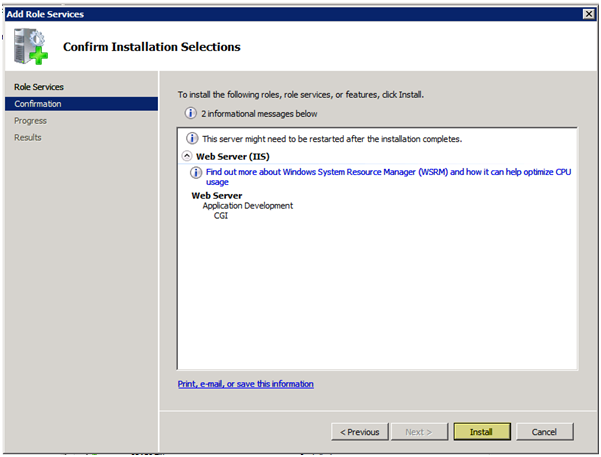
Press "Install" to install CGI
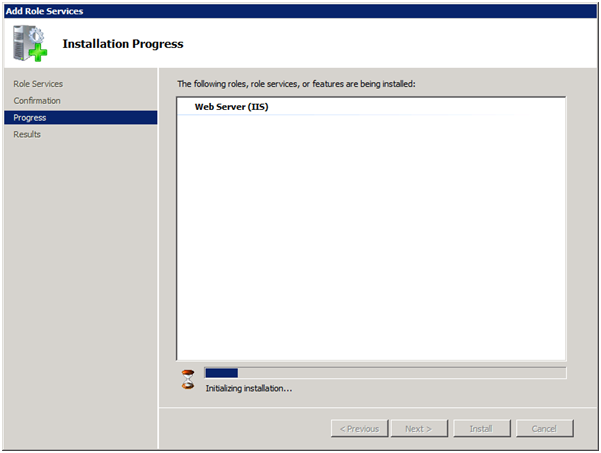
CGI will begin its installation
After the installation succeeds, press "Close"

Under "Roles" you should now see CGI installed. Now it’s time to install PHP
Installing PHP 5.2.9
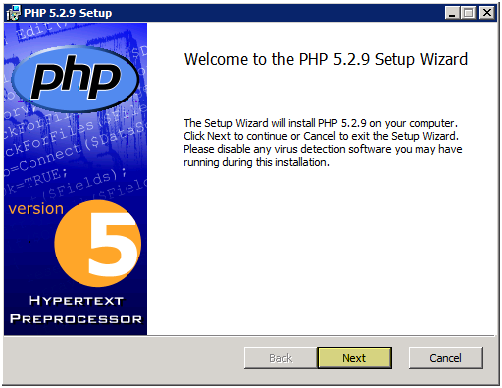
Launch "php-5.2.9-win32-installer.msi". Press "Next" to continue
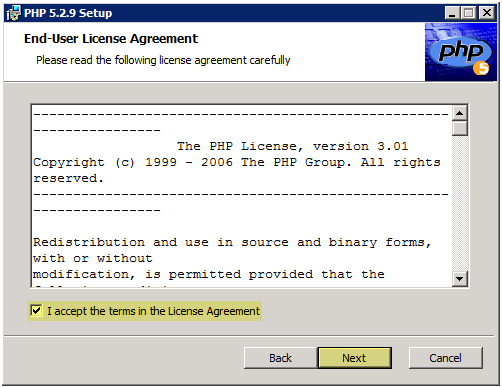
Accept the terms of the license agreement by checking the checkbox, press "Next" to continue
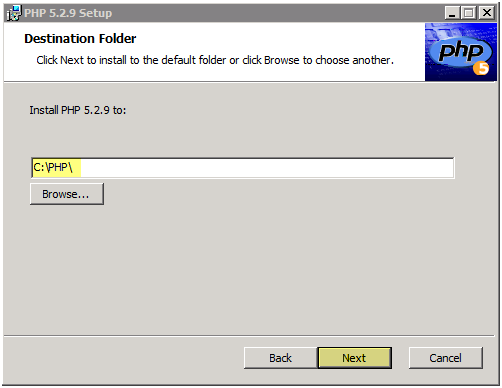
Install PHP under C:\PHP\. You can install it under whichever directory you choose, what I have learned is C:\PHP works the best. Press "Next" to continue
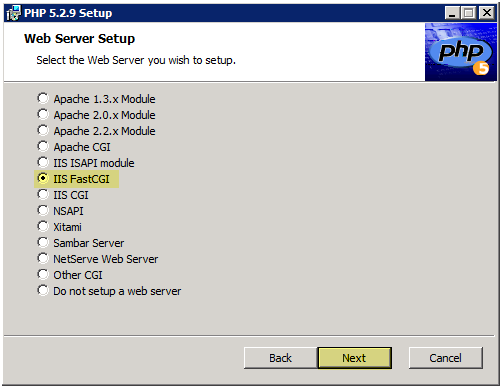
Select "IIS FastCGI". Press "Next" to continue
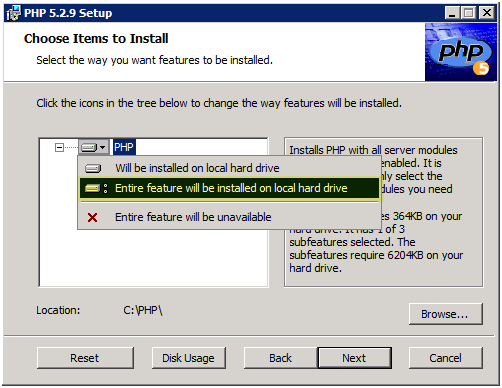
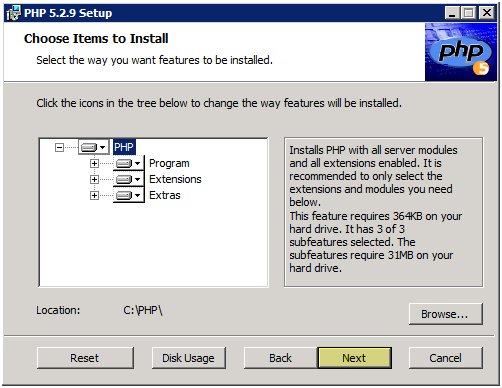
Right click PHP and choose "Entire feature will be installed on local hard drive". It’s OK to install ALL of the extensions, we will only enable the ones we need in PHP.ini when we are done.
Press "Next" to continue
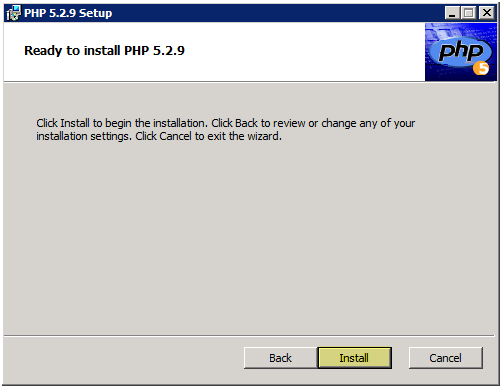
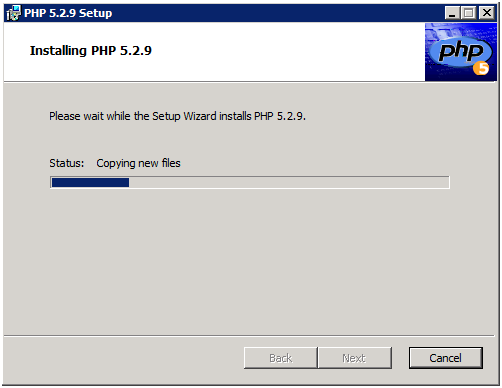
PHP is ready to install, press "Install" to begin installation
Set up will copy all the files and do what it needs to do
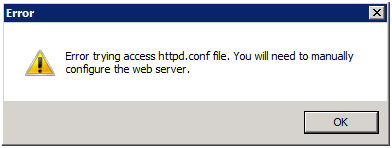
Do not worry about this error, IIS does not have httpd.conf file Apache does. This is probably due to the programmer drinking too much coffee
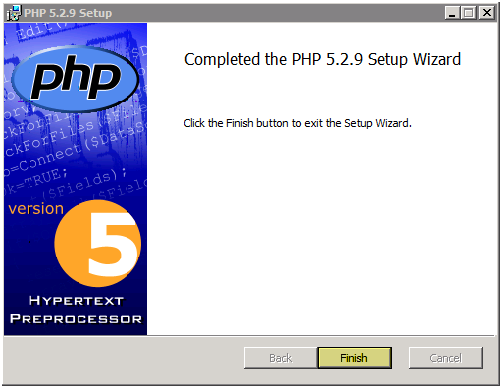
Press "Finish"
Configuring PHP 5.2.9 on IIS 7
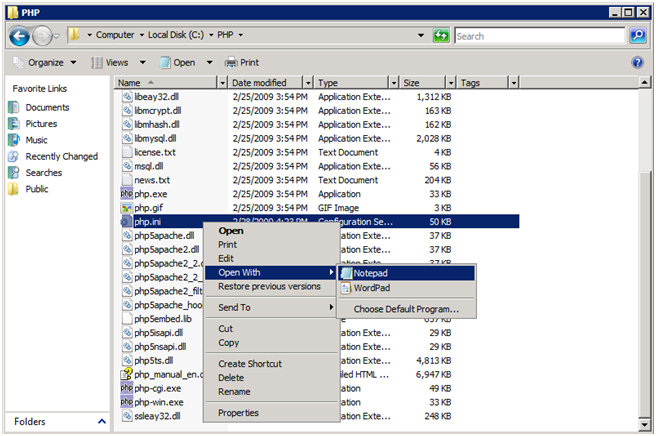
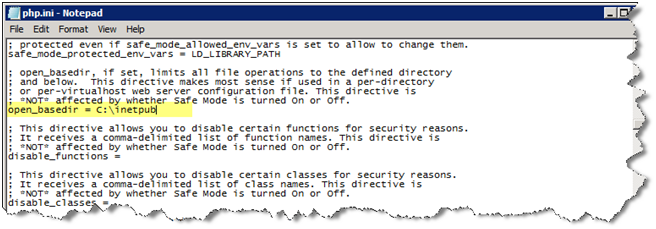
Open PHP.ini, which is located in C:\PHP or wherever you installed PHP. You can open it with Notepad
Change "open_basedir" value to the following:
open_basedir = C:\inetpub
Go down to the extensions section, which should be at the bottom I commented out EVERY extension by adding a ; (semi-colon) in front of the extensions name. I did this for ALL of the extensions except for the following:
extension=php_curl.dll
extension=php_gd2.dll
extension=php_interbase.dll
extension=php_mbstring.dll
extension=php_mcrypt.dll
extension=php_mysql.dll
I needed to use php_mysql.dll because I am using MySQL for the database. If you are using a different DB you will need to load the appropriate DLL
Please keep in mind: IF YOU GET ERRORS (i.e. an IIS 500 error) most likely you have an extension enabled that your server does not like!

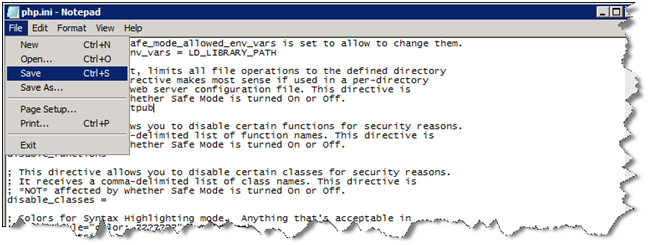
Save your PHP.ini file now
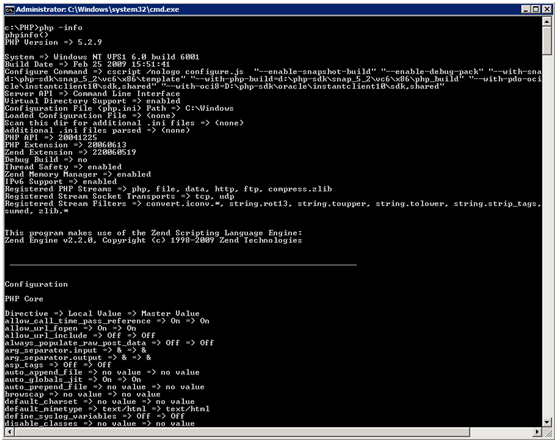
Testing PHP at the command prompt
Open a command prompt. Navigate to the directory you installed PHP to.
Type in: PHP -info and you should see a lot of scrolling and information. This means PHP is good to go.
Below is the start of the command and output, then the second picture is the last thing that will be shown.
Configuring IIS 7.0
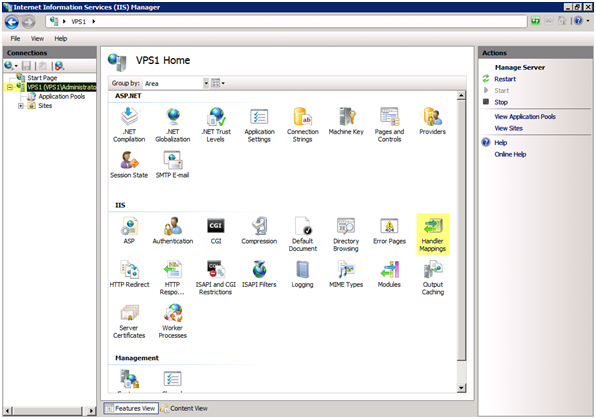
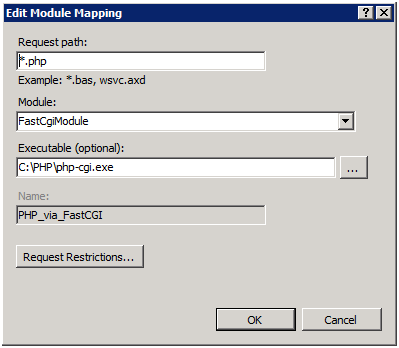
Open IIS and click on "Handler Mappings"
Verify there is a handler mapping for *.php. 5.2.9 includes this in the installation package, before this you had to create one manually.
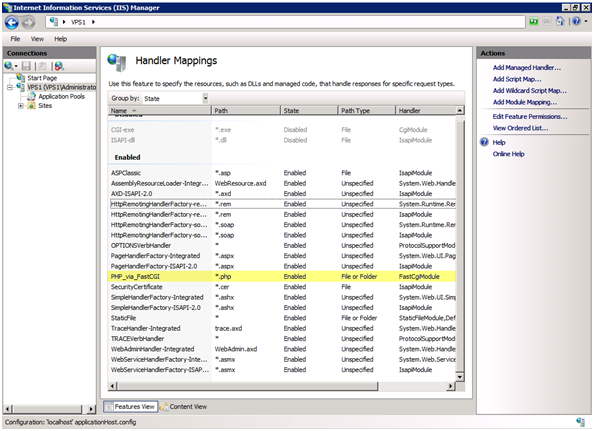
If you go to the properties you can see it maps *.php files to use C:\PHP\php-cgi.exe. Cool!
Testing PHP in a Browser
Navigate to the default site directory at C:\inetpub\wwwroot. Create a file called "info.php" and place the following in the file:
<div class=code>
<?php phpinfo(); ?>
</div>
Open your browser and point it at http://localhost/info.php and you should see a PHP information page similar to this:
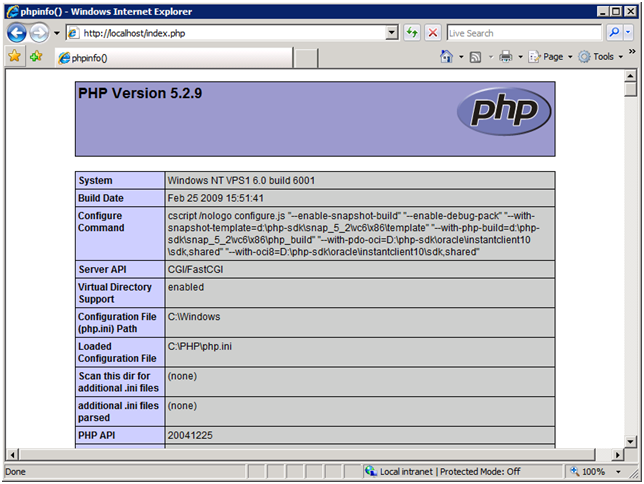
Again, If you receive a 500 error it might be because of one of the extensions you have enabled.