0 1 0 1 0 1 0 1 0 1 0 1 0 1 0 1 0 1 0 1 0 1 0 1 0 1 0 1 0 1 0 1 0 1 0 1 0 1 0 1 0 1 0 1 0 1 0 1 0 1 0 1 0 1 0 1 0 1 0 1 0 1 0 1 0 1 0 1 0 1 0 1 0 1 0 1 0 1 0 1 0 1 0 1 0 1 0 1 0 1 0 1 0 1 0 1 0 1 0 1 0 1 0 1 0 1 0 1 0 1 0 1 0 1 0 1 0 1 0 1 0 1 0 1 0 1 0 1 0 1 0 1 0 1 0 1 0 1 0 1
JPPINTO
  • Home
  • Blog
  • Certifications
  • About
  • Contact
  • Shop
  • Gallery
  • Current Setup
Contact

Search

February 20, 2009 / Windows 7

Windows 7 Beta Installation
Tags: full installation, Windows 7, x86
Featured image for Windows 7 Beta Installation

This article will follow my progress of a Windows 7 Beta installation on a 32 bit machine.

Platform: VMWare ESX Server 3.5.0, build 110268
Installation Media: ISO (7000.0.081212-1400_client_en-us_Ultimate-GB1CULFRE_EN_DVD.iso)
CPU: 2 dedicated 2.0Ghz
RAM: 1024mb
Disk: 60GB

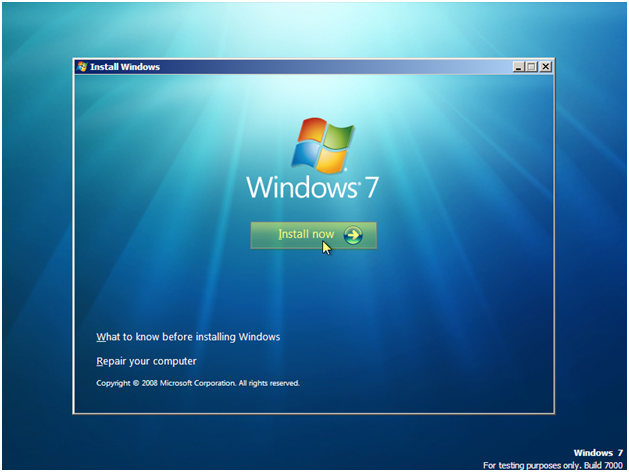
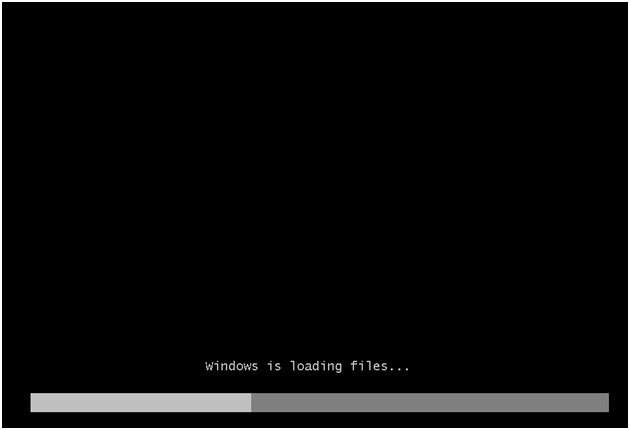
  1. Windows will boot off of the ISO image
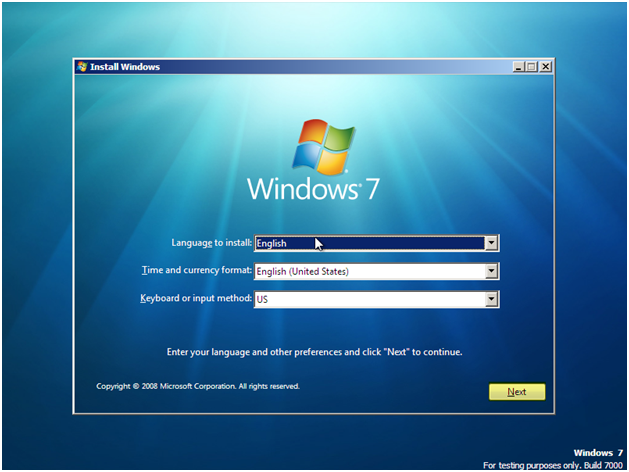
  1. I am choosing to keep the defaults, press “Next” to continue
  1. Press “Install Now”

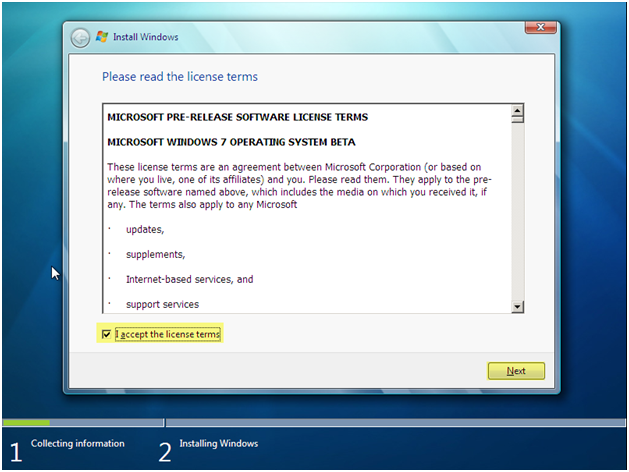
  1. Accept the license terms, Press “Next” to continue
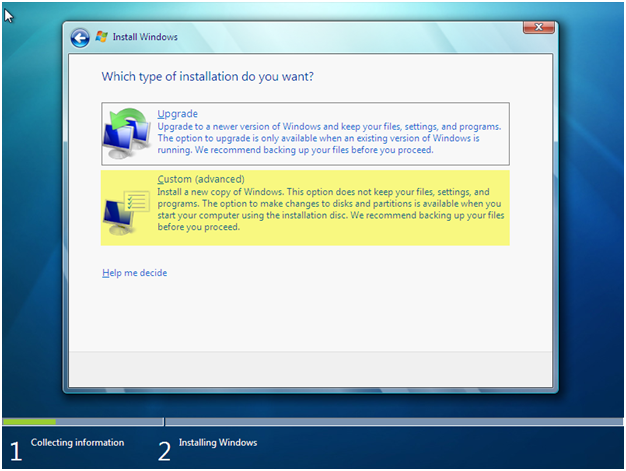
  1. Choose Custom (Advanced) – I feel upgrade should be grayed out, Windows 2008 detects if you have Windows installed and if not it does not allow you to select this option and grays this option out.
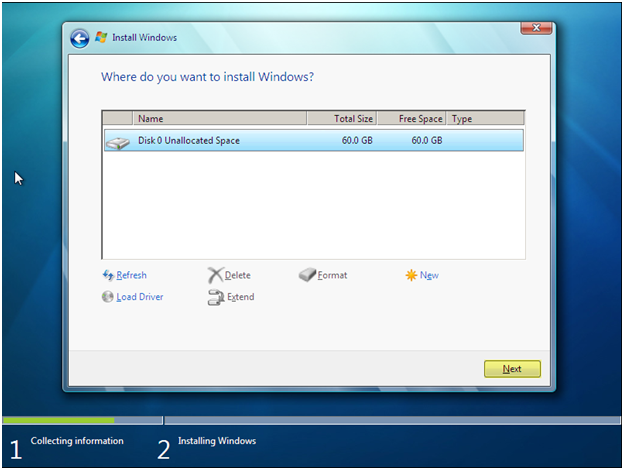
  1. You can select the disk where you want to install Windows 7 on. Press “Next” to continue
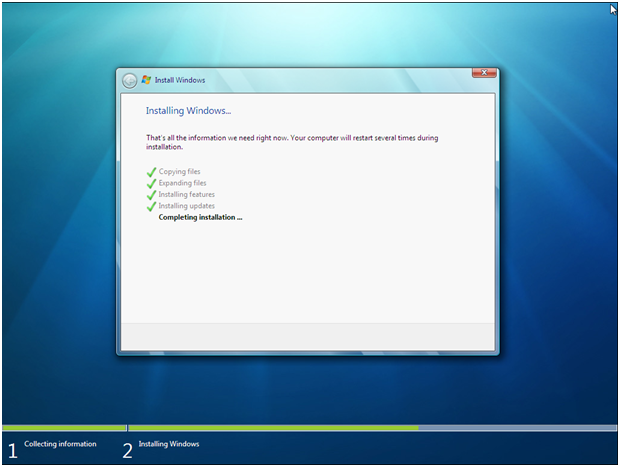
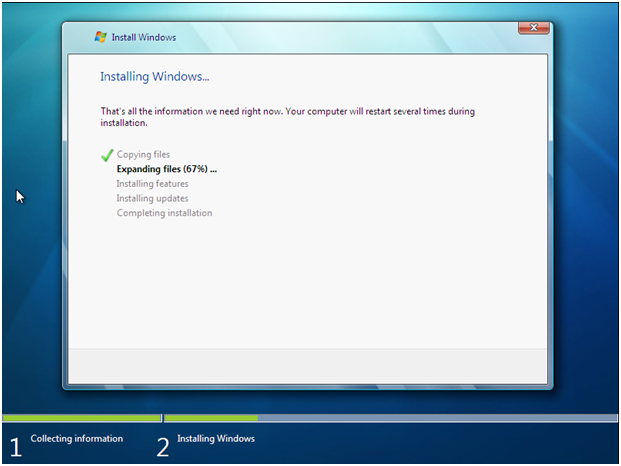
  1. Set up will copy the files to your hard disk and complete the installation
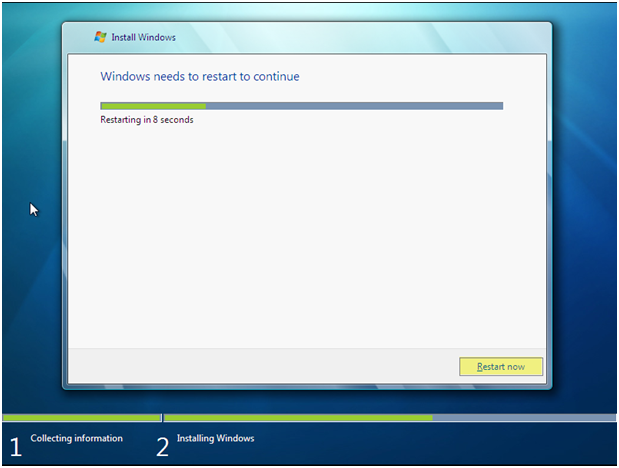
  1. Windows 7 will reboot during the installation process, Press “Restart Now” or wait 10 seconds and it will automatically reboot
  1. After the reboot, Windows installation will automatically start up to continue with the installation
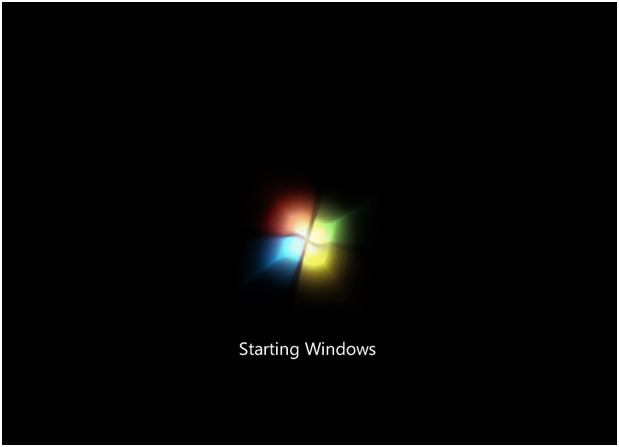
  1. Set up will now complete installation

  1. After the initial setup is complete, Windows 7 will reboot once more
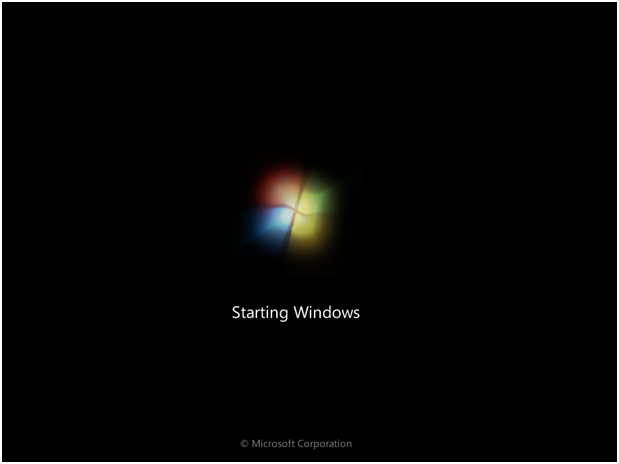
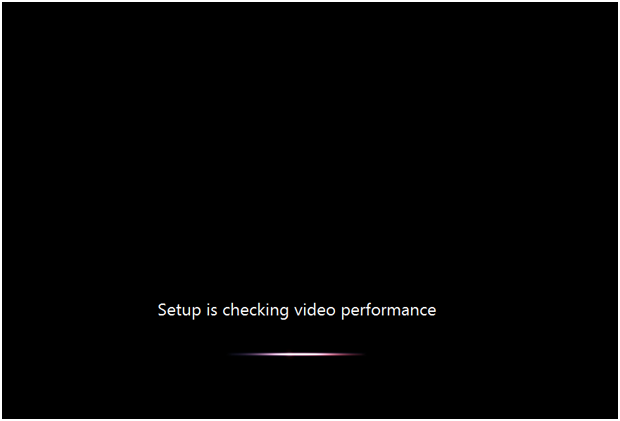
  1. After this reboot Windows 7 makes checks video performance and makes changes to the registry
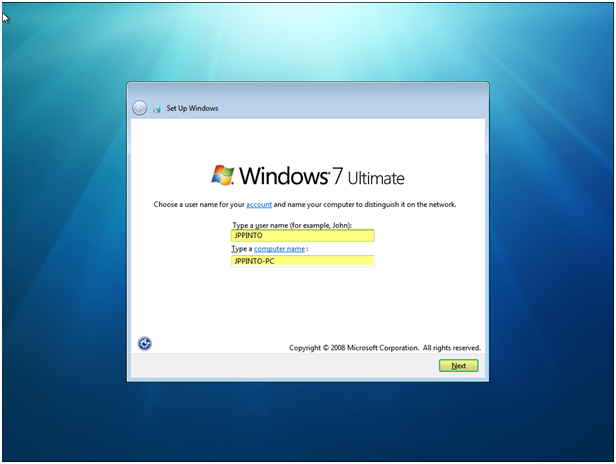
  1. Now its time to configure and personalize our environment. Enter your desired user name and computer name. Press “Next” to continue
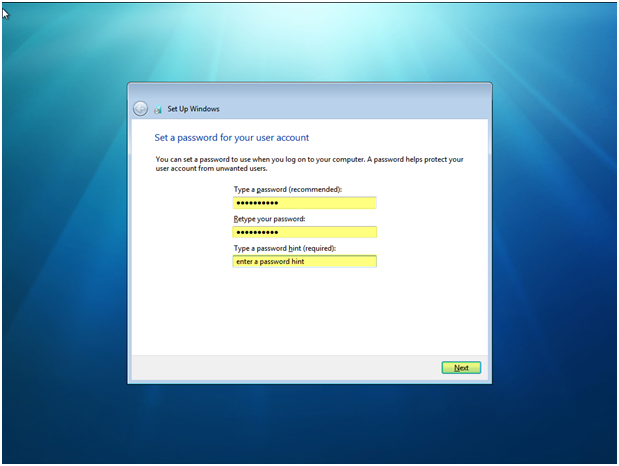
  1. Enter your password and a password hint. Press “Next” to continue
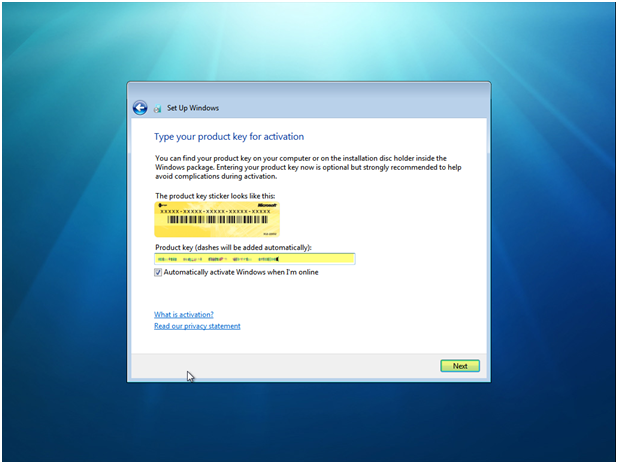
  1. Enter your serial number (this has been skewed so MS doesn’t send men in black suits after me). Press “Next” to continue
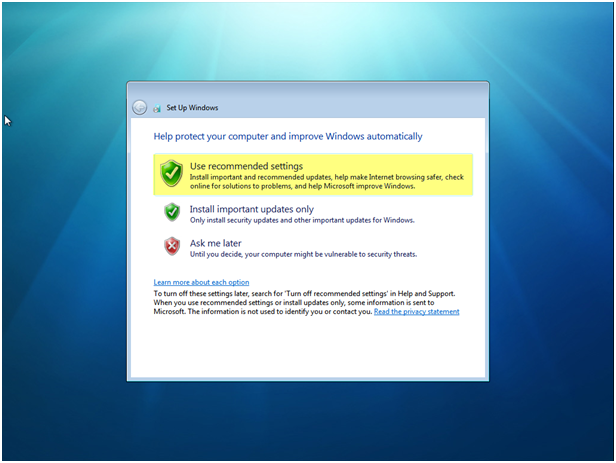
  1. For this installation I will choose “Use recommended settings”, although as a power user I never allow Windows to update itself.
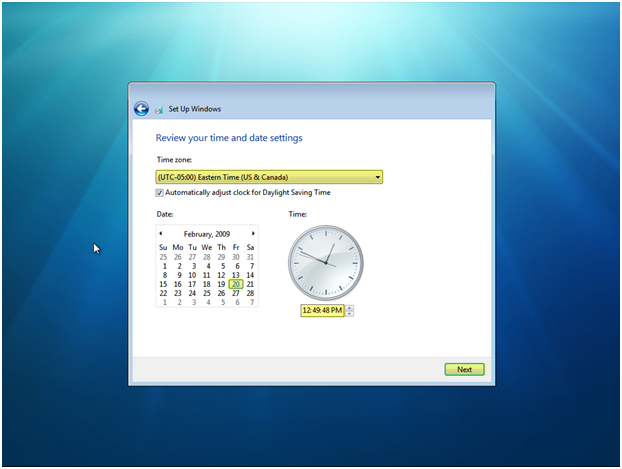
  1. Choose your time zone, date and time settings. Press “Next” to continue
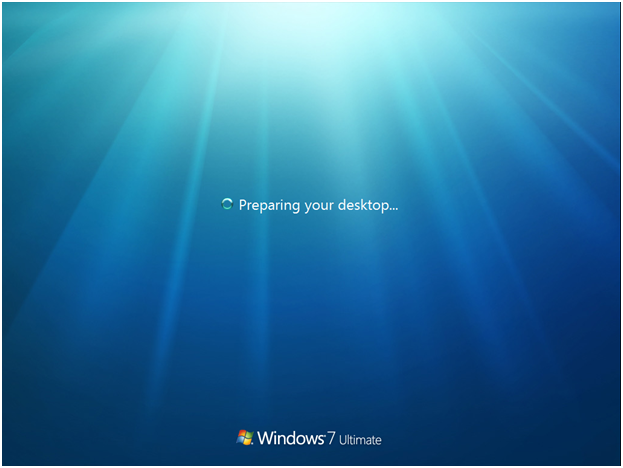
  1. Windows 7 will prepare your desktop

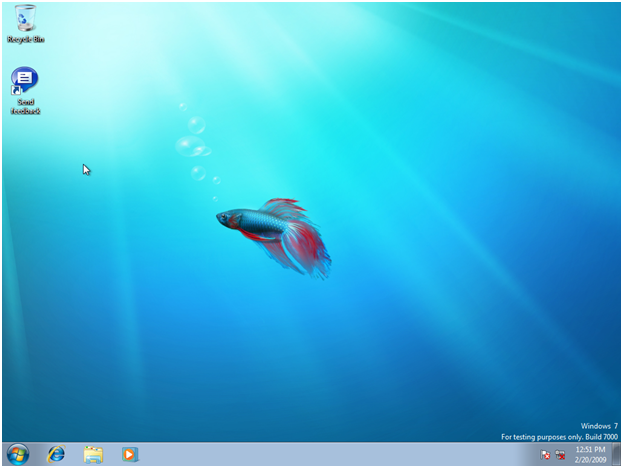
  1. Viola, the installation is complete.

Post Views: 228
<- Automatically Redirect HTTP requests to HTTPS on IIS 6
Install and Configure MySQL 5.1.30 on Windows Server 2008 ->

Categories

  • Active Directory (5)
  • AI (3)
  • Amazon Cloud Services (1)
  • AWS (2)
  • Blazor (1)
  • C# (C-Sharp) (3)
  • CI/CD Pipelines (1)
  • Cloud (1)
  • Cloudflare (2)
  • Codex (1)
  • Containers (4)
  • Deployment (2)
  • Development (5)
  • DNS (1)
  • Docker (3)
  • Email (1)
  • Family (1)
  • General (5)
  • IIS 6.0 (4)
  • IIS 7.0 (10)
  • IIS 8.0 (1)
  • Infrastructure as Code (IaC) (1)
  • Kubernetes (3)
  • Linux (9)
  • Microsoft 365 (2)
  • MySQL (1)
  • Office 2010 (1)
  • PHP (1)
  • PowerShell (11)
  • Productivity (1)
  • Security (1)
  • Servers (9)
  • SharePoint 2007 (8)
  • SharePoint 2010 (19)
  • SharePoint 2013 (2)
  • SharePoint Online (1)
  • SMTP (4)
  • SQL Server 2008 (1)
  • SQL Server 2008 R2 (1)
  • SQL Server 2012 (2)
  • SQL Server 2019 (1)
  • SSL (1)
  • Travel (1)
  • Troubleshooting (1)
  • Ubuntu (9)
  • Uncategorized (1)
  • URL Rewrite (2)
  • Visual Studio 2019 (1)
  • Visual Studio Code (1)
  • Windows 10 (7)
  • Windows 2003 (9)
  • Windows 2008 (18)
  • Windows 2012 (6)
  • Windows 7 (3)
  • Windows Firewall (1)
  • Windows Vista (1)
  • WordPress (3)
  • WP-CLI (3)

Recent Posts

  • GPT-5.6 Sol Changes How We Prompt—and How We Write AGENTS.md
  • Protect a Domain That Does Not Send Email with SPF, DMARC, and Null MX
  • Turning Our Atlanta Vacation Photos into a Video with PowerShell
  • Bulk Create Cloudflare Origin CA Certificates with PowerShell
  • Test a Cloudflare Global API Key Connection with PowerShell

Advertisement

Tags

agents.md ai coding agents aws bash cloudflare cloud storage codex context engineering developer workflow dev to production dns externalize blob externalize sharepoint data full installation http redirect https IIS IIS installation index server configuration installing cumulative updates linux load balance central administration microsoft 365 nginx powerpoint powershell redirect http to https s3 server setup sharepoint 2010 cumulative updates sharepoint 2010 farm build sharepoint 2010 farm configuration sharepoint 2010 farm installation sharepoint data externalization SMTP ssl storagepoint ubuntu web server windows Windows 7 windows server 2008 wordpress wp-cli x86
© 2026 JPPinto.com. All rights reserved.