Install and Configure MySQL 5.1.30 on Windows Server 2008
In this article I will perform an installation of MySQL 5.1.30 on Windows Server 2008, I will take you step-by-step through the whole installation. MySQL is the world’s most popular open source database engine, it’s fast, stable and reliable for most situations.
Configuration Information
Platform: Hyper V Host
OS: Windows Server 2008
Installation Media: MySQL 5.1.30 was downloaded from http://dev.mysql.com/downloads/
CPU: 2 dedicated 2.0Ghz
RAM: 1024mb
Disk: 40GB
Installation
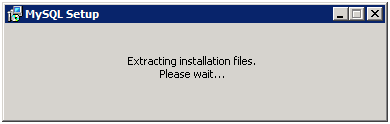
Run Setup.exe – This version of
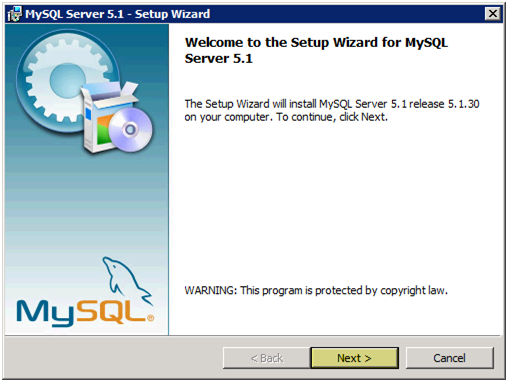
Click “Next” on the Setup Wizard window
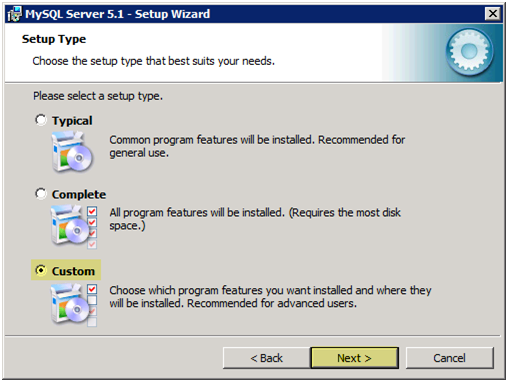
I am going to select “Custom” installation so I can see all available options, Press “Next” to continue
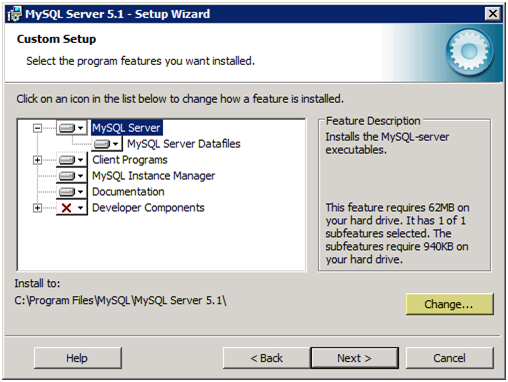
I want to change the location of my installation to C:MySQL, press “Change”
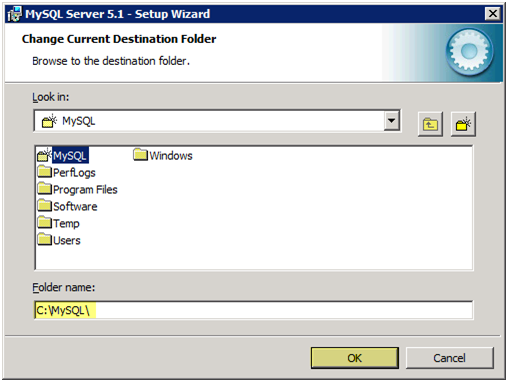
I changed “C:Program FilesMySQLMySQL Server 5.1” to “C:MySQL”, I am only changing this location for personal preference, and you can make it whatever directory you wish. Press “OK” to continue
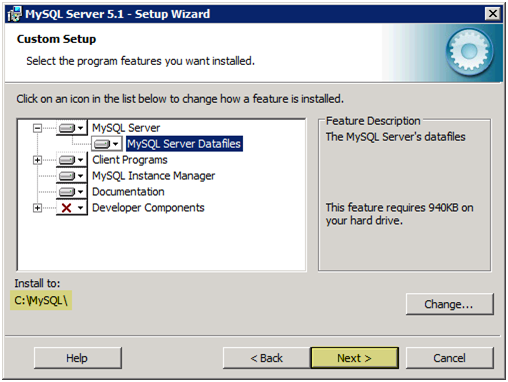
I also want to change the location of the data the MySQL will store. Select “MySQL Server Datafiles. Press “Change” to continue
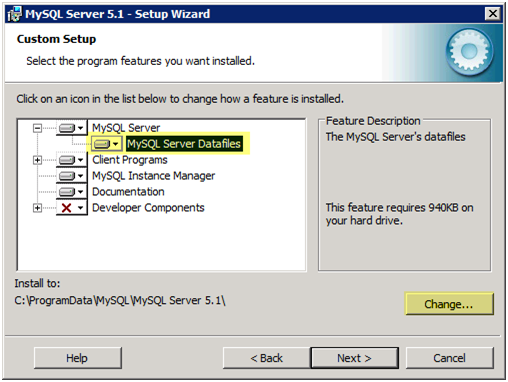
I changed “C:Program FilesMySQLMySQL Server 5.1” to “C:MySQL”, I am only changing this location for personal preference, and you can make it whatever directory you wish. Press “OK” to continue
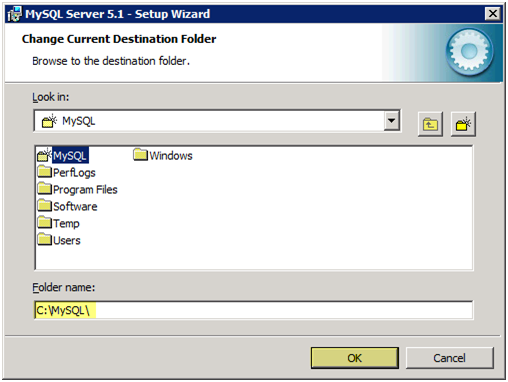
Press “Next” to continue
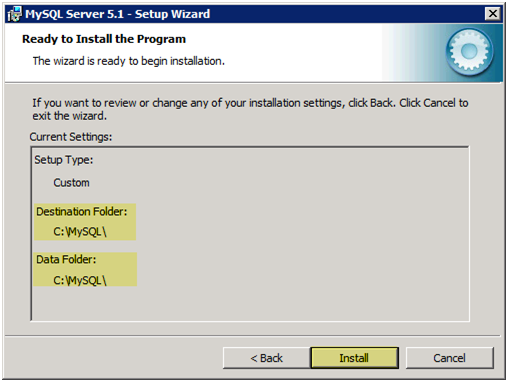
Setup is ready to begin the installation. I verified that the destination folder and data folder is set to C:MySQL. Press “Install” to continue
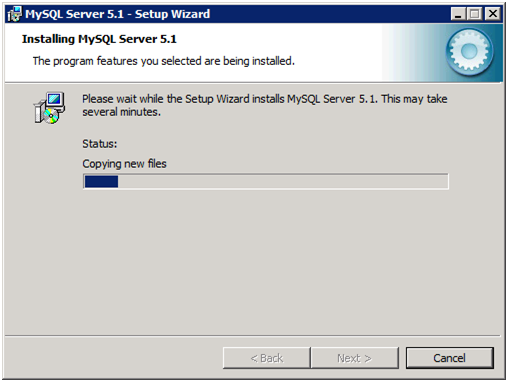
Installation will begin to copy the files
After installation MySQL includes shameless plugs for their enterprise subscription. Press “Next” to continue
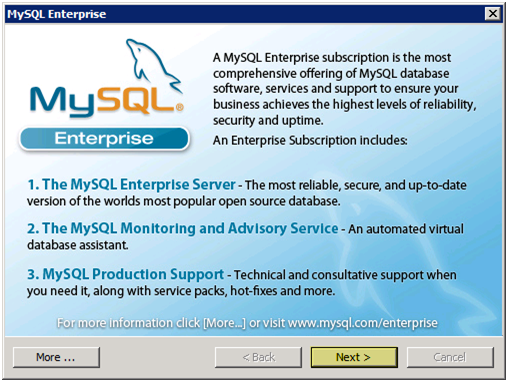
Here is one more shameless plug from MySQL. Press “Next” to continue

Select “Configure the MySQL Server now”. Press Finish to continue
Configuration
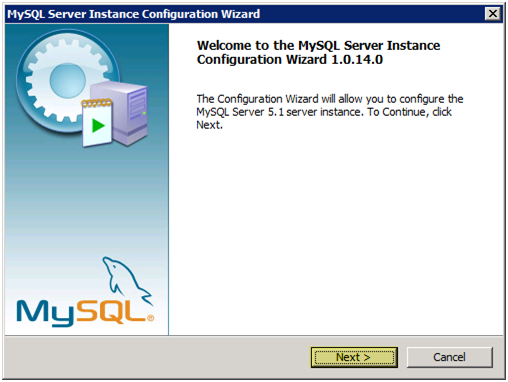
Press “Next” at the Welcome screen to continue
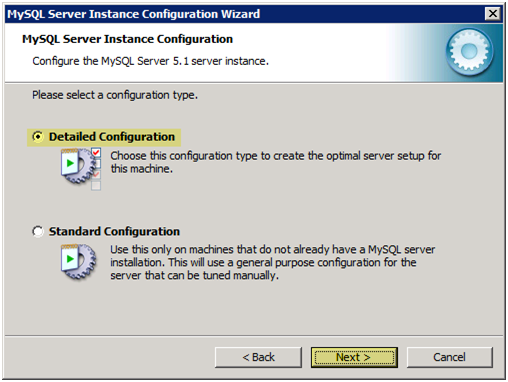
Because I am a techie I am going to select “Detailed Conifugration”. Press “Next” to continue
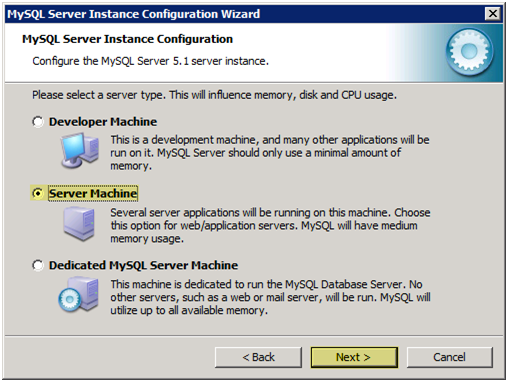
I am going to use this to run blog applications so I am going to select “Server Machine”, you can select what is best for your suited for your goal. Press “Next” to continue
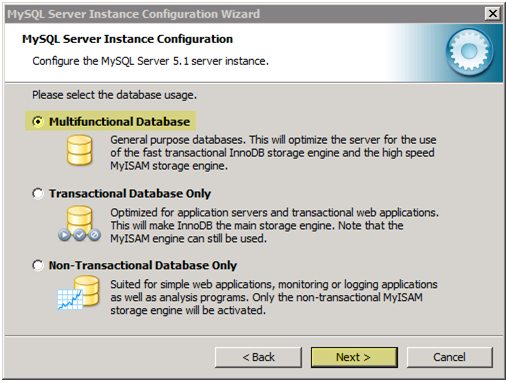
I am going to choose “Multifunction Database” because it allows me the flexibility of Transactional and Non-Transactional Database’s to coexist, again you can select what is best for your suited for your goal. Press “Next” to continue
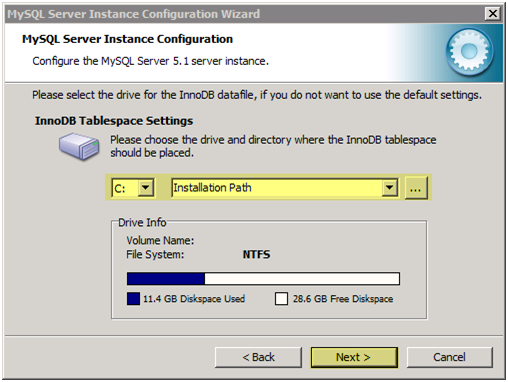
Choose “Installation Path” so it will store the InnoDB Tablespace Settings under the Installation directory. I like to keep everything in the same place, the default location puts this elsewhere. Press “Next” to continue
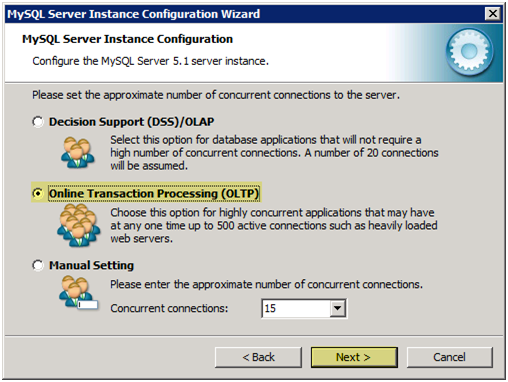
Because this is for a blog I am going to select “Online Transaction Processing (OLTP)”, you can select what is best for your suited for your goal. Press “Next” to continue
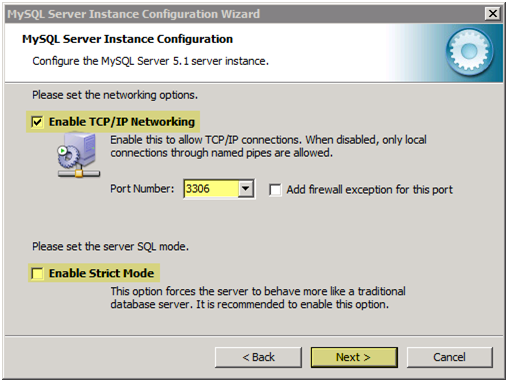
I left the defaults for TCP/IP and I unchecked “Enable Strict Mode”, some blog applications associated with WordPress have an issue if this is enabled. Press “Next” to continue
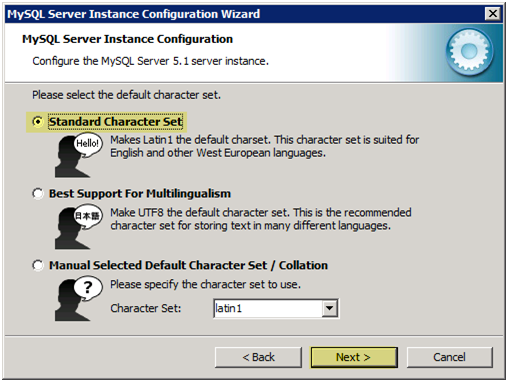
Keep the default “Standard Character Set”. Press “Next” to continue
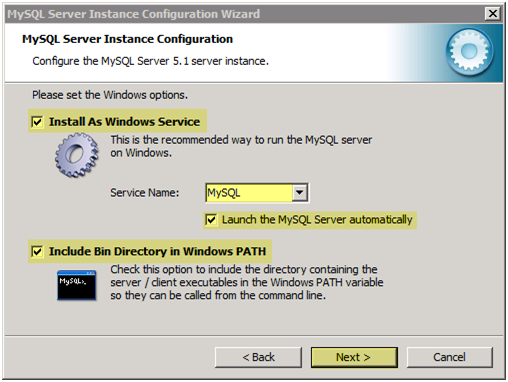
I checked off “Install As Windows Service”, set the “Service Name” to “MySQL” and checked off “Launch the MySQL Server automatically”. I checked off “Include Bin Directory in Windows PATH” so I can run the client tools from any location in the command prompt and not have to go to the C:MySQLBin directory. Press “Next” to continue
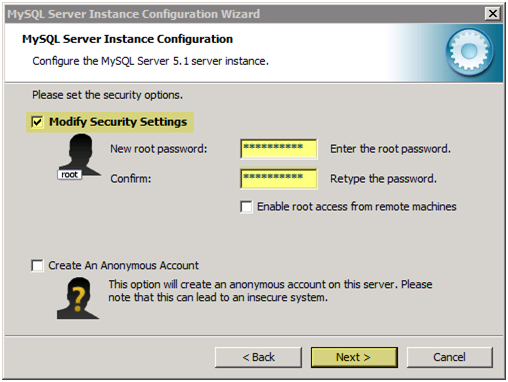
Enter a new password for the root account, retype the password. Press “Next” to continue
Press “Execute” to initiate the configuration changes to MySQL
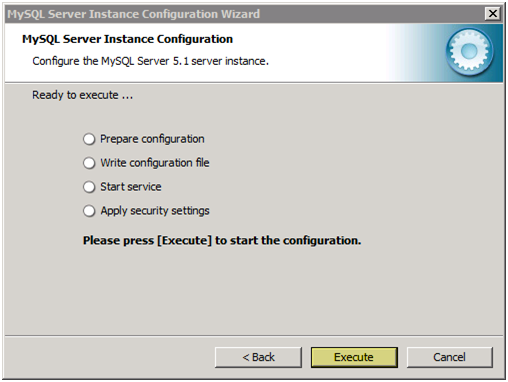
The configuration wizard will make the requested changes
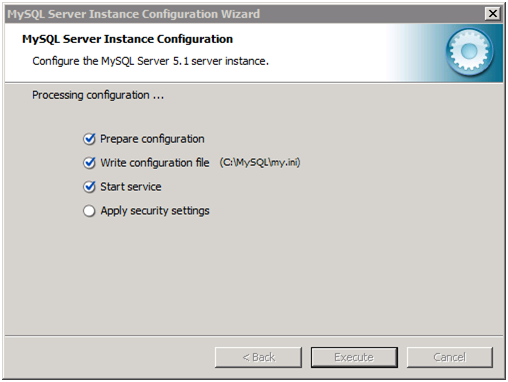
Make sure all changes were successful. Press “Finish” to continue
Verification
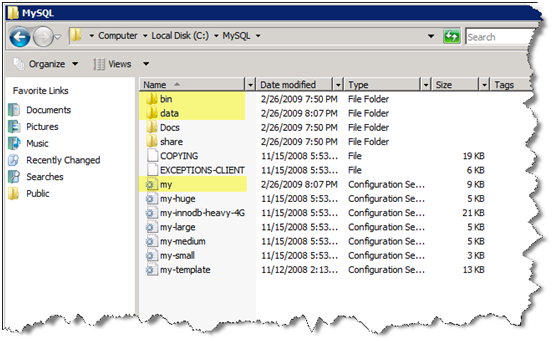
Go to C:MySQL. Bin is where the system files for MySQL are located. Data is the directory where the databases will be stored, and my.ini is where most of the configuration is kept.
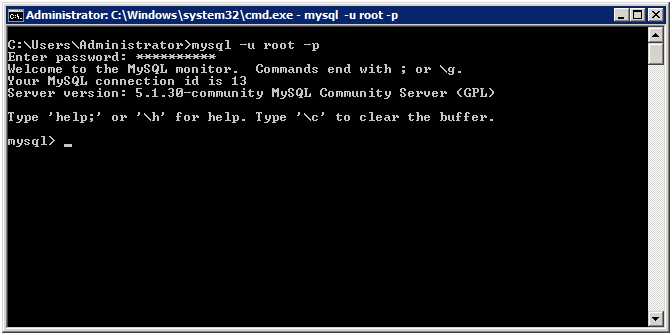
From the command prompt run the following command, if you get the error “‘mysql’ is not recognized as an internal or external command” then you will need to navigate to the “Bin” directory under your MySQL Installation and run it from there. This is used to test connectivity to the MySQL Server.
mysql -u root -p