
Configuring Adobe PDF iFilter 9 for 64-bit platforms for MS SharePoint 2010 |
Feb
24
|
| « Installing October SharePoint 2010 Cumulative Update | Configure Active Directory (AD) Synchronization for SharePoint 2010 » |
1. Install Adobe PDF iFilter 9 for 64-bit platforms on the INDEXING server(s) in your farm. You can get the binaries here: http://www.adobe.com/support/downloads/detail.jsp?ftpID=4025
2. Verify that PDF has been added to the registry.
a. Run Regedit by browsing to c:\Windows\system32\regedt32.exe and double-clicking it.
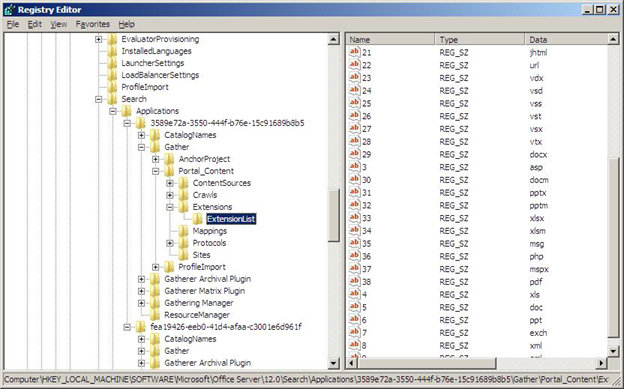
b. Within left-side tree, browse to: \\HKEY_LOCAL_MACHINE\SOFTWARE\Microsoft\Office Server\14.0\Search\Applications\{site GUID}\Gather\Portal_Content\Extensions\ExtensionList
c. If PDF extension is present in ALL site GUIDs, skip to Step 3. If PDF extension is not present, continue with Step d.
d. Right click on right-side Extension List pane and choose New > String Value
e. Add a name to the new Registry Key (use the next available number but use the same number for each GUIDs on the listÔò¼├┤Ôö£├ºÔö¼┬¼ e.g. if you use “38” for GUID one, use that for all of them.)
f. Double click the new Registry Key. For “Value data”, enter “pdf”
g. Do this for EVERY site GUID listed
Note: This can also be achieved via SharePoint Server Search Administration page by adding ‘pdf’ to list of File Types in Search Administration-> File Types. This would automatically add an entry for ‘pdf’ filetype as mentioned above in step 1
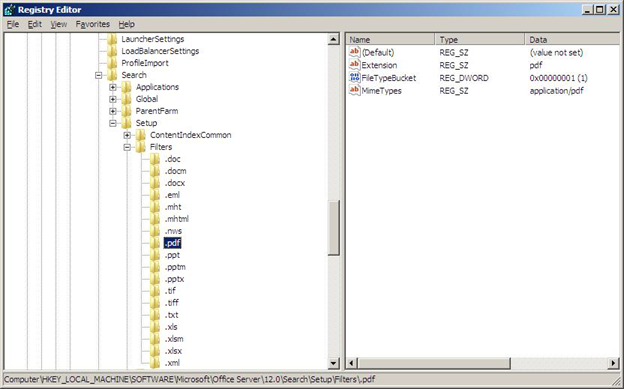
3. Verify that PDF has the correct settings in a second registry location. a. While still in Regedit, within the left-side tree, browse to: \\HKEY_LOCAL_MACHINE\SOFTWARE\Microsoft\Office Server\14.0\Search\Setup\Filters\.pdf
a. Verify the following values. If values are not as shown, edit them.
1. <REG_SZ> Default = <value not set>
2. <REG_SZ> Extension = pdf
3. <REG_DWORD> FileTypeBucket = 1
4. <REG_SZ> MimeTypes = application/pdf
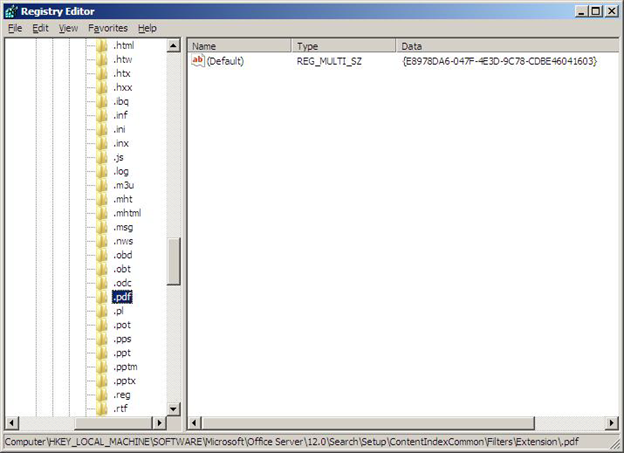
4. Verify that PDF has the correct settings in a third registry location. a. While still in RegEdit, within the left-side tree, browse to: \\HKEY_LOCAL_MACHINE\SOFTWARE\Microsoft\Office Server\14.0\Search\Setup\ContentIndexCommon\Filters\Extension\.pdf
a. Verify the following values. If values are not as shown, edit them.
1. <REG_MULTI_SZ> Default = {E8978DA6-047F-4E3D-9C78-CDBE46041603}
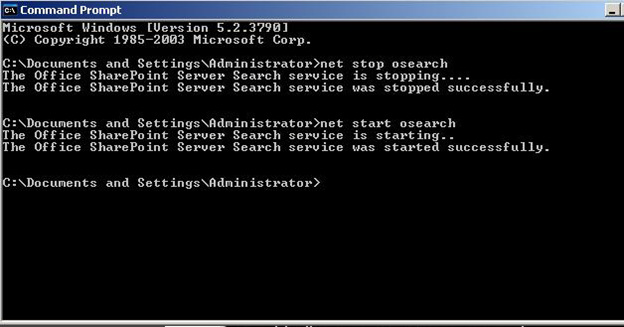
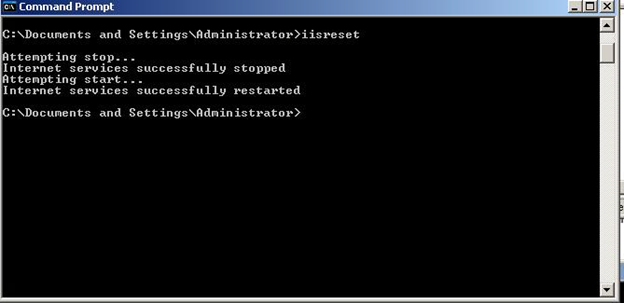
5. Restart all SharePoint services as well as IIS. a. Launch the DOS Shell (Start > All Programs > Accessories > Command Prompt (make sure to run this as Administrator)).
a. Type the following at the prompt: “net stop osearch14”. Wait for success message.
b. Type the following at the prompt: “net start osearch14”. Wait for success message.
c. Type the following at the prompt: “iisreset”. Wait for success message.
6. Verify that pdf.gif is present at the following location:
a. C:\Program Files\Common Files\Microsoft Shared\web server extensions\12\TEMPLATE\IMAGES
7. Add an entry in docicon.xml for the pdf icon:
a. navigate to C:\Program Files\Common Files\Microsoft Shared\Web Server Extensions\12\TEMPLATE\XML
b. add the following mapping to the docicon.xml <Mapping Key=”pdf” Value=”NAME-OF-FILE.gif”>
Note: Step 6 & 7 are done in order to have the pdf icon in SharePoint while it displays the search results.
8. Close the Command Prompt window.
9. Run a Full Crawl in SharePoint
10. Microsoft Office SharePoint Server can now index PDF files. Also, PDF icon should show in File Types list