SQL Server 2012 Installation on Windows Server 2012 |
Sep
13
|
| « Installing the Web Server Role (IIS) on Windows Server 2012 | How to show the My Computer icon on Windows Server 2012 Desktop » |
“
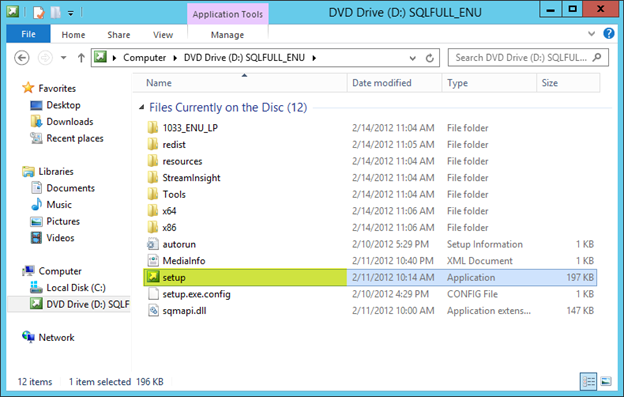
Run Setup.exe from the installation media
“
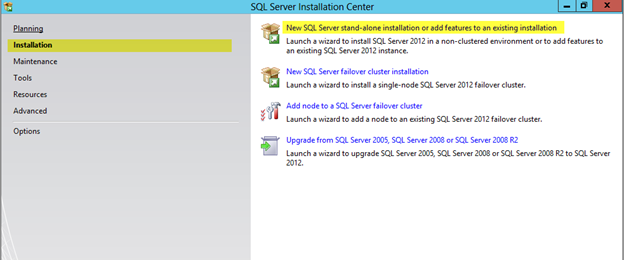
Click Installation on the menu on the left
Then click on the installation you would like to perform, in my case I will be selecting New SQL Server stand-alone installation
“
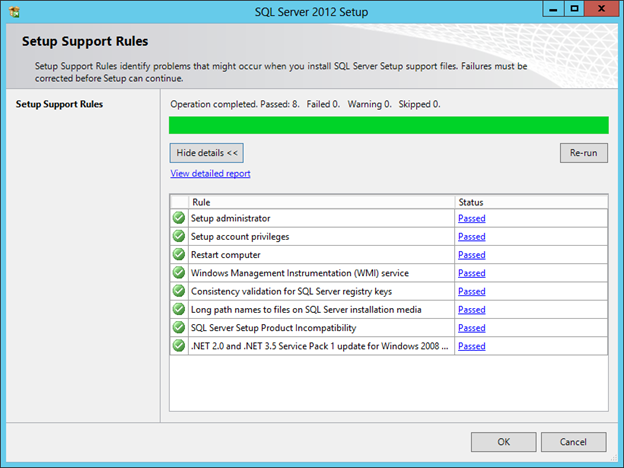
Setup will check the server for prerequisites, if everything passes, press OK
“
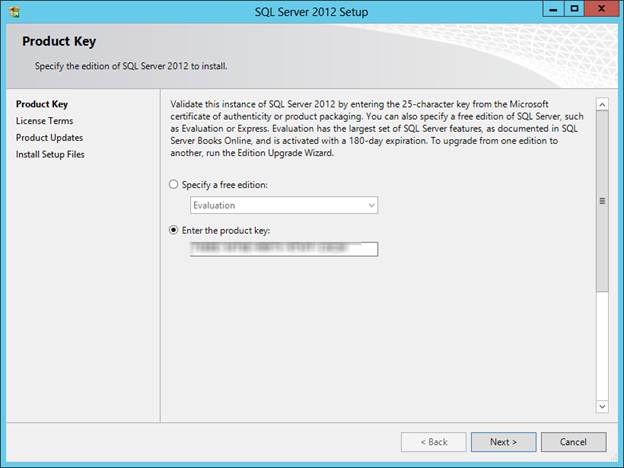
Enter your product key and press Next
“
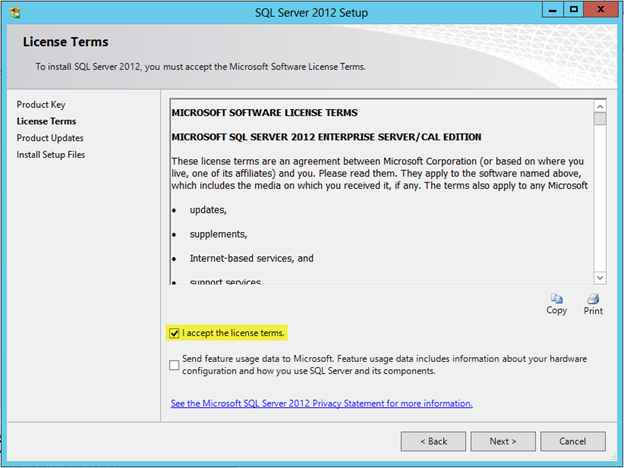
Accept the license terms, press Next
“
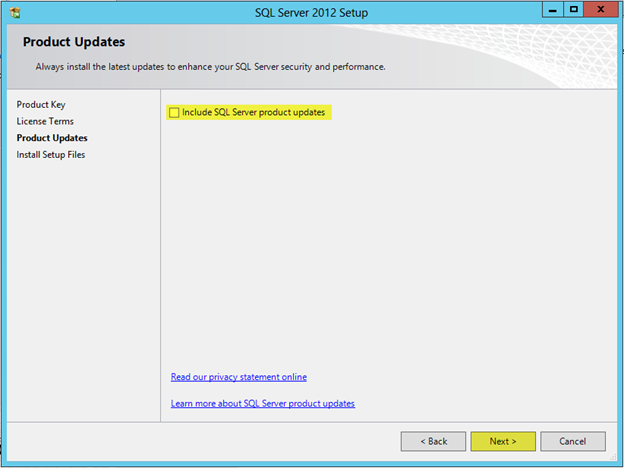
SQL Server 2012 Setup will check for updates, in my case I unchecked this option because I will be installing SP1 after the installation is complete.
Press Next
“
Setup files will be installed on your system. Press Install

“
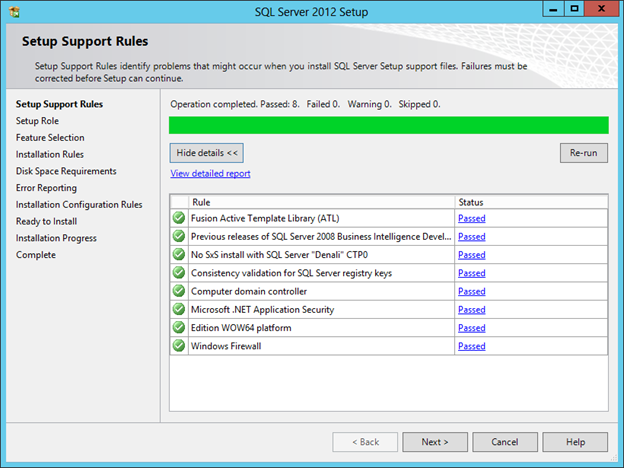
Now we will proceed with the actual installation and configuration.
“
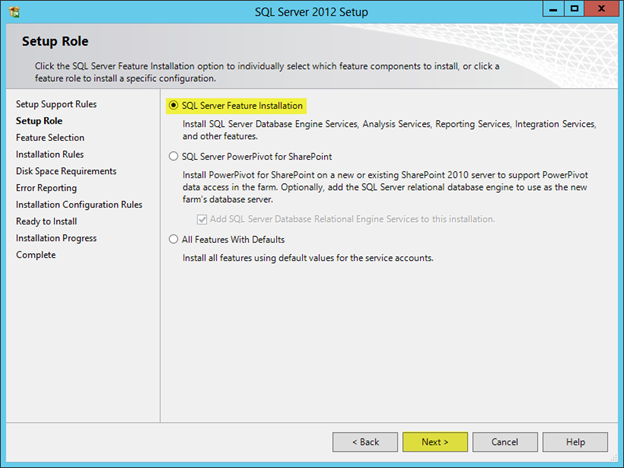
Select the type of installation you would like to install, in my case I will be installing SQL Server Feature Installation
Press Next
“
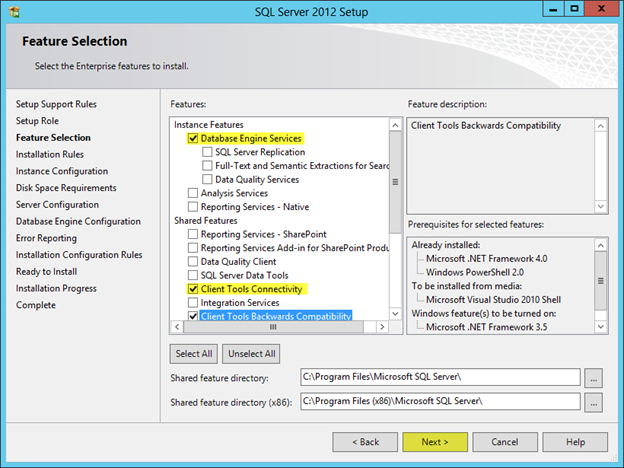
Select the component you want to include with the installation, then press Next. I typically install the following components for a basic install:
- Database Engine Services
- SQL Server Replication
- Client Tools Connectivity
- Client Tools Backwards Compatibility
- Management Tools – Basic
- Management Tools – Complete
“
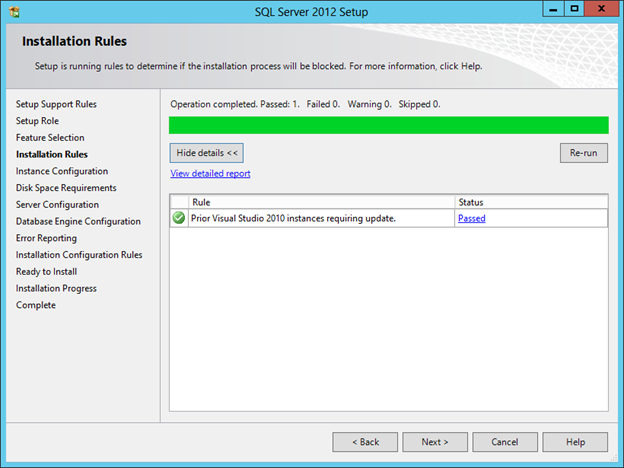
Based on the components you select, setup will check rules to make sure those components can be installed, press Next
“
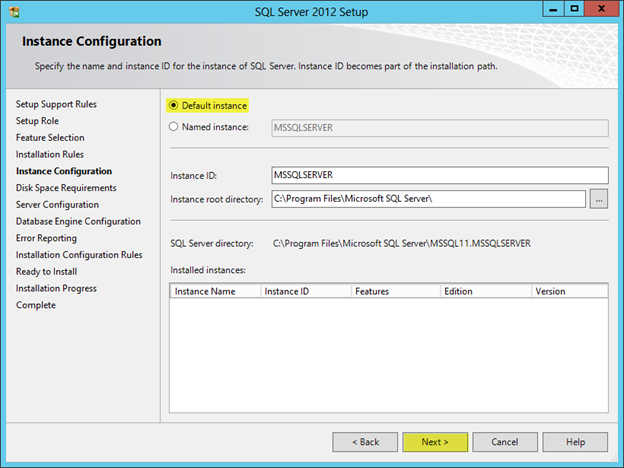
I will be installing using the Default Instance, press Next.
“
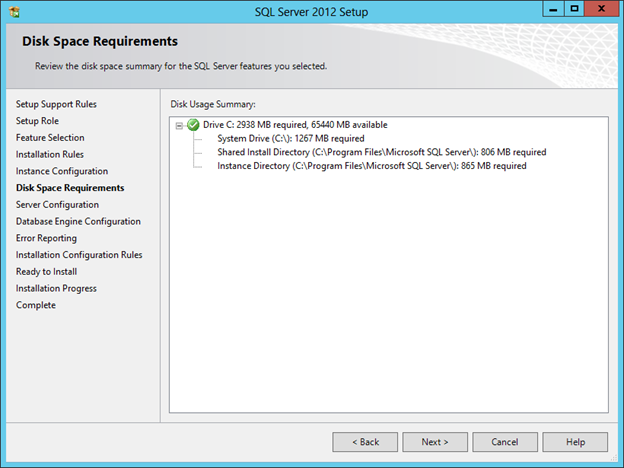
Setup will check the disk space requirements, press Next
“
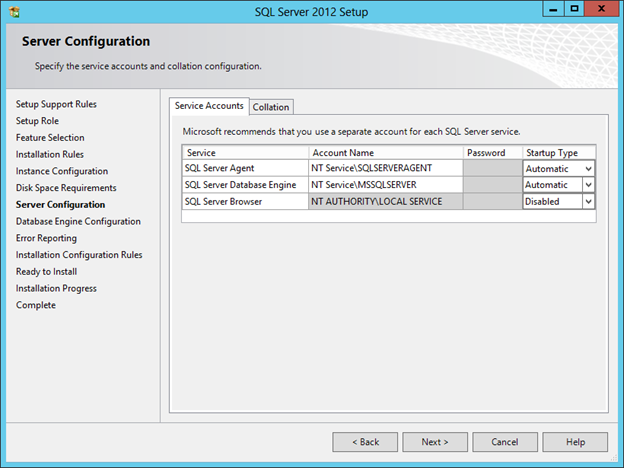
Service Accounts Tab: In the next step you can configure the service accounts used by SQL. In my case I will be keeping all of the defaults.
Collation Tab: I will keeping the default collation setting of “SQL_Latin1_General_CP1_CI_AS”.
Press Next
“
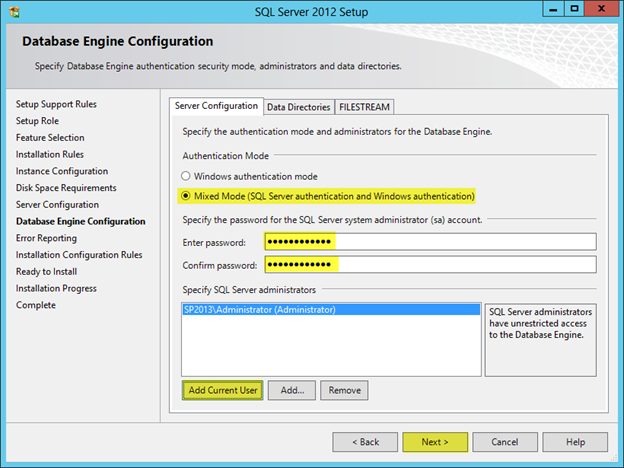
Server Configuration Tab: Select the type of authentication you would like to use. In my case I am selecting mixed mode because I will be installing an application that had SQL user accounts. If you select Mixed Mode you must enter a password for the SA account. Press Add Current User or add a windows user that will be a SQL Admin
Data Directories Tab: I will be keeping the defaults, you would want to change this if your system is connected to a SAN.
File Stream Tab: I will be keeping the defaults.
Press Next
“
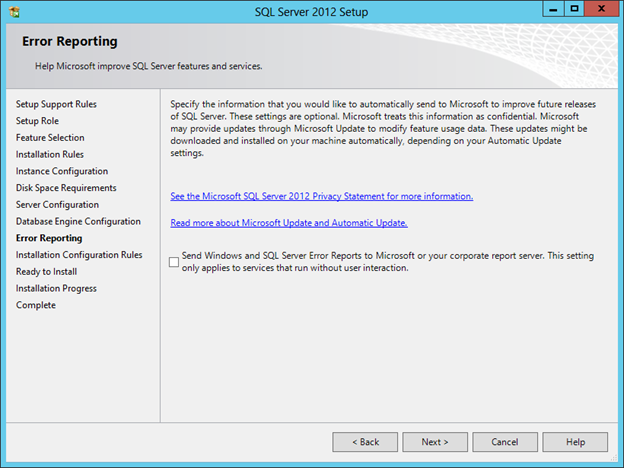
Error Reporting, press Next
“
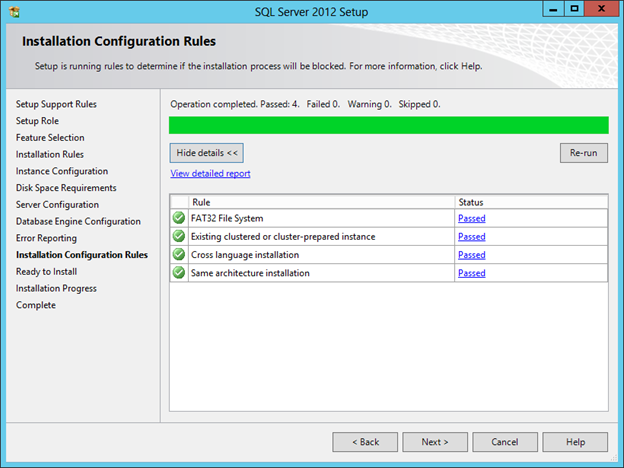
Setup will check for blocking issues. Press Next
“
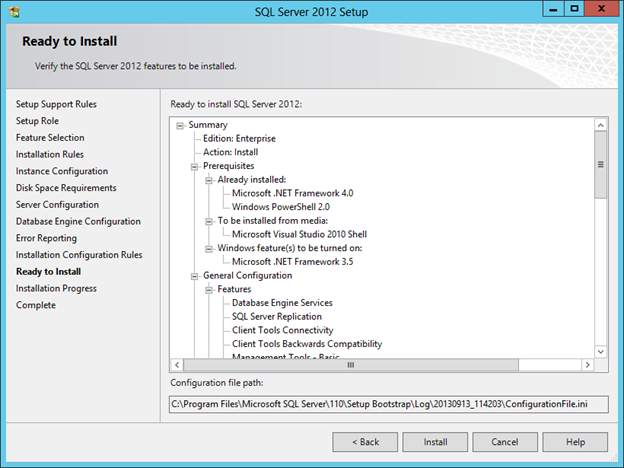
Review your installation components. Press Install
“
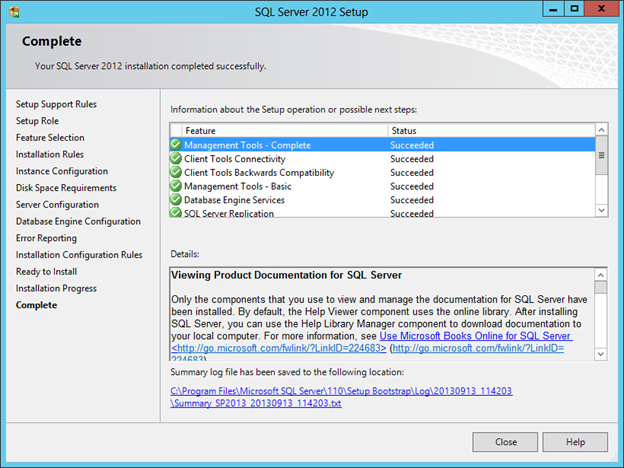
Installation will start, once the installation has completed press Close
“
SQL Server Management Studio is now located under Start
“
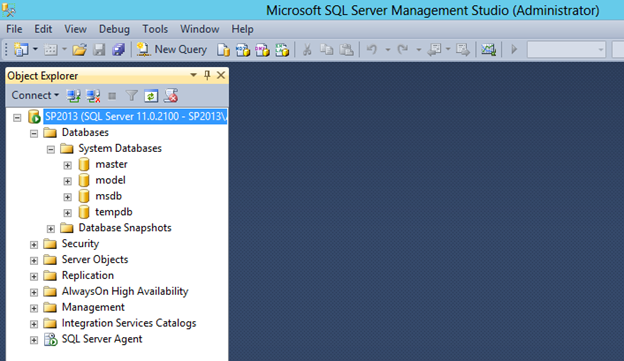
Launch SQL Server Management Studio and verify connectivity
“
“
“
“
“
“
